
Okay, let’s talk about putting down that cushioned basketball flooring. The kind with the hard wooden panels. It was quite the project, definitely took some elbow grease.
Getting Started – The Prep Work
First things first, we had to completely clear out the space. Everything had to go. Then, the floor needed a serious cleaning. You can’t just throw this stuff down on dirt and dust, you know? We swept, vacuumed, then even mopped it down and let it dry completely. Gotta have a clean, flat surface to start with.
Then the materials arrived. Man, those boxes of wooden flooring are heavy. And the rolls of cushion underlayment are bulky. We had to haul everything inside and let the wood sit for a couple of days. They say it needs to get used to the room’s temperature and humidity. Sounds right, wood does weird things sometimes.
Laying Down the Cushion
Next up was the cushion layer. This stuff usually comes in big rolls. We started at one end of the room and just rolled it out. Had to make sure the seams butted up against each other real snug, no overlapping. Then we taped the seams with the special tape they recommended. Cutting it to fit around corners and doorways was a bit fiddly. Used a sharp utility knife for that. This cushion part is important, it’s what gives the floor that bit of bounce and makes it easier on the knees.
The Hard Part: Assembling the Wood
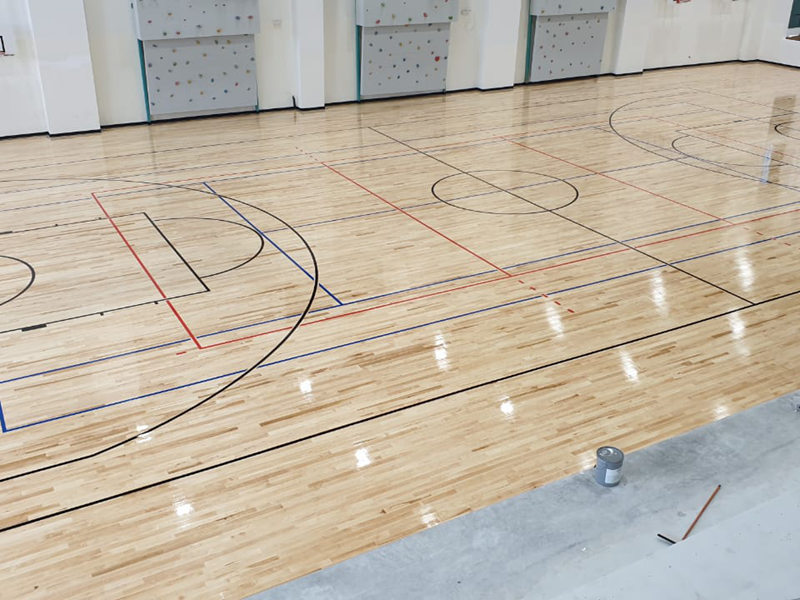
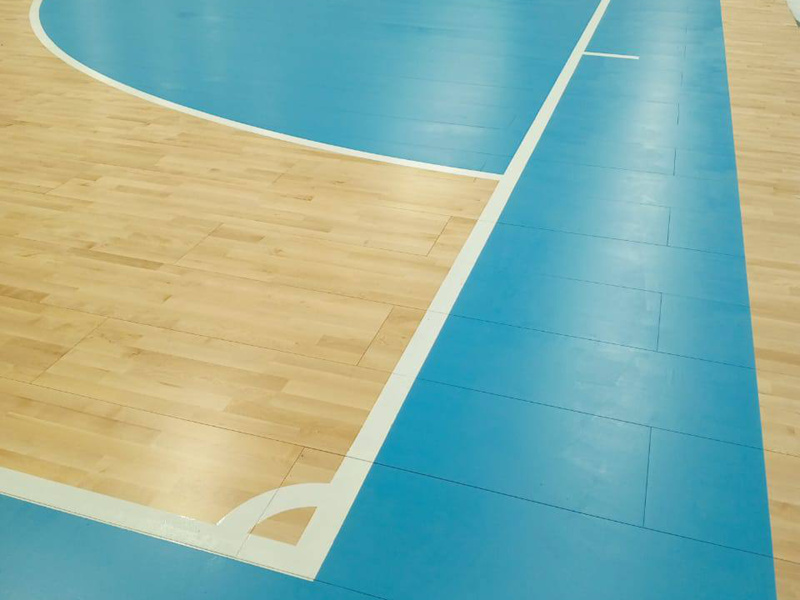
Alright, here comes the “hard assembly” bit. Those wooden floor panels. They’re designed to lock together. We started along the longest wall, like the instructions usually say. Put down the first row, making sure it was straight. This is super important because if the first row is crooked, the whole floor will be off.
Then you start the second row. You angle the new panel, fit its edge into the groove of the first row, and then push it down. It’s supposed to ‘click’ into place. Sometimes it did, sometimes… well, sometimes it needed persuasion. We used a rubber mallet and a tapping block quite a bit to gently knock the panels together, making sure the joints were tight.
You keep going like that, row after row. Staggering the joints is key, so it looks good and adds strength. You don’t want all the short ends lining up. When you get to the end of a row, you have to measure and cut a panel to fit. Measuring twice and cutting once definitely applies here. We used a chop saw for clean cuts. Cutting the last row to fit against the final wall was also tricky, needed careful measuring.
It’s repetitive work, kneeling or bending over for hours. Your back and knees definitely feel it afterwards. Some panels locked easier than others. Had a few stubborn ones that needed extra tapping.
Finishing Touches
Once all the main flooring was down, bam! Looks like a real court, almost. But not quite done. We had to install transition strips in the doorways and some kind of trim or baseboard around the edges of the room to cover the expansion gap you need to leave around the perimeter. Wood expands and contracts, so you need that little gap.
Then, a final cleanup. Swept up all the sawdust and debris. Gave the new floor a good wipe down.
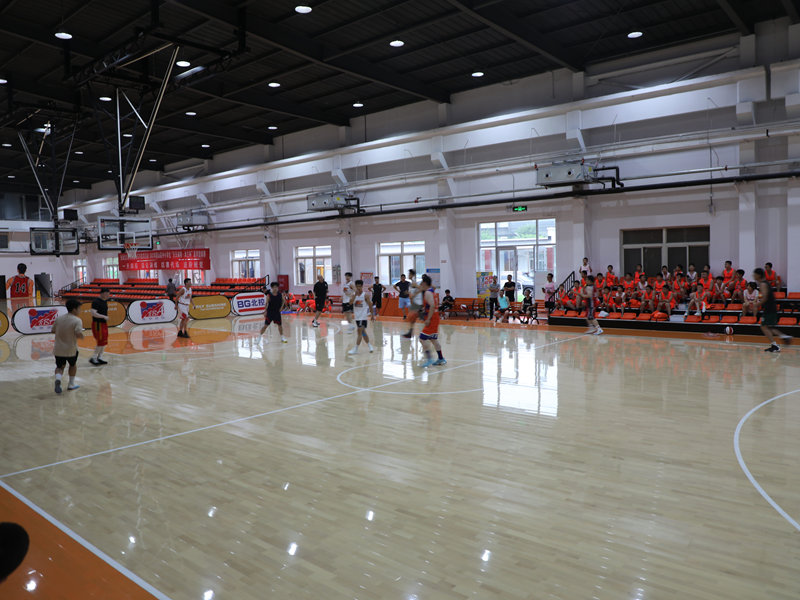
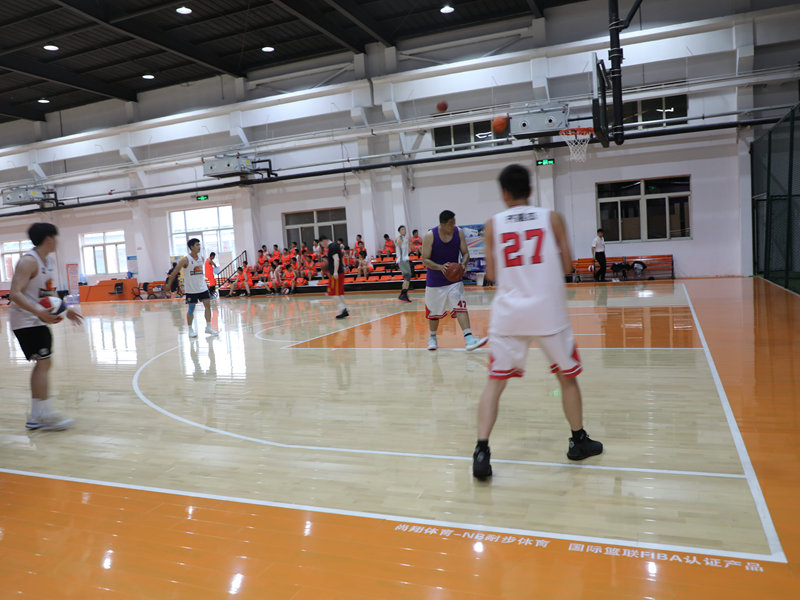
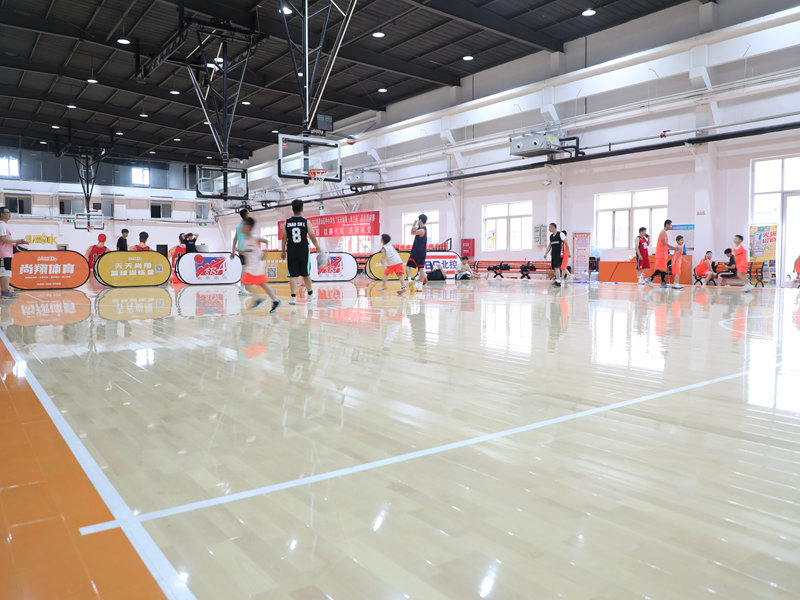
Looking back, it was a tough job, especially getting those panels locked tightly together consistently. Took longer than I initially thought. But seeing the finished floor? Solid, looks professional, and has that nice cushioned feel. Yeah, it was worth the sweat.


