
Okay, so I decided to tackle this project: laying down some keel dancing plywood wooden flooring. I’d seen some cool designs online and figured, “Why not? Let’s give it a shot!”
First things first, I cleared out the room. This involved moving all the furniture, taking down the curtains, and basically getting everything out of the way. It was a bit of a workout, but hey, who needs the gym?
Prepping the Subfloor
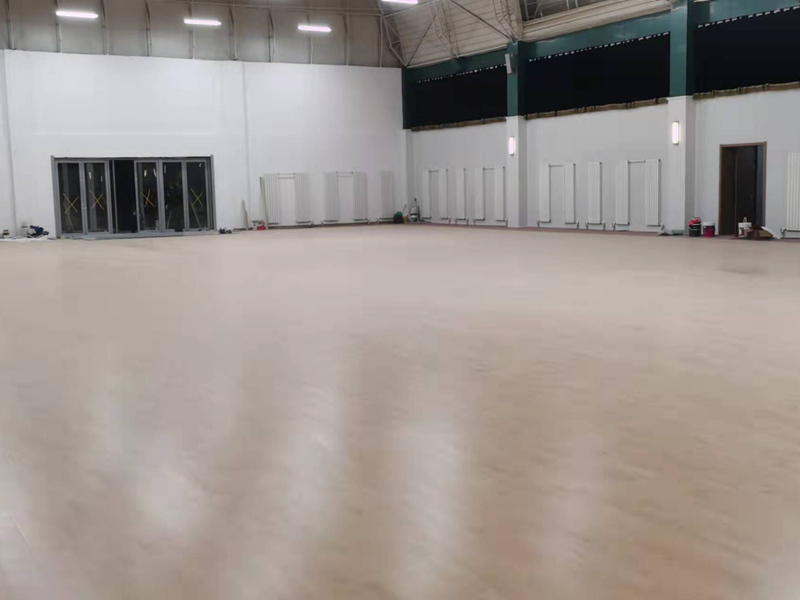
Next up, I had to make sure the subfloor was ready. This was probably the least fun part. I checked for any unevenness. It wasn’t perfectly level, there were a few dips and bumps, filled them in with some leveling compound, and made sure that was also got dried and sanded that down. It took a while, but I wanted to make sure I had a solid base.
The Keel System
- The next day, the real works began. I started by installing the keel system.I lined up the keels, spaced them out * was a bit fiddly, making sure everything was aligned and level.
- Then, I secured the keels to the subfloor.I hammered the nails in to make sure they were properly * was important to make sure they were nice and sturdy.
Laying the Plywood
Now for the (somewhat) fun part! I started laying down the plywood sheets. I carefully placed the first sheet, making sure it fit snugly against the keels. I wanted to keep the gaps tight.
Then, I secured the plywood to the keels.I used nails and made the plywood fixed on the keel,it’s a hard work.
I continued this process, cutting the plywood as needed to fit around the edges of the room. It wasn’t always pretty, but I got there in the end!
Finishing Touches
Finally, I added the finishing touches.Because I want a better visual,I filled in any gaps or imperfections. I used wood-colored putty to fill in a few nail holes and gaps.
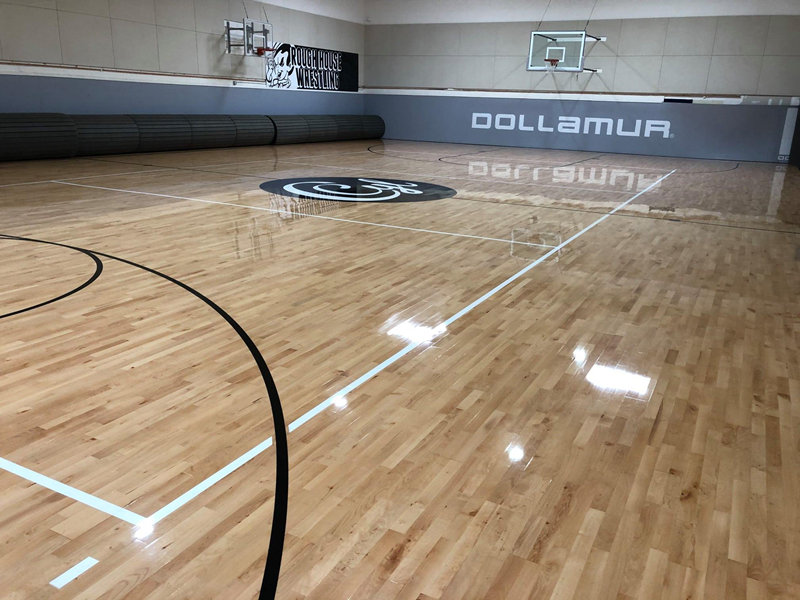
And that was it! My keel dancing plywood wooden flooring was complete. It took some time, a lot of sweat, but I’m pretty stoked with how it turned out. Now I’ve got a unique, and hand-made floor,It’s not perfect, but it’s mine, and that’s what matters!


