
Alright, let me walk you through this flooring project I just wrapped up. The old floor was looking pretty sad, so it was time for an upgrade. Decided to go with this assembled wood flooring, the kind made from rubberwood, you know, from the rubber tree. Seemed tough enough and looked decent.

Getting Started – The Prep Work
First things first, had to get the room totally empty. Moved all the furniture out. Man, you forget how much stuff you own until you gotta move it all. Then, ripped out the old flooring. That was a job in itself, pulling up carpet and tack strips. Lots of staples.
Next up, the subfloor. This part’s really important. You need it clean and level. Spent a good while sweeping, vacuuming, and then checking for high spots or low spots. Had to patch a few areas with leveling compound. Messy stuff, but you can’t skip it if you want the new floor to sit right.
While the compound dried, I brought the boxes of the new flooring into the room. They say you gotta let the wood get used to the room’s temperature and humidity for a couple of days. So, I just stacked ’em up, opened the boxes like the instructions said, and waited. Patience isn’t my strong suit, but okay.
Laying Down the Planks
Okay, installation day. Started on the longest wall, like they usually recommend. Put down the underlayment first – that thin foam sheet thing. Helps with sound and feels a bit softer underfoot.
Then, the first row of planks. This row is critical for getting everything straight. Used spacers against the wall to leave that expansion gap. You gotta leave a gap, wood swells and shrinks, you know? Snapping these first pieces together wasn’t too bad. They’re designed to click together, mostly.
- Measured the wall, planned the layout.
- Put down the first plank.
- Clicked the next one into the end joint.
- Cut the last piece of the row to fit, using a saw. A jigsaw worked fine for me.
Saved the leftover cut piece from the end of the first row to start the second row, as long as it wasn’t too short. This staggers the joints, makes it look better and stronger. Then it was just row after row. Measure, cut, click, tap it snug with a block. Some pieces needed a bit more persuasion than others to lock tight.
Cutting around doorways and weird corners was the trickiest part. Lots of measuring, marking, cutting notches. Definitely measure twice, cut once. Made a few mistakes, ended up with some scrap pieces, but that’s part of the game, right?
Finishing Touches
Once all the planks were down, took out the spacers from around the edges. Then installed the trim – baseboards and quarter round – to cover that expansion gap. This really cleans up the look, hides the edges. Used a nail gun for this, made it way faster.
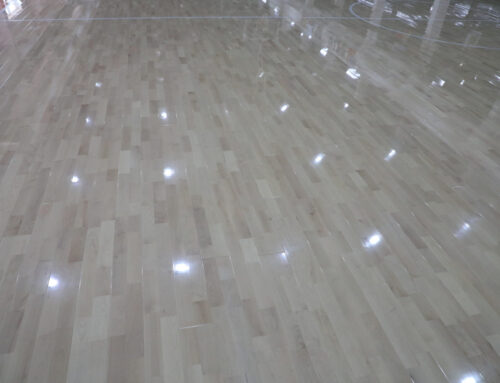
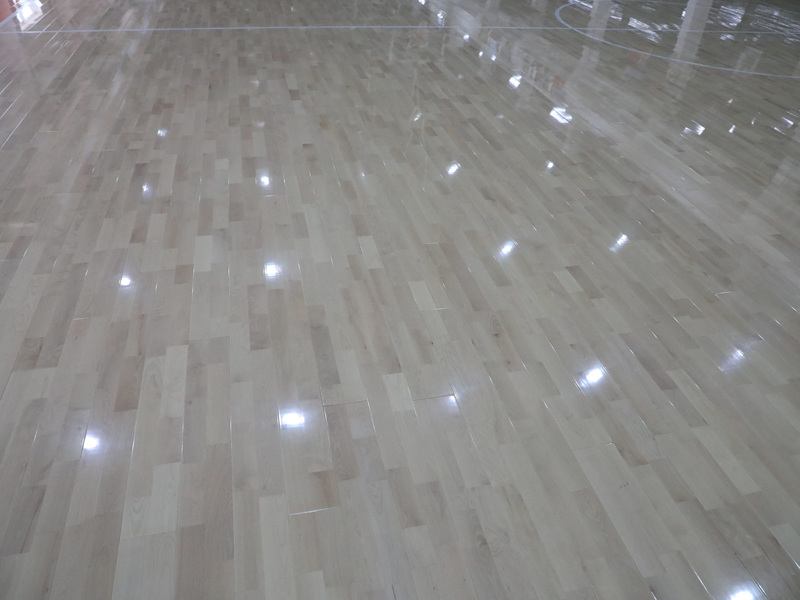
Gave the whole floor a good clean-up, vacuumed up all the sawdust. Stepped back and took a look. Gotta say, it turned out pretty good. Feels solid underfoot. That rubberwood seems sturdy enough. Took a weekend, lots of kneeling, but worth it.
So yeah, that was the process. Nothing too magical, just taking it step-by-step. If you’re thinking about doing it, just be ready for the prep work and take your time with the cuts. You can definitely do it yourself.


