
Okay, here’s my blog post about putting together that “keel dancing rubber tree assembled wooden flooring”, told like I’m just chatting with a buddy:
So, I decided to tackle this flooring project. The name itself – “keel dancing rubber tree assembled wooden flooring” – sounded like a mouthful, right? I figured, how hard could it be? Famous last words, I guess.
Getting Started
First, I unpacked everything. Boards everywhere! It looked like a lumber yard exploded in my living room. I spent a good hour just sorting the planks by size and making sure I had all the pieces. It was a bit like a giant jigsaw puzzle without the picture on the box.
The Keel Thing
Then came the “keel” part. These were basically the strips of wood that the flooring planks would attach to. I laid them out across the floor, trying to get them spaced evenly. I used a measuring tape, of course, but let me tell you, my floor isn’t exactly perfectly level. There was a lot of adjusting, shimming, and maybe a little bit of cursing involved.
The Dancing Rubber Tree?
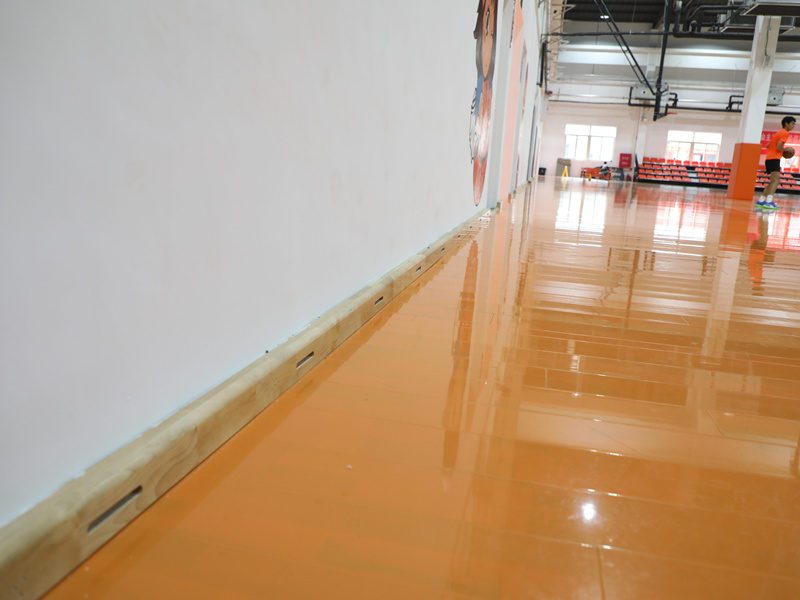
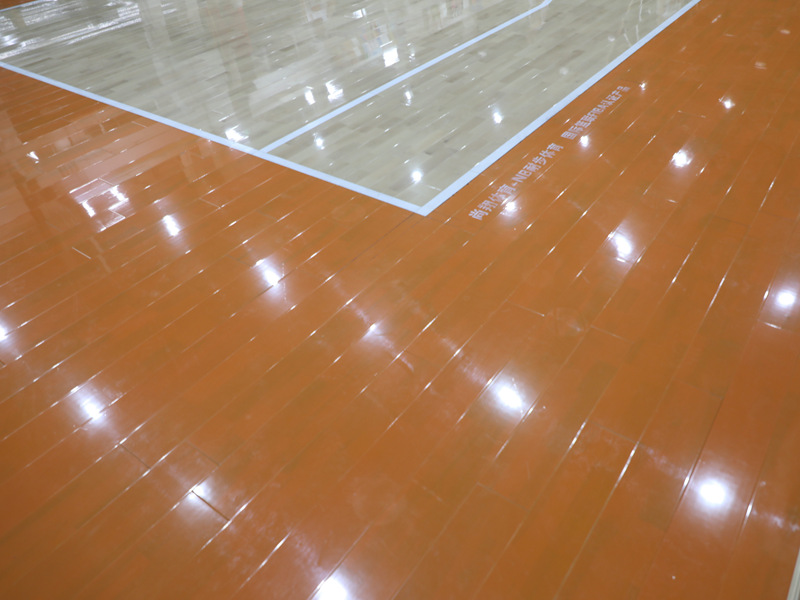
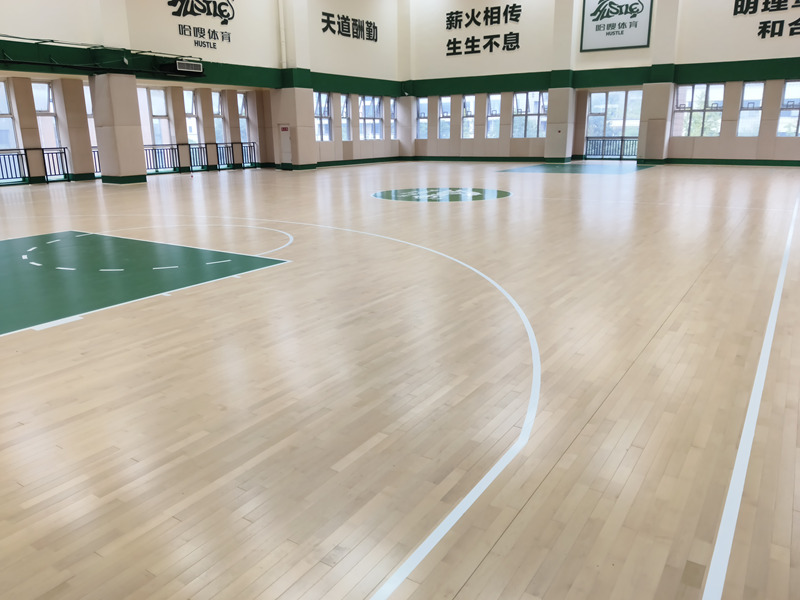
Now the fun part, the part that sound intresting. I found it was the meterial of the wood, very interesting. I started fitting the planks onto the keels. Some of them clicked together easily, like they were made for each other. Others… well, let’s just say they needed some “persuasion.” I used a rubber mallet and a tapping block to bang them into place. It wasn’t exactly “dancing,” more like wrestling. The “rubber tree” part, I’m guessing, refers to the slight give and flexibility of the wood. It definitely wasn’t as rigid as I expected.
Assembling the Beast
It was slow going. I worked my way across the room, row by row, cutting planks to fit at the edges. I used a jigsaw for that, and let me tell you, my arms got a workout. There was sawdust everywhere. I felt like I was living in a hamster cage.
- Measure twice, cut once. I learned that the hard way.
- Knee pads are your best friend. Seriously, don’t even think about doing this without them.
- Take breaks. It’s easy to get caught up in the project, but your back will thank you later.
The Finish Line
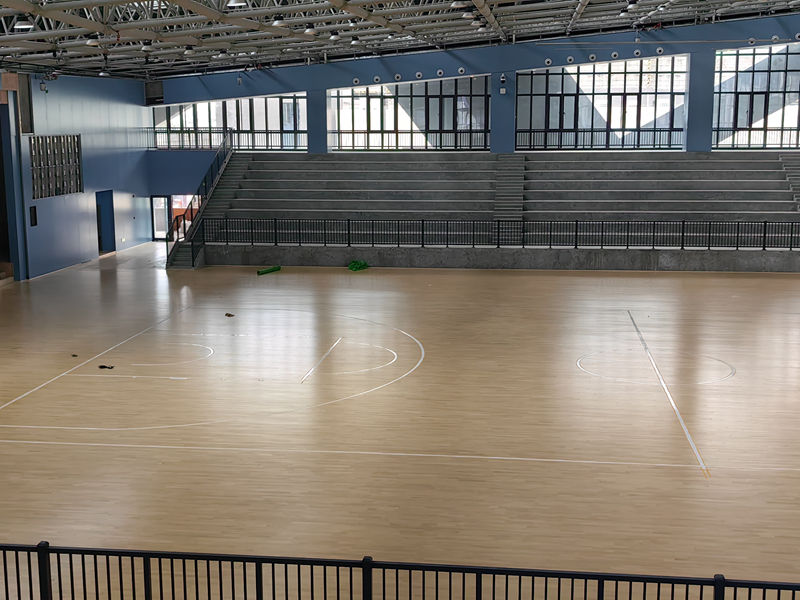
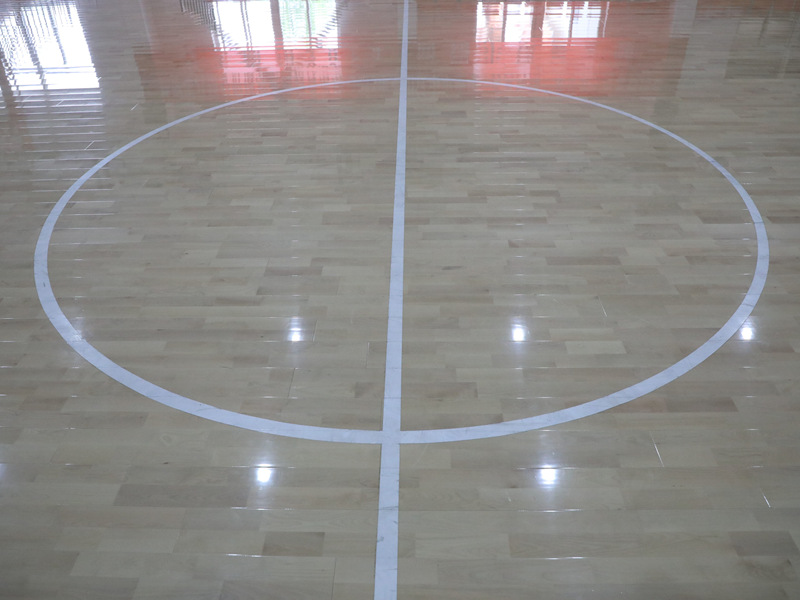
Finally, after what felt like an eternity, I finished! I stood back and admired my handiwork. It wasn’t perfect, but it was done. And you know what? It looked pretty darn good. I even did a little victory dance on it (carefully, of course, so I wouldn’t undo all my hard work).
Would I do it again? Maybe. But next time, I’m definitely getting some help. And maybe a better name for the flooring.


