
Okay, let’s get started with this wooden flooring project. I’ve been wanting to redo my home gym for a while, and I finally decided to tackle it. The title of my little adventure? “Keel Basketball Engineer Assembled Wooden Flooring.” Sounds fancy, huh? It’s just a DIY project, really.
Getting Started
First things first, I cleared out the entire room. This was a workout in itself! Moved all the weights, the bench, everything. It was a blank canvas, just a concrete slab staring back at me. Then I swept and vacuumed the concrete, to have a clean starting point. I wanted to make sure there wasn’t any dust or debris that could mess with the flooring later.
The Keel (or Support) System
Now, for the “keel” part. I didn’t use actual ship keels, obviously! I built a support system using 2x4s. The idea is to create a raised floor, like a mini basketball court.I started to plan the layout.
- I laid out the 2x4s on the floor, spacing them about 16 inches apart. This is important for even weight distribution.
- I used a level to make sure everything was, well, level! This part took some time, shimming some areas with thin pieces of wood to get it just right.
- I used long screws to connecting them, making a grid.
The Wooden Flooring
With the support structure in place, it was time for the actual flooring. I chose some pre-finished hardwood because I’m not a fan of sanding and staining. Call me lazy, but it saves a ton of time!
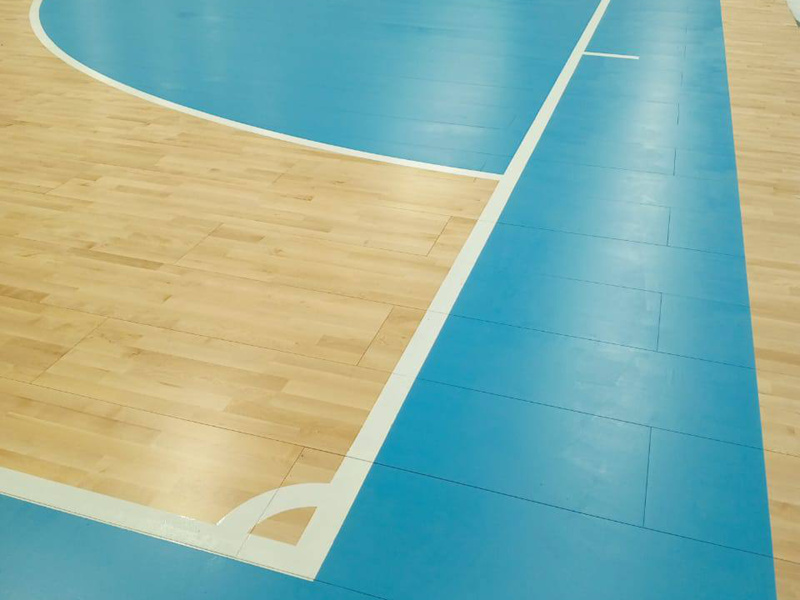
- I started laying the planks perpendicular to the 2x4s. This gives it extra strength.
- The flooring had a tongue-and-groove system. The tongue and groove clicked together easily.
- For the edges, I used a saw to cut the planks to size. Measure twice, cut once, as they say! (I definitely messed up a couple of times, not gonna lie).
Finishing Touches
Once all the flooring was down, I added some trim around the edges to give it a finished look. This also helps hide any imperfections in my cuts (and there were a few!). I nailed the trim to the floor and the wall, making sure it was snug.
Finally the laying of the floor is over, I began to move the equipment in.
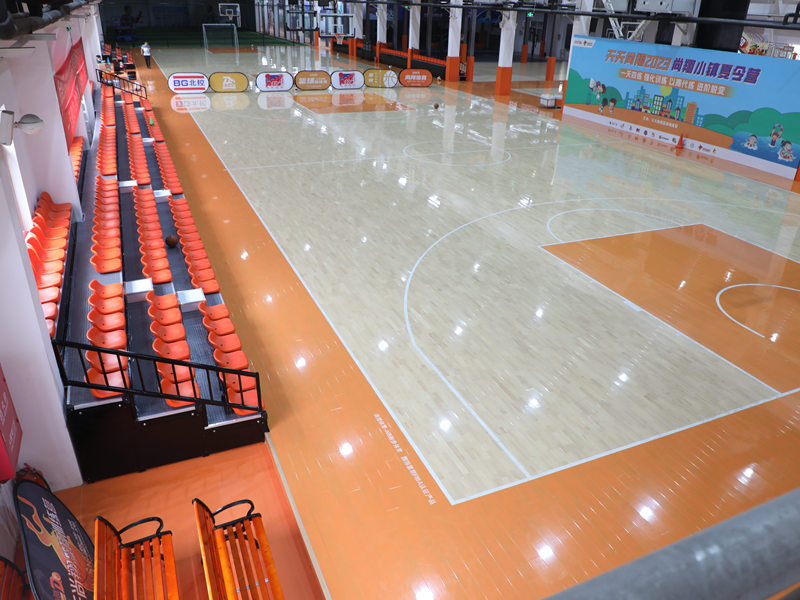
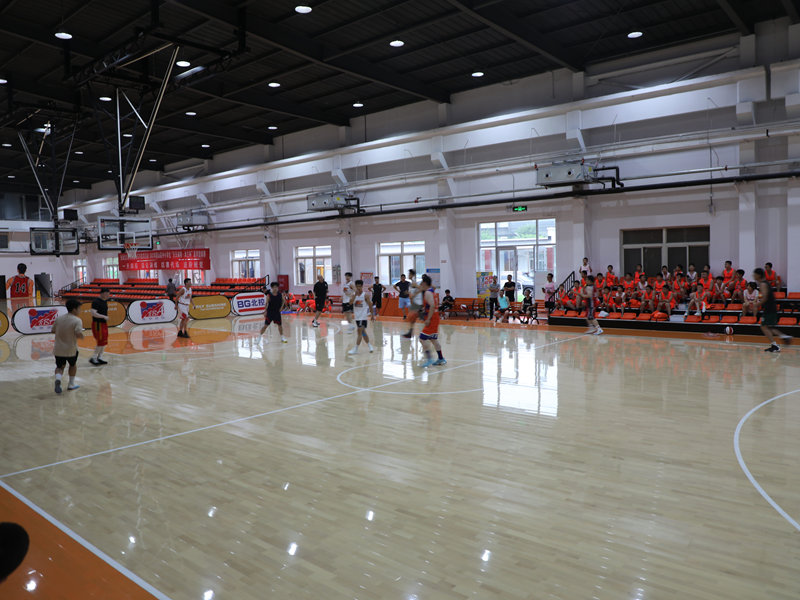
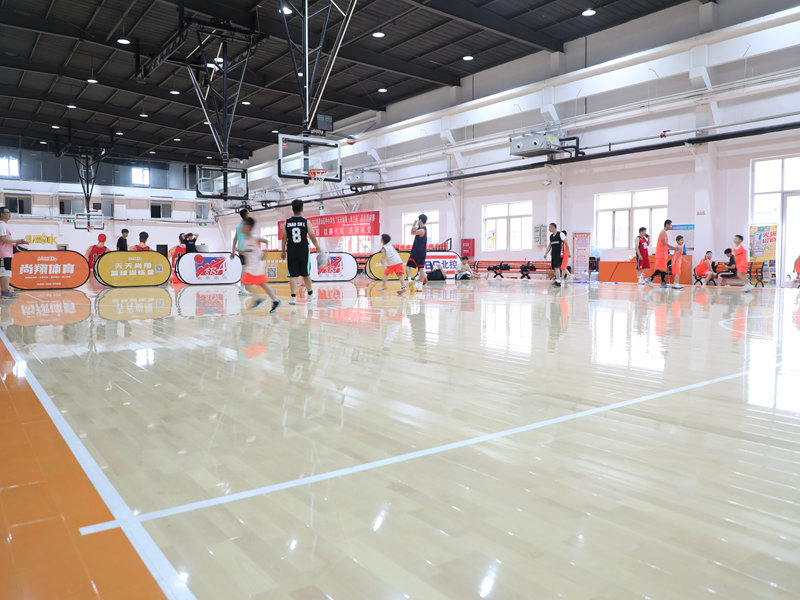
And that’s it! My “Keel Basketball Engineer Assembled Wooden Flooring” project was complete. It took a couple of weekends, some sweat, and a few trips to the hardware store, but it was totally worth it. My home gym looks amazing, and the floor feels solid and springy, just like a real basketball court. Now, time to shoot some hoops!


