
Okay, here’s my blog post about assembling the wooden flooring for my volleyball sleeper keel:
So, I finally got around to tackling that project I’ve been putting off – putting down the wooden flooring over the sleeper keel for my little volleyball practice area. It wasn’t as bad as I thought, really, mostly just time-consuming.
First, I gathered all my materials. I already had the sleeper keel built, of course, that was step one. Then it was just a matter of getting enough wooden flooring planks. I went with this slightly wider plank I found. Also, I made sure I had plenty of screws, my trusty drill, a saw (just in case), and some good old-fashioned knee pads. Seriously, those knee pads were lifesavers.
The Process
I started by laying out the first row of planks along one edge of the keel. The key here, I figured, was to get that first row perfectly straight. I used a long level to double-check and made a few tiny adjustments with some shims. No one wants a wonky floor, right?
Then, it was pretty much rinse and repeat. I laid down each plank, making sure it was snug against the previous one. I pre-drilled some pilot holes to avoid splitting the wood – learned that lesson the hard way a while back. Then, I screwed each plank down securely to the keel sleepers. I staggered the joints, like you’re supposed to, to give the floor more strength and make it look better.
- Lay the first row straight.
- Pre-drill pilot holes (trust me!).
- Screw down each plank firmly.
- Stagger those joints!
There were a couple of tricky bits around the edges where I had to cut some planks to fit. I used my saw for that, of course, and measured twice (maybe three times) before making any cuts. I am no craftsman, but I managed alright. There was sweating involved, and maybe I swore at it a few times.
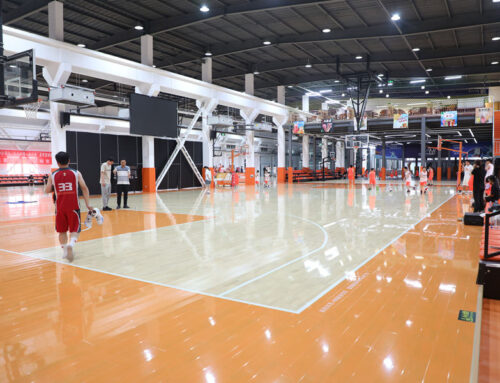
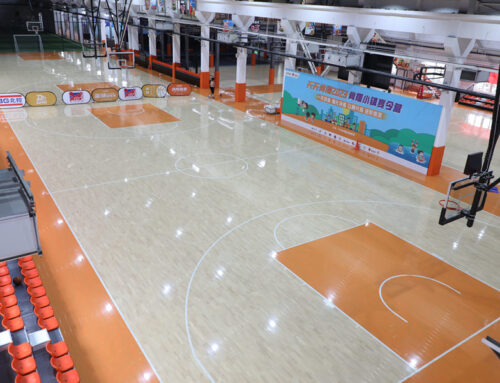
After a few hours of work, and a couple of water breaks, I was done! The whole floor was laid, screwed down, and looking pretty good, if I do say so myself. It felt solid underfoot, no creaks or wobbles. All that measuring and careful screwing paid off.
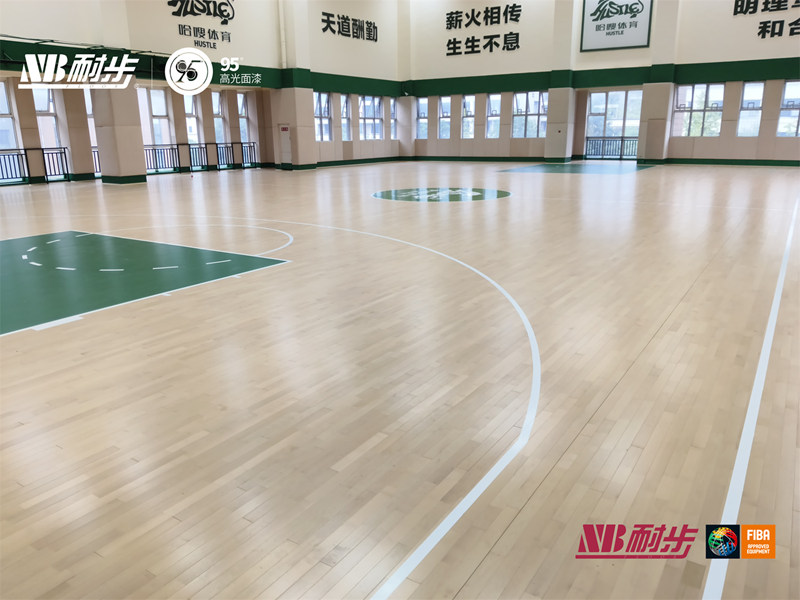
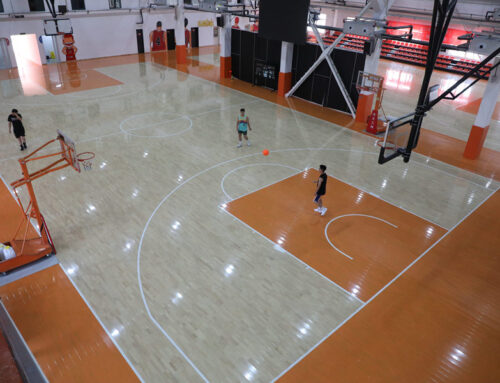
I stood back, admired my handiwork, and grabbed my volleyball. Time for a little test run! The surface felt great, definitely an improvement over the bare concrete I had before. Now, I just need to get some practice in. I’m pretty pleased with how it turned out. It was a good day’s work, and it’s one more project ticked off the list.

