
Okay, here’s my blog post about putting together some basketball court flooring. It was a bit of a project, but we got it done!
Alright, so, picture this: I’ve got this big, empty space, and I’m dreaming of my own little indoor basketball court. I did some digging around and decided to go with a batten system and engineered wood flooring. Sounded fancy, but honestly, it was mostly about getting that good bounce and a solid feel underfoot.
Getting Started
First things first, I cleared out the entire area. This was a workout in itself! We’re talking moving furniture, sweeping, and making sure the concrete subfloor was as clean and level as possible. Any little bumps or debris would mess with the final result, so I was pretty meticulous about this part.
The Batten System
Next up, the battens. These are basically just long strips of wood that create a framework for the flooring. I laid them out in a grid pattern, making sure they were evenly spaced. The instructions I had were pretty clear about the spacing, but I still double-checked everything with a measuring tape. Gotta be precise, you know?
Then came the fun part – nailing the battens down! I used a nail gun, which made the job way faster. It’s pretty satisfying to use one of those, I gotta admit. Just line it up, bang, and you’re done. I made sure each batten was securely fastened to the concrete, because this is the foundation for the whole court.
Moisture Concerns
Since my concrete subfloor could create moisture, I also added plastic sheeting before the battens as extra safety.
Laying the Flooring
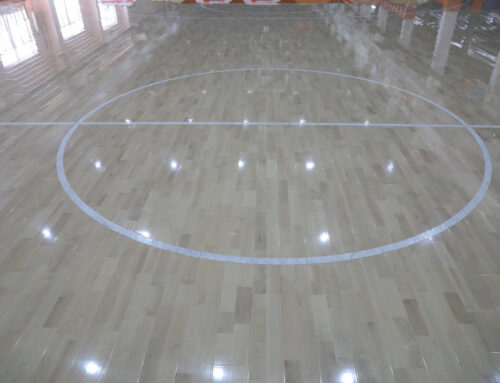
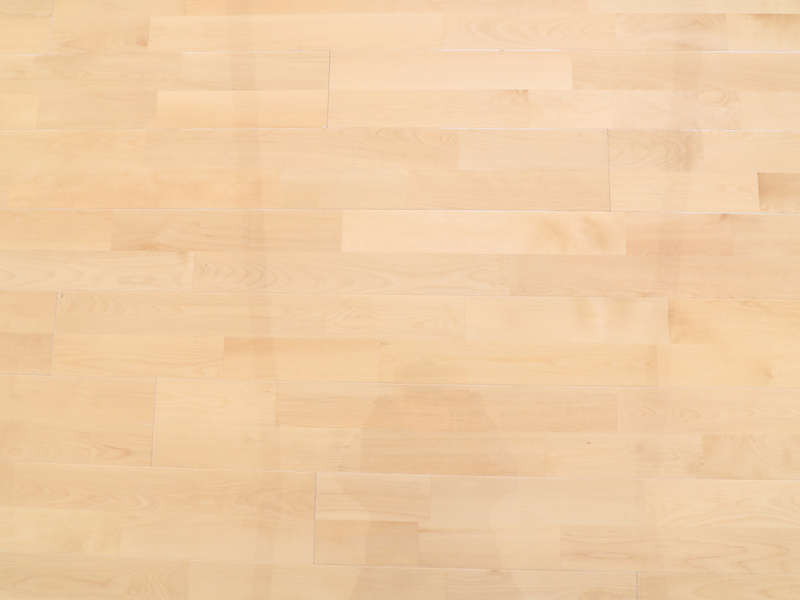
With the batten framework in place, it was time for the actual flooring. These engineered wood planks were pretty slick. They had this tongue-and-groove system, so they clicked together pretty easily. It was like a giant puzzle.
Starting from one wall, I placed the first row, making sure it was straight and aligned with the battens. Then, I just kept adding planks, row by row. I used a rubber mallet to tap them together snugly, so there wouldn’t be any gaps.
There was a bit of cutting involved, especially around the edges of the room. I used a saw to trim the planks to fit, which took some patience. Measure twice, cut once, as they say!
The Finishing Touches
Once all the planks were down, I installed some baseboards around the perimeter of the room. This just gave it a nice, clean look, and covered up any rough edges. I used the nail gun again for this – love that thing!
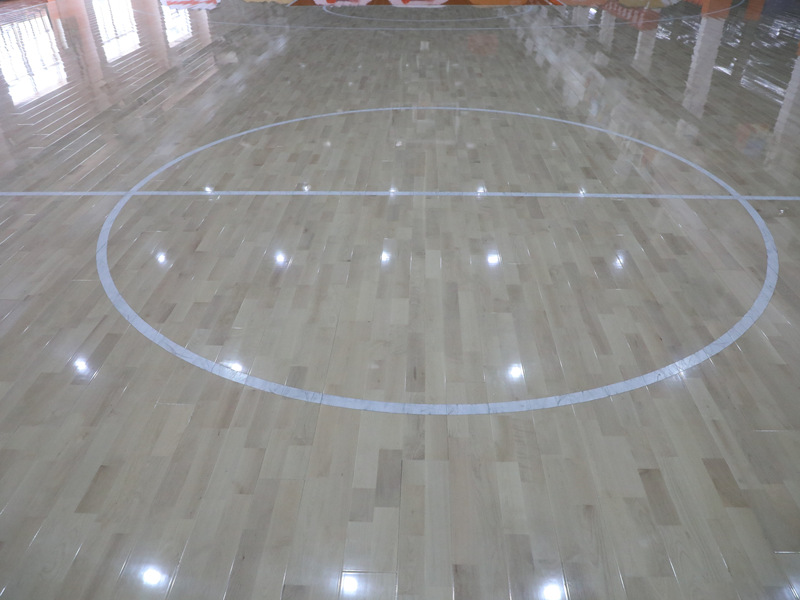
The Result
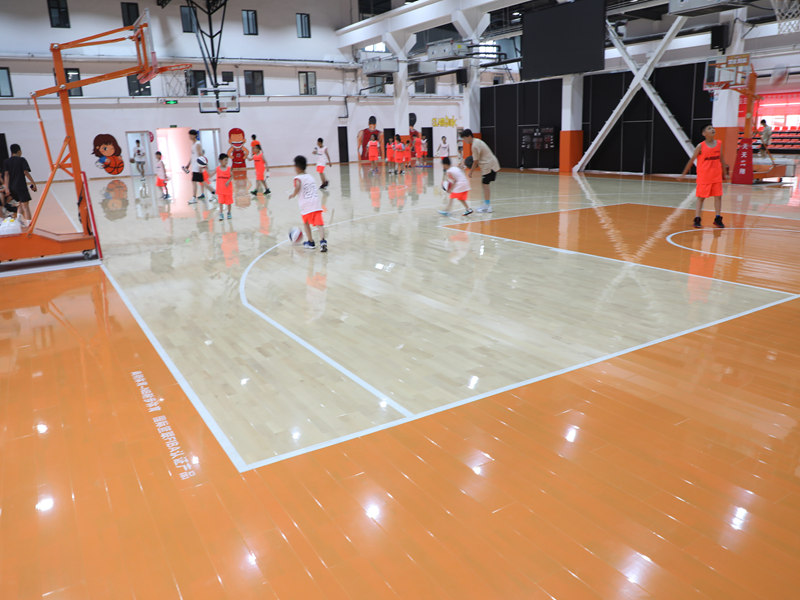
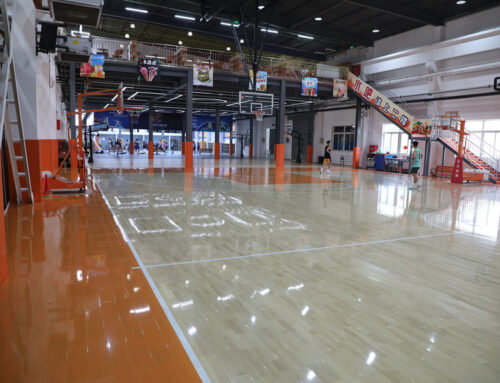
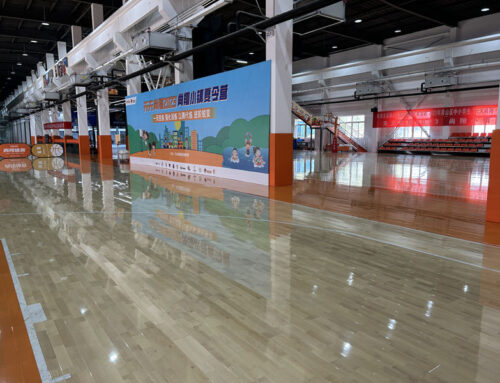
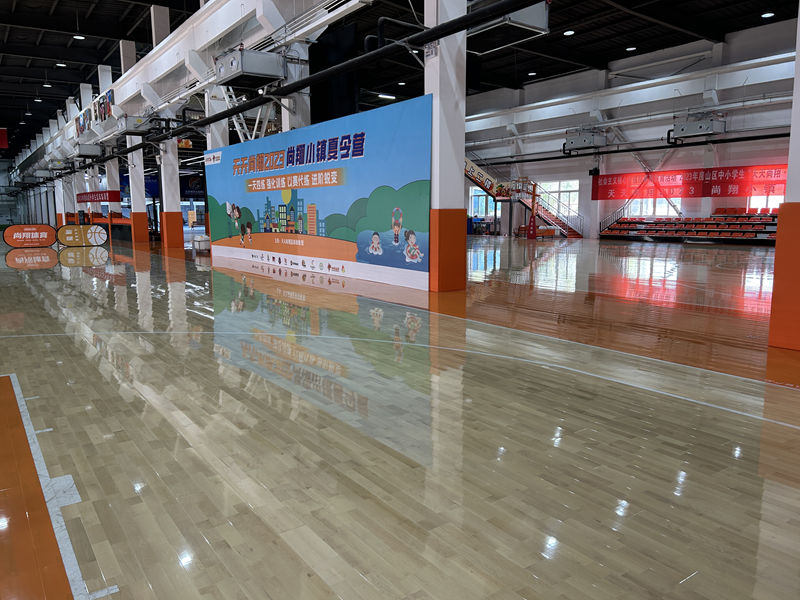
And that was it! My very own basketball court. It took a couple of days of work, and some sore muscles, but it was totally worth it. The floor felt solid, had a great bounce, and looked pretty darn professional, if I do say so myself. I grabbed my basketball and started shooting some hoops right away. Felt amazing!
It’s not exactly NBA-regulation size, but it’s perfect for practicing my shots and having some fun. And hey, I built it myself, which is a pretty cool feeling. Now, who wants to play some one-on-one?

