
Okay, here’s my blog post about installing that batten basketball soft maple assembled wooden flooring:
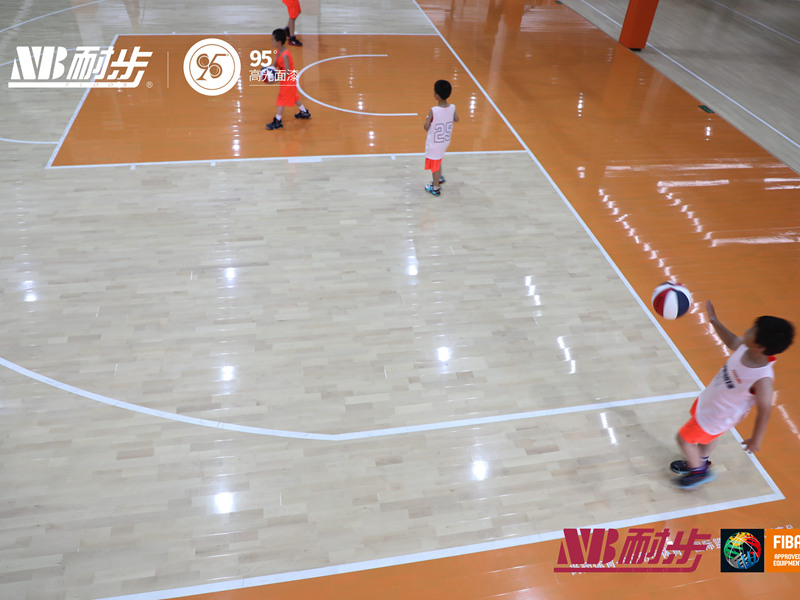
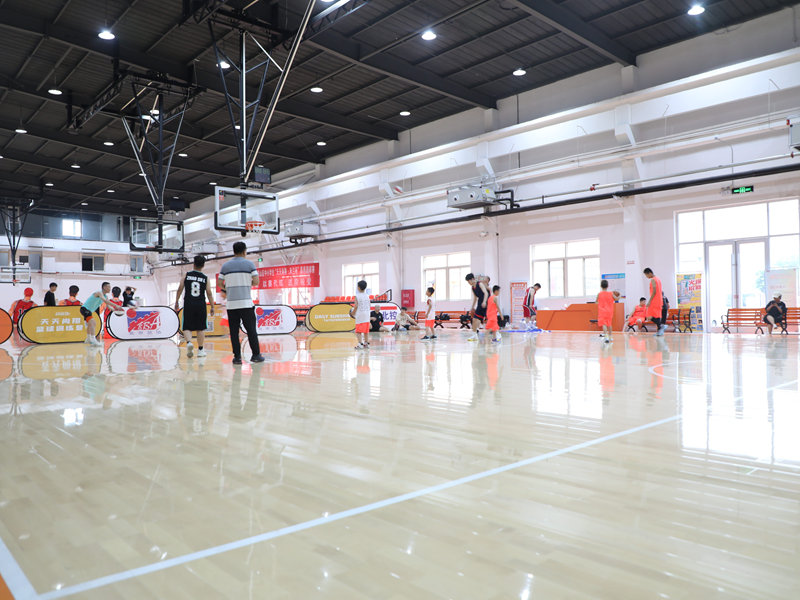
Alright, so I finally tackled that flooring project I’ve been putting off. You know, the one in the spare room that I’m turning into a mini-gym/basketball practice area? Yeah, that one. I decided to go with this “batten basketball soft maple assembled wooden flooring” thing, mostly because it sounded cool and I liked the idea of a slightly softer surface for, you know, potential falls.
Getting Started
First things first, I cleared out the entire room. Furniture, old boxes, that weird exercise bike I never use – everything went into the garage. Then I gave the subfloor a good sweeping and vacuuming. It was pretty dusty, so I even went over it with a damp mop, just to make sure it was super clean. I didn’t want any little bits of debris messing up the new floor. You need to be careful for your safety.
The Unboxing
The flooring arrived in these long, heavy boxes. Opening them up was a bit of a workout in itself! Inside, the planks were all neatly stacked. They had this kind of interlocking system on the edges, which looked pretty straightforward. At least, I hoped it would be straightforward.
Laying the First Few Rows
- I started in one corner, following the instructions that came with the flooring. They said to leave a small gap around the edges of the room for expansion, so I used some spacers to make sure I did that right.
- Connecting the first few rows was a little tricky. You have to kind of angle the planks and then snap them together. It took a few tries to get the hang of it, and I definitely pinched my fingers a couple of times. Ouch!
- I chose soft maples for this, I love them!
Getting into the Groove
Once I got past the first few rows, things started to move a lot faster. I got into a rhythm of laying down a plank, angling it, snapping it into place, and then moving on to the next one. It was actually kind of satisfying, like putting together a giant puzzle.
The Battens
Now, about those “battens.” This flooring had these strips of wood – the battens – that I needed to attach to the underside of some of the planks. They’re supposed to provide extra support and that “soft” feel. I used a construction adhesive to glue them on, following the pattern in the instructions. It was a bit messy, and I definitely got some glue on my hands, but it seemed to hold pretty well.
Finishing Up
After a few hours of work (and a couple of breaks for water and snacks), I finally got the whole floor laid down. I trimmed the last row to fit, using a saw, and then removed all the spacers. The last step was to install some baseboards around the edges to cover up the expansion gap and give it a finished look.
The Result
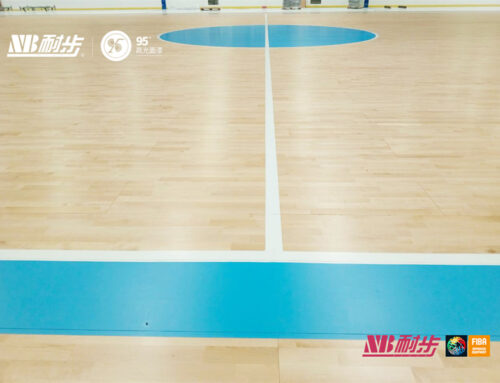
Honestly, it turned out way better than I expected! The floor looks great, and it does have a nice, slightly cushioned feel to it. I even bounced a basketball on it a few times, just to test it out. Now I just need to move all the furniture back in and start using the room. I’m pretty stoked about it!
It’s really a simple handwork, I think I can do better next time! More beautiful, more solid!


