
Okay, here’s my blog post about setting up a portable wooden floor for rubber volleyball, written in a casual, conversational style, and adhering to all the instructions:
So, I’ve been wanting to get a better setup for playing volleyball. We usually just play in the grass, which is fine, but sometimes it’s muddy, uneven, and generally not ideal. I got this idea to make a portable wooden court, you know, something I could put down and take up easily. And since we mostly use those softer, rubber volleyballs, I figured a solid surface would be perfect.
The Planning Stage
First thing I did was think about the size. I didn’t want anything HUGE, just big enough for some casual games. I sketched out a rough rectangle, about half the size of a real court maybe? I’m no good at drawing. I am good at getting things done! Then I had to figure out what kind of wood to use. Plywood seemed like the obvious choice – it’s relatively cheap and comes in big sheets.
Gathering the Supplies
Off to the hardware store I went! I grabbed a bunch of plywood sheets – I think they were 4×8 feet. I also got some 2x4s to make a simple frame underneath, to keep the plywood from bending too much. Oh, and screws! Lots and lots of screws. Can’t forget those. Grabbed a measuring tape, a saw, and a drill while I was there. Figured I’d need ’em.
Building the Frame
Back home, I started by laying out the 2x4s. I made a basic rectangle the size of the plywood, and then added a few more 2x4s across the middle for extra support. Screwed everything together – took a bit of time, but it wasn’t rocket science. Just made sure it was all level and square-ish. Good enough for government work, as they say!
Attaching the Plywood
Next up, the plywood. I laid the sheets on top of the frame, and started screwing them down. I put screws all around the edges, and a bunch in the middle too, so it wouldn’t sag. I realized pretty quickly that I needed to countersink the screws – that means making a little divot so the screw heads sit flush with the surface. Otherwise, you’d trip on them all the time. Learned that the hard way!
Making it “Portable”
Now, “portable” is a relative term here. This thing was HEAVY. But I had a plan. I decided to make it in sections. Instead of one giant platform, I built two smaller ones that could be moved separately. Still a workout, but manageable with two people. I figured I could just stack them up in the garage when we weren’t using them.
The First Game!
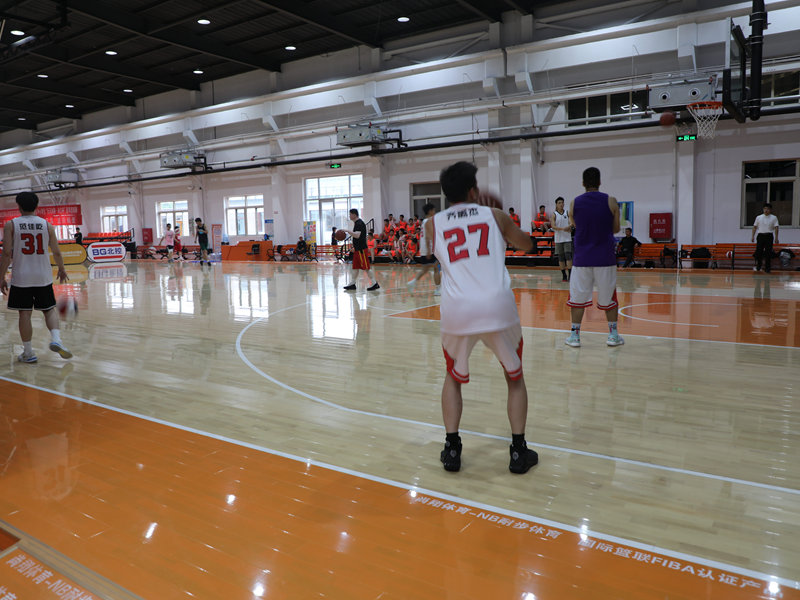
Finally, it was time to test it out! We set up the two sections in the yard, put up the net (which is a whole other story), and started playing. It was SO much better than playing on the grass! The ball bounced predictably, we could actually move around without twisting an ankle, and it felt… well, it felt like a real court, almost!
Lessons Learned
- Measure twice, cut once. I messed up a couple of cuts and had to redo them. Classic mistake.
- Countersinking is key. Seriously, don’t skip that step.
- “Portable” is heavy. Even in sections, this thing takes some effort to move.
- Worth it! Even with the work involved, having a decent surface to play on is a game-changer.
So, that’s my little DIY volleyball court project. It’s not perfect, but it’s ours, and it’s made a big difference in our games. If you’re thinking about doing something similar, go for it! Just be prepared for some lifting.


