
Okay, folks, let’s talk about my little weekend project: putting down some rubber volleyball flooring over a hard, assembled wooden floor. Sounds simple enough, right? Well, let me tell you, it was a bit more involved than I initially thought, but totally doable!
Getting Started
First things first, I measured the area. Twice. You know the old saying, “measure twice, cut once”? It applies here, even though I wasn’t technically “cutting” anything yet. I wanted to make sure I ordered enough of the rubber flooring. It comes in rolls, so I had to figure out how many rolls I needed to cover the entire space without too much waste.
Then, I ordered the rubber flooring. I went with a slightly thicker option because, well, I like a little extra cushion when I’m diving for the ball. Plus, I figured it would provide better sound dampening, which is important since this floor is in my basement.
Prepping the Wooden Floor
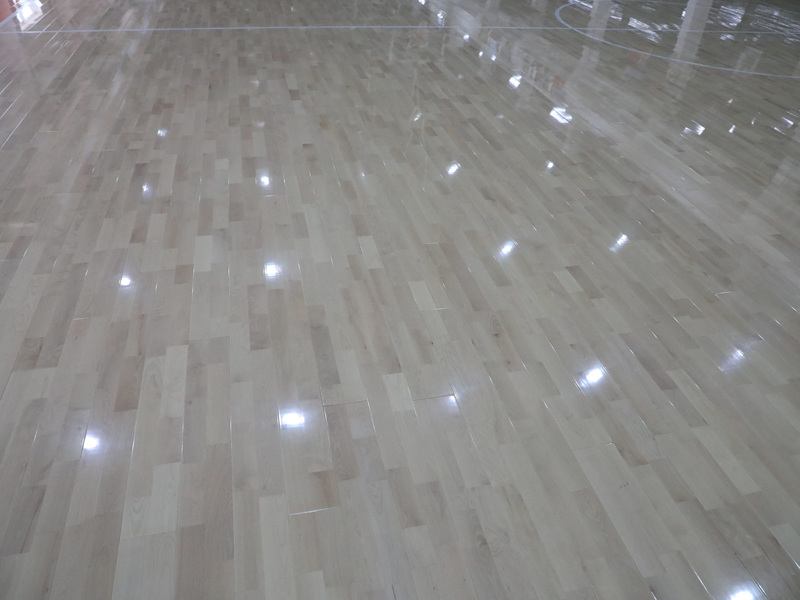
While I waited for the flooring to arrive, I prepped the existing wooden floor. This was probably the most crucial step. The wooden floor was already assembled, which saved me a TON of time, but it needed to be super clean and level.
- I swept the floor like a madman. Seriously, every speck of dust had to go.
- Then, I mopped it down with a slightly damp mop – not soaking wet, just enough to pick up any remaining dust particles.
- I inspected it closely for any loose boards or nails sticking up. Found a couple of sneaky nails and hammered those suckers down.
- The floor was mostly level, but there were a few slightly uneven spots. So my tools were put to good use to repair those areas.
Laying Down the Rubber
Once the rubber flooring arrived, it was game time! I unrolled the first roll and carefully positioned it along one edge of the room. I made sure to leave a little extra on each side, just in case. Better to have too much than too little, right?
Then, I slowly rolled it out, smoothing it down as I went. I used a heavy roller that get from my friend to help press it down firmly onto the wooden floor and get rid of any air bubbles. It was kind of like rolling out a giant yoga mat, but way heavier.
I repeated this process with the remaining rolls, making sure the seams were butted up tightly against each other. No gaps allowed! For the edges, I used a sharp utility knife to trim off the excess rubber, leaving a nice, clean finish.
The Final Touches
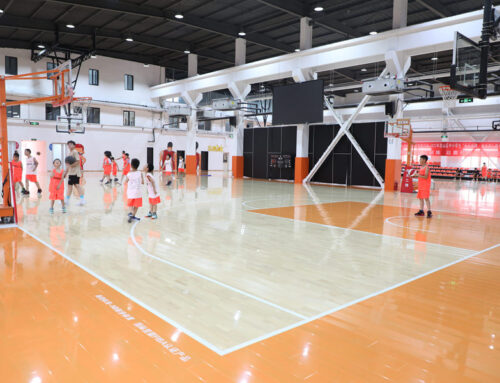
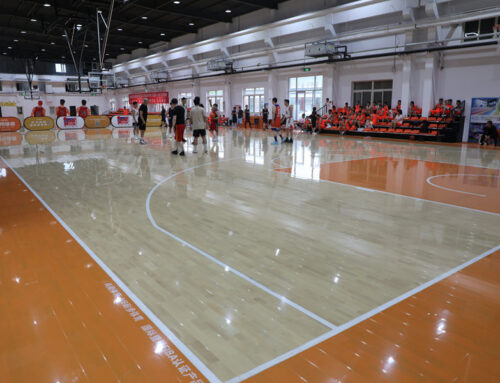
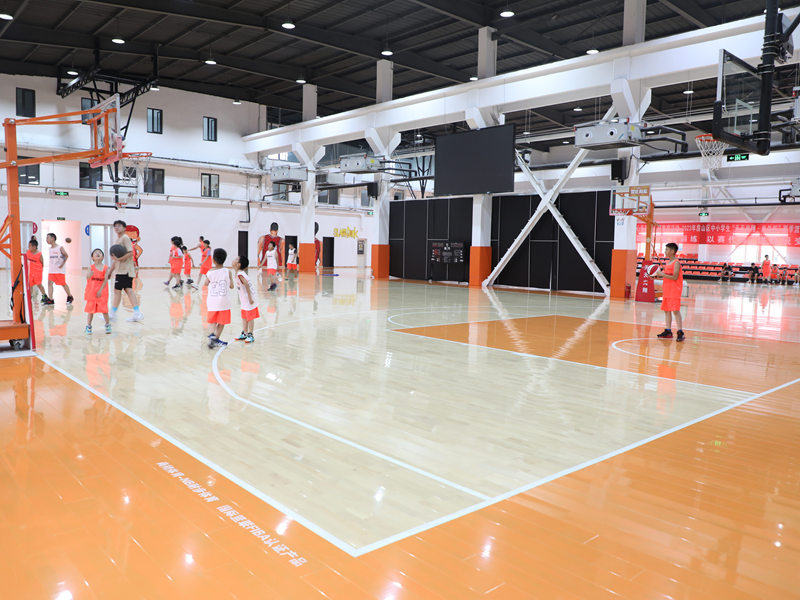
After all the rubber was down, I walked all over it, making sure it was completely adhered to the wooden floor. I even did a few practice dives (don’t judge!). It felt great – nice and springy, just like I wanted.
Finally, I cleaned up the whole area, put my tools away, and admired my handiwork. It wasn’t a perfectly professional job, but it was definitely good enough for my basement volleyball court. And hey, I did it myself, which is always a good feeling!
It is my pleasure to record and share with you guys!


