
Okay, here’s my blog post about the rubber volleyball pine assembly wooden flooring project:
So, I started this project because, well, my old floor was a mess. Scratches, dents, you name it. I wanted something durable, but also something that looked good, you know? I did some digging around, and this whole “rubber volleyball, pine assembly, wooden flooring” thing kept popping up. Sounded weird, but I was intrigued.
Getting Started
First thing I did was clear out the old flooring. That was a pain, let me tell you. Lots of dust, and I even found a few… uh… “treasures” under there. Let’s just leave it at that.
Next, I made sure the subfloor was level. This is super important, apparently. I used one of those long leveler things. My subfloor was concrete, not perfect, but close enough after some minor patching. I swept and vacuumed everything like crazy. No dust bunnies allowed!
The Materials
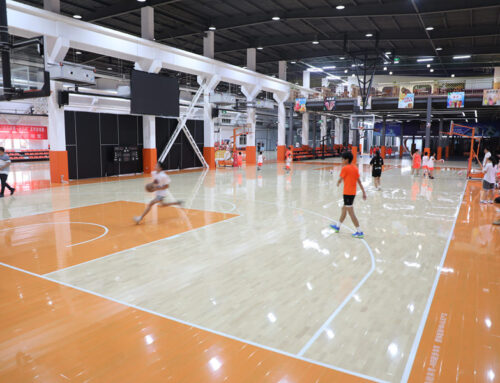
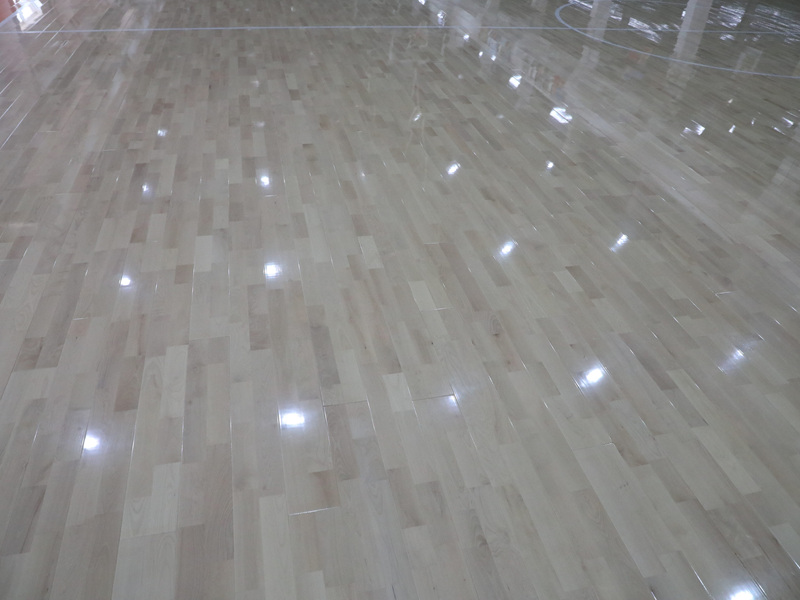
- Pine planks: I chose pine because it’s, well, cheaper than some of the other woods, and it’s got that nice, light color.
- Rubber underlayment: This is the “rubber volleyball” part. Not actual volleyballs, of course! It’s a special kind of rubber that acts like a cushion. Apparently, it makes the floor more comfortable and reduces noise.
- Flooring adhesive: Sticky stuff. Gotta have it.I picked one out, that said low harmful chemicals.
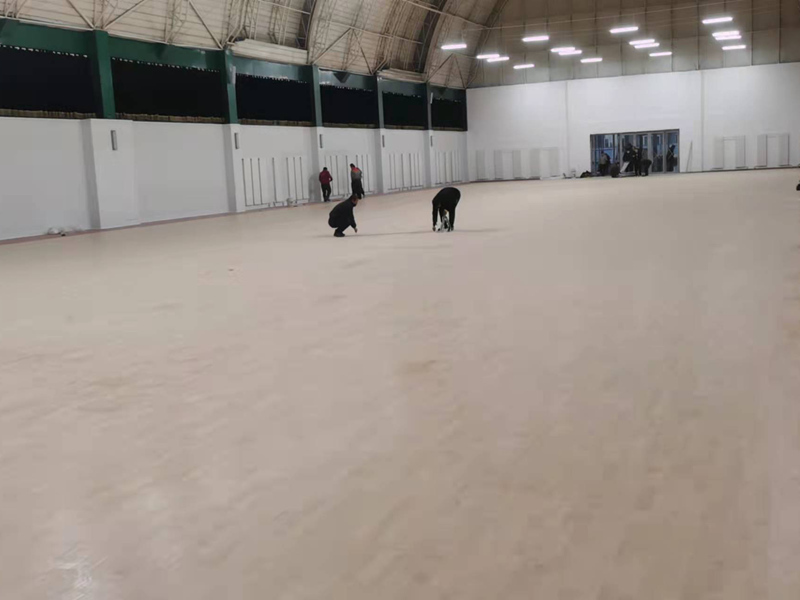
The Process
First, I rolled out the rubber underlayment. It was kind of like putting down a giant yoga mat. I made sure it covered the whole floor and cut it to size with a utility knife.I applied some of the adhesive and let it dry first to the concrete.
Then came the pine planks. I started in one corner and worked my way across the room. I applied adhesive to the back of each plank and pressed it down onto the rubber. The planks had this tongue-and-groove thing, so they clicked together. It was kind of satisfying, actually.
I used a rubber mallet (gently!) to tap the planks into place and make sure they were snug. I also left a small gap around the edges of the room for expansion. Apparently, wood likes to move around with the temperature, who knew?
The Finishing Touches
Once all the planks were down, I let the adhesive dry * took about,say,24hours.
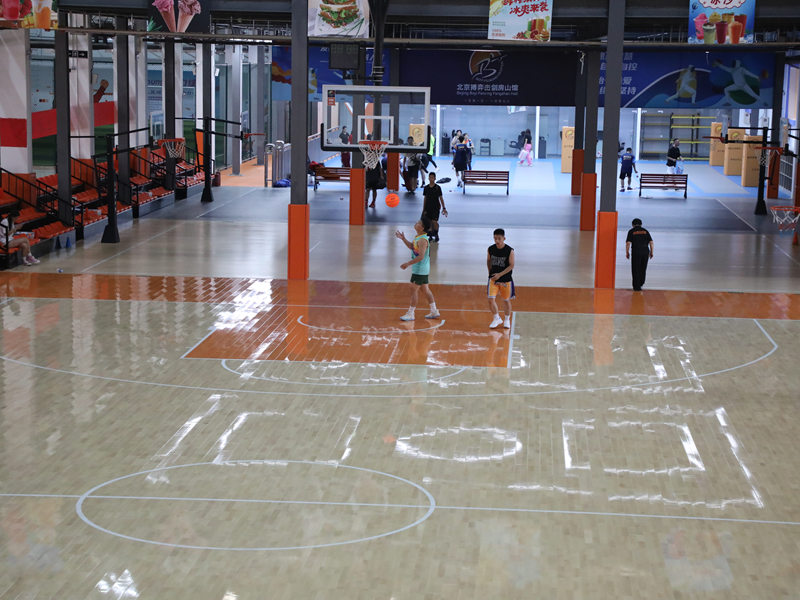
Finally, I added some trim around the edges to cover up that expansion gap. And that was it! My new floor was done.
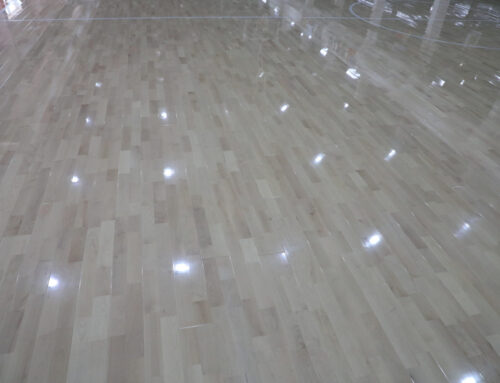
The Results
Honestly, I’m pretty happy with how it turned out. It’s definitely more comfortable to walk on than the old floor. And it looks way better. Plus, I did it all myself! Feels good, * feels like I accomplished something big.
