
Okay, here’s my blog post about assembling wooden flooring, focusing on a rubber volleyball and beach theme:
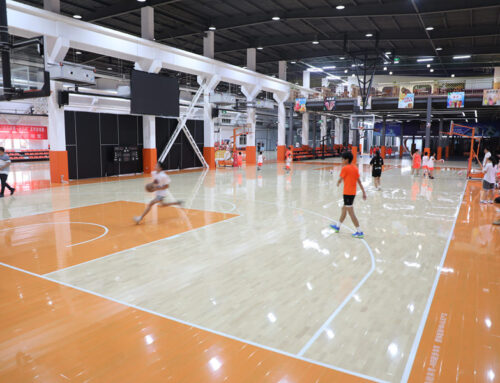
Alright, folks, gather ’round! Today, I tackled a project that’s been on my to-do list for, like, ever: putting down some new wooden flooring. But I wanted to spice things up a bit, give it a fun, summery vibe. Think beach volleyball, sun, sand, and good times. So I came up with my concept that it’s like, “rubber volleyball beach assembling wooden flooring!”
Getting Started
First things first, I cleared the area. This is key, people! You don’t want to be tripping over stuff while you’re wrestling with planks of wood. Trust me, I’ve learned that the hard way. Moved all the furniture, rolled up the old rug (good riddance!), and gave the subfloor a good sweeping.
Next, I had my materials:
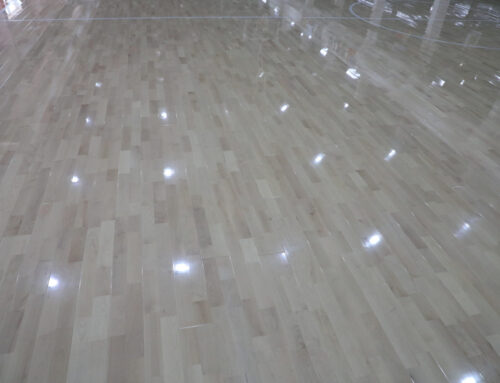
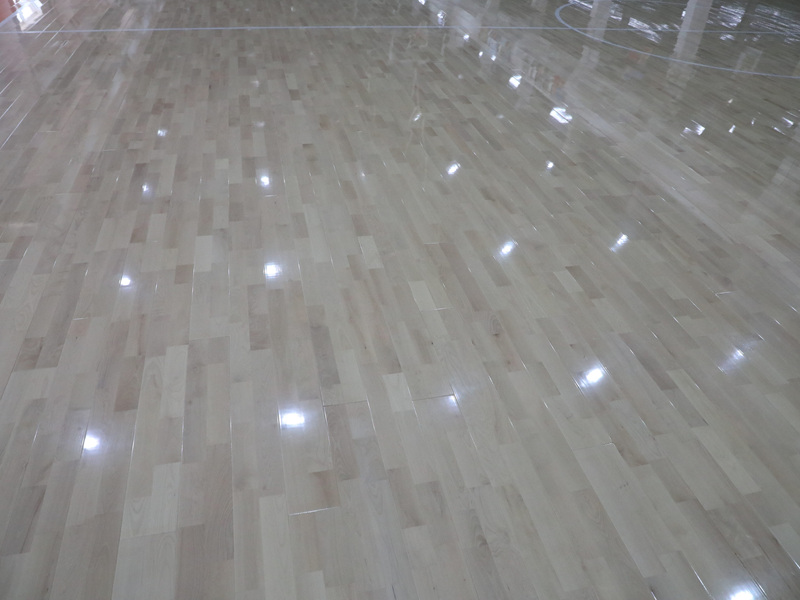
- The wooden flooring planks. I went with a light, sandy color to keep that beachy feel.
- Underlayment. Don’t skimp on this! It makes the floor feel so much nicer underfoot and helps with sound insulation.
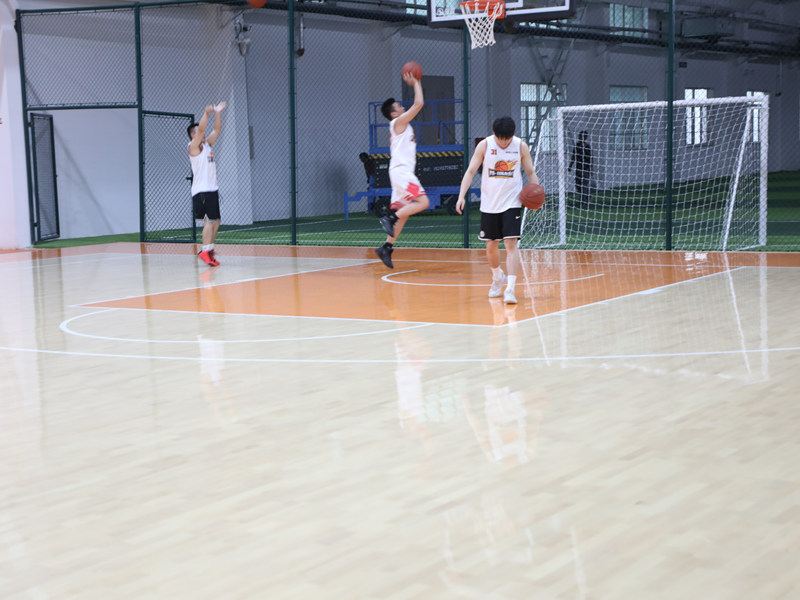
- A rubber mallet…my “volleyball”.It is ok, because I use my strength gently.
- Some basic tools: a saw, a tapping block, spacers, a pencil, and a measuring tape.
The Fun Part (aka The Hard Part)
I laid down the underlayment, making sure it was nice and smooth. No wrinkles allowed! Then, I started with the first row of planks. The key here is to leave a little gap around the edges of the room – that’s what the spacers are for. Wood expands and contracts with temperature changes, so you gotta give it some breathing room.
Then came the “assembling” part. I lined up the next plank, tongue-and-groove style, and gently tapped it into place with my “volleyball”(my rubber mallet) and the tapping block. Gotta be gentle, you don’t want to damage the edges. It’s like setting a volleyball – firm but controlled. Tap, tap, tap, until it’s snug as a bug.
Row after row, I kept going. It’s a bit of a workout, I’m not gonna lie. My back was definitely feeling it. But seeing the floor take shape was super satisfying. Like scoring the winning point in a beach volleyball game!
The Finishing Touches
Once all the planks were down, I installed the baseboards to cover up those expansion gaps. A little bit of caulking to seal the edges, and boom! Done!
I stood back and admired my handiwork. It looked awesome! The light wood, the smooth finish…it really did give off that beachy, relaxed vibe I was going for. Now, all I need is a volleyball net and some friends!
So, there you have it. My rubber volleyball beach-inspired wooden flooring adventure. It was a bit of a challenge, but totally worth it. If I can do it, you can too! Just remember: clear the space, gather your tools, take your time, and use a “volleyball” gently! Have fun with it!
