
Okay, so I’ve been wanting to build a little dance space in my basement for a while now. I’m no pro, but I love to move, and I figured, why not? My basement floor is just plain concrete, cold and hard. Not exactly inspiring for busting a move. So, I started looking into flooring options, and “rubber dancing pine portable wooden flooring” kept popping up.
First, I measured my space. I wanted a decent area, not too huge, but big enough to actually, you know, dance in. I grabbed my trusty tape measure and figured out the dimensions. I wrote everything down in my little notebook – gotta keep track!
The Hunt for the Right Stuff
Next, I started digging around online. I needed something that was:
- Portable: I didn’t want to permanently glue anything down.
- Wooden: For that classic dance floor feel.
- Somewhat soft: I found it should be Rubber, Pine or something, to protect my older knees!
It took a while, I checked lots of shops, And I finally found some interlocking tiles that seemed perfect. They were made of pine, with a rubber base. Sounded promising!
Putting it Together
The tiles arrived in a few big boxes. I cleared out the basement space, making sure everything was nice and clean. Then, I started laying down the tiles. It was like a giant puzzle! They clicked together pretty easily, which was a relief. I didn’t want to spend hours wrestling with the floor.
I did have to cut a few tiles to fit along the edges of the wall. I just used a simple hand saw, nothing fancy. It wasn’t the prettiest cutting job, but hey, it’s a basement dance floor, not a ballroom!
The Dance Test!
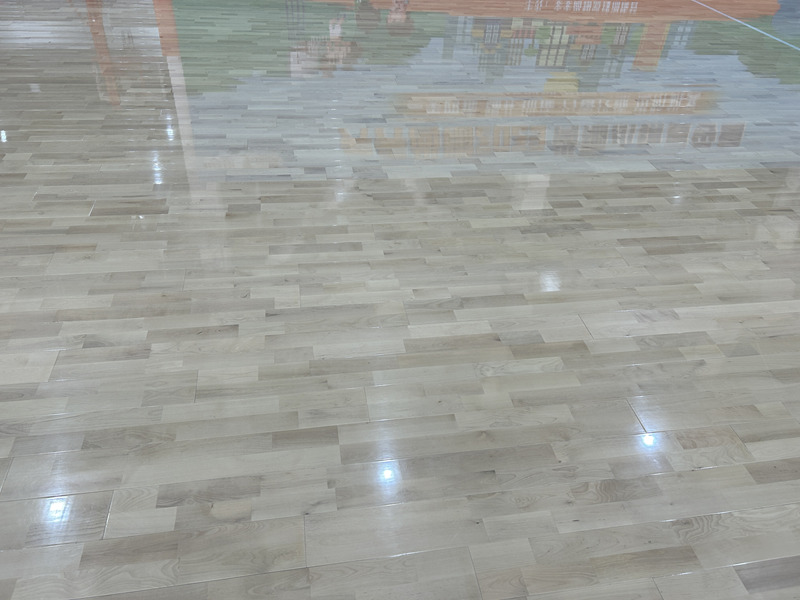
Once the whole floor was down, I stood back and admired my handiwork. It looked pretty good! More importantly, it felt good. The rubber base gave it a nice bit of cushion, and the pine surface was smooth and solid.
Of course, I had to test it out! I put on some music and started moving. It felt great! No more cold concrete, just a nice, springy surface to dance on. I spent a good hour just grooving around, getting used to the new floor. Success!
So, that’s my little DIY dance floor project. It wasn’t too hard, and it made a huge difference. Now I have a dedicated space to move and have fun, whenever I feel like it. Totally worth the effort!


