
Okay, here’s my blog post about assembling that rubber dancing hevea wooden flooring, written in the style you requested:
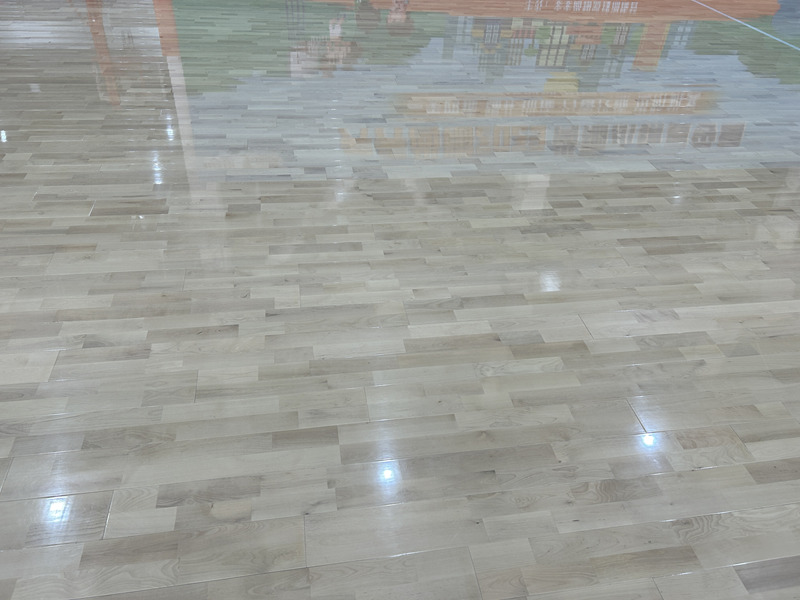
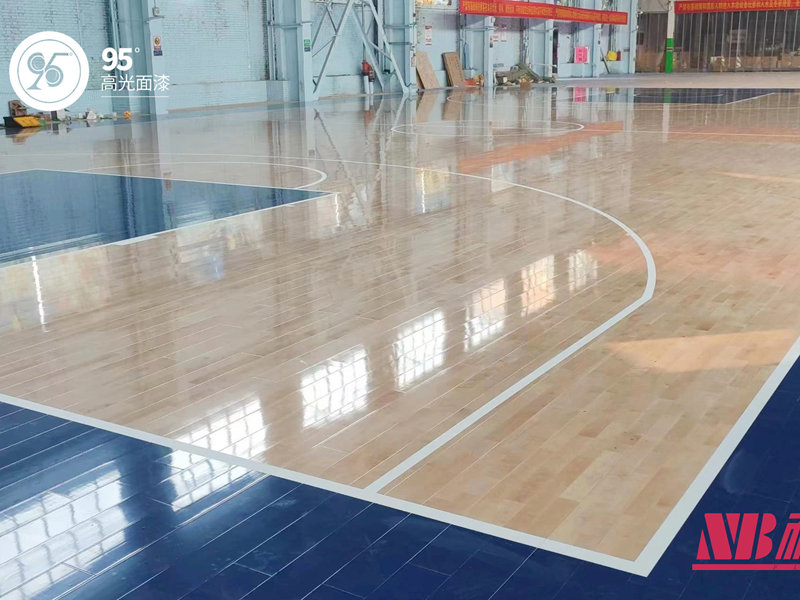
So, I decided to tackle this “rubber dancing hevea” wooden flooring. Sounded fancy, right? Turns out, it’s just a type of wood, Hevea, and “rubber dancing” probably refers to the fact it’s a bit flexible. Anyway, I was up for the challenge!

Getting Started
First, I unpacked everything. Boxes and boxes of these wooden planks. I made sure I had enough space to work, moving all the furniture out of the room. Trust me, you need room to maneuver.
The Prep Work
Next, I checked the subfloor. It’s gotta be level, clean, and dry. My floor was reasonably okay, just needed a bit of sweeping and a quick check with a level to make sure there weren’t any major dips or bumps. I found a few uneven spots,So I grabbed some leveling compound and smoothed those out.
Laying the First Row
This is the crucial part. I dry-fitted the first row, meaning I just laid the planks down without any glue or nails, to see how they fit along the longest wall. I made sure to leave a small gap between the planks and the wall – expansion gap, they call it. The wood needs room to breathe, apparently.I used a small piece of the wood for that.
Assembling is easy
I found it very easy to assemble it!
- First,Istarted assembling from the corner of the room.
- After checking that they were correctly aligned, I continued to assemble the rest of the rows.
- After the first row,I put the other rows one by one.
- Make sure that it fitted.
Finishing Up
I repeated the same process, row by row, until I finally covered up the room. After that,I cleared all my tools,I swept the room,and moved back my *!
Honestly, it wasn’t as hard as I thought. Just took some patience and a bit of elbow grease. The floor looks pretty good, if I do say so myself! It’s got a nice, warm feel to it, and it seems pretty durable. And hey, I saved some money by doing it myself!


