
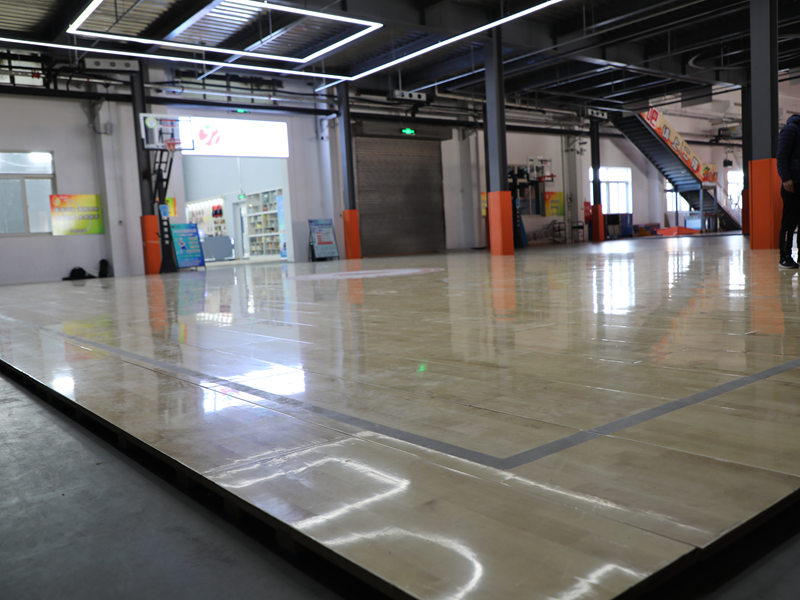
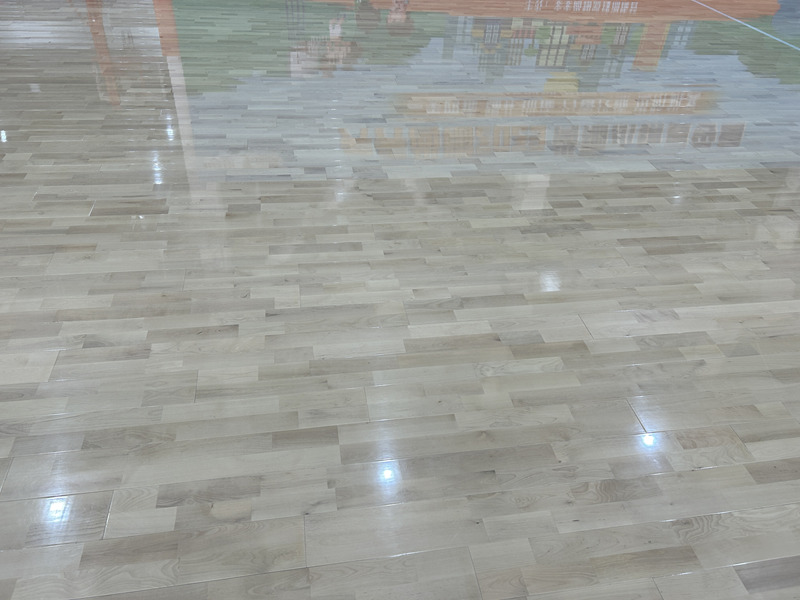
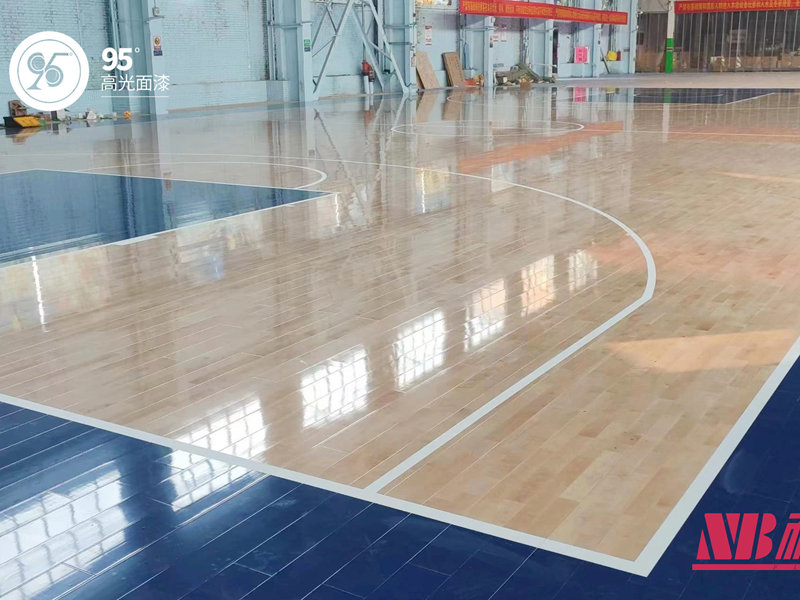
Okay, so I had this crazy idea to put down some “rubber dancing hard assembled wooden flooring” in my workshop. I’d seen it online, and it looked like a cool way to get a durable, yet somewhat forgiving, surface. I figured it would be easier on my feet and maybe even save a dropped tool or two.
First, I gathered all my materials. I ordered the flooring online – it came in these interlocking tiles. I also grabbed some underlayment, a rubber mallet, a utility knife, and a measuring tape. Oh, and knee pads. Don’t forget the knee pads!
The Prep Work
Before I could even think about laying the flooring, I had to make sure the subfloor was ready. It was just plain concrete, so I started by giving it a good sweep and making sure it was level. It’s so important to get your floor flat, I’d learn that one the hard way once or twice in past projects!
Laying it Down
- I unrolled the underlayment first, cutting it to size with the utility knife. This was pretty straightforward, just making sure it covered the whole area.
- Then came the fun part – laying the actual tiles. They were designed to interlock, which sounded easy enough in theory.
- In practice, it was a bit of a workout! I started in one corner, lining up the first tile and then connecting the next one.
- Some of them clicked together easily, but others needed a bit of persuasion with the rubber mallet. I whacked them a few times, and they usually snapped into place.
I worked my way across the room, row by row. It was like a giant, slightly frustrating jigsaw puzzle. I had to be careful to keep the pattern aligned, and occasionally I messed up and had to undo a few tiles. But hey, that’s part of the process, right?
The Finishing Touches
Once all the tiles were down, I trimmed the edges with the utility knife to fit snugly against the walls. I left a small gap for expansion, just in case. And that was it!
It took a full day of work, and my knees were definitely feeling it, but I ended up with a pretty awesome floor. It’s solid, but it has a bit of give, which is exactly what I wanted. Plus, it looks pretty cool, too. I’ve already dropped a wrench on it, and no damage! So far, so good. I’m calling this one a win.


