
Okay, so I’ve been wanting to redo my living room floor for, like, forever. The old carpet was just gross, stained, and smelled vaguely of dog, even though I don’t own a dog. I did some digging. After looking at a bunch of, I decided to go with this “rubber dancing beech” wooden flooring. It sounded fancy, and I liked the idea of something durable.
First, I had to rip up that nasty old carpet. That was a workout! Pulled up all the staples and padding, which was surprisingly dusty. My back was killing me by the end of that day. I realized that I must clean the floor.

Prepping the Subfloor
Underneath the carpet was just plain old plywood. I checked it over, and it looked okay. A couple of spots,I nailed down some loose *, I swept and vacuumed the whole thing like three times to get rid of all the dust and junk.
Laying the Floor
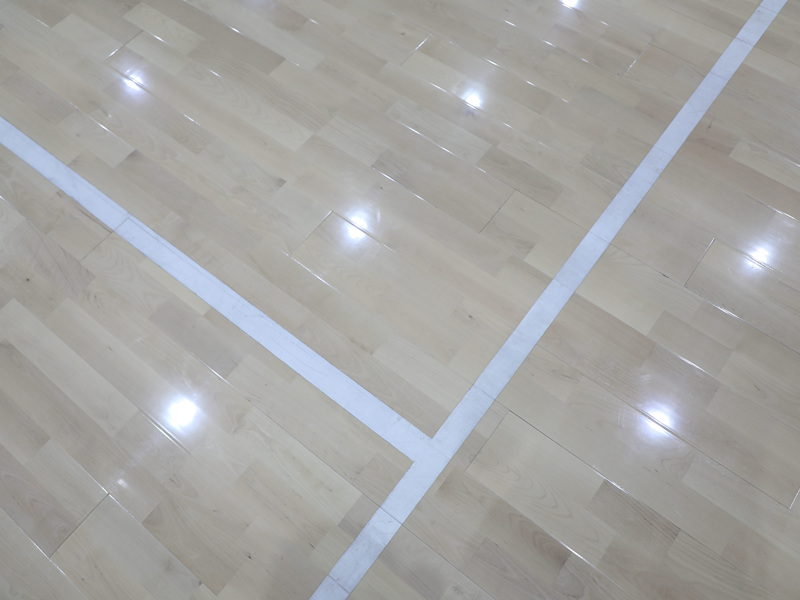
I started laying the planks, I followed one principle which is from one corner of the room, snapping them together. The “dancing beech” part, I guess, refers to the pattern in the wood, It’s actually pretty cool.
The snapping together part was a little tricky at first. I had to use a rubber mallet. I watched some videos to check the steps. It took me a bit to get the hang of it, but once I did, it went pretty smoothly. The hardest part was cutting the planks to fit around the edges of the room and the doorways. I borrowed a circular saw, and that made things way easier.
- Measure twice, cut once! I learned that the hard way. Wasted a couple of planks by messing up the cuts.
- Leave a gap around the edges. This allows the wood floor to be able to flex and expand.
The Finished Product
It took me, the entire weekend, but I finally got it all done! It looks so much better than the old carpet. The room feels bigger and brighter, and it definitely doesn’t smell like a mystery dog anymore. I’m pretty proud of myself, I did a great job! It’s a huge improvement, and I’m really happy with how it turned out.


