
Okay, so today I wanted to try something a little different in the workshop – putting together some “rubber dancing beech” assembled wooden flooring. Sounds fancy, right? It’s basically pre-assembled wooden flooring with a bit of a rubber backing, supposedly for better sound dampening and, you know, making it “dance” a little.
First things first, I cleared out the area I was working in. Gotta have room to move, especially when you’re dealing with long planks of wood. I made sure the subfloor was pretty level. I mean, it wasn’t perfect, but good enough for a DIY job. I used some leveling compound which find in the store to fix some little problem.
Next, I laid down some underlayment. This stuff is like a thin foam sheet that goes between the subfloor and the actual flooring. I just rolled it out and cut it to size with a utility knife. Super easy.
Getting Started with the Planks
Then came the fun part – the actual flooring! These planks came pre-assembled in larger sections, which was kind of nice. It definitely speeded up the process.
- I started in one corner of the room, like the instructions said.
- I had to carefully align that first big piece so it’s straight and then locked into the next.
- They basically just clicked together, which was surprisingly satisfying.
I kept going like that, row by row, making sure everything was nice and snug. I did have to cut some of the end pieces to fit, using a regular saw. Nothing fancy, just took my time and measured twice (or, let’s be honest, sometimes three times!) before cutting.
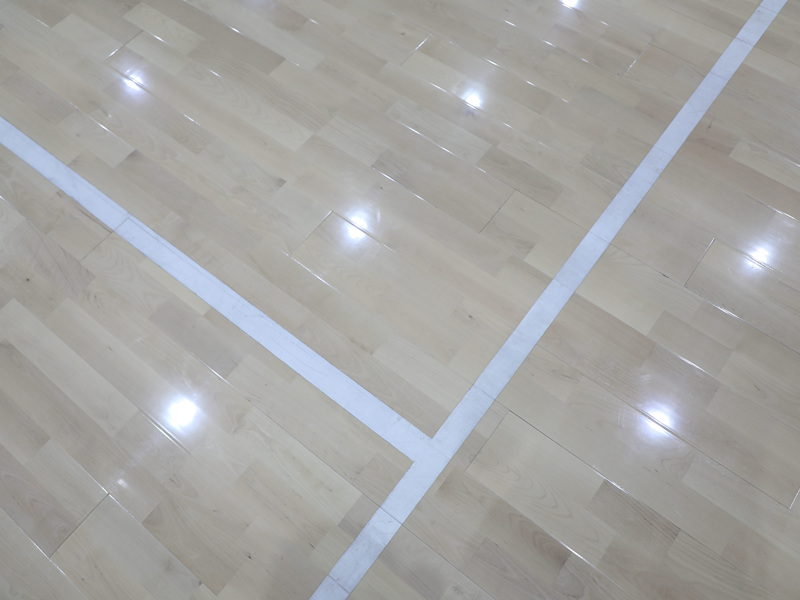
The rubber backing on these things did seem to make them feel a little…bouncy? I don’t know about “dancing,” but it definitely felt different than regular laminate. It was also pretty quiet when I walked on it, even before I put down the area rug. I Think it might actually help with noise, which is good since I live in an apartment building.
The Finished Product
After a few hours of work (and a couple of coffee breaks), the whole floor was down. It was actually looking amazing! I’m no professional, but I was pretty proud of myself. The beech wood looked really warm and inviting, and the whole room felt…different. More finished, you know?
I still need to add some trim around the edges to cover up the gaps, but that’s a job for another day. For now, I’m just going to enjoy my new “dancing” floor! It was a bit of a workout, but definitely worth it. If you’re thinking about doing something similar, I’d say go for it! Just take your time, follow the instructions, and don’t be afraid to ask for help if you need it.


