
Okay, folks, let’s dive into my little woodworking adventure from the other day. I had this idea to put together a “rubber dancing beech assembly” wooden flooring – sounds fancy, right? It’s basically just beechwood flooring, but I wanted to give it a bit of a twist.

I started by gathering all my materials.
- Beechwood planks: Got these from a local supplier. Made sure they were properly dried to avoid any warping later on.
- Underlayment: I chose a rubber underlayment, thinking it would give the floor that “dancing” feel, a bit of bounce.
- Adhesive: Needed a strong, reliable wood adhesive.
- Tools: Circular saw, jigsaw, measuring tape, level, hammer, rubber mallet, and a bunch of other stuff I probably didn’t even need, but hey, better safe than sorry.
First things first, I prepared the subfloor. This is super important, guys. You gotta make sure it’s clean, level, and dry. Any bumps or dips will show up in the final product, and trust me, you don’t want that.
Next, I rolled out the rubber underlayment. I cut it to size, leaving a little extra around the edges, which I trimmed later. Some people use glue for the underlayment, but mine had a self-adhesive backing, which made things a bit easier.
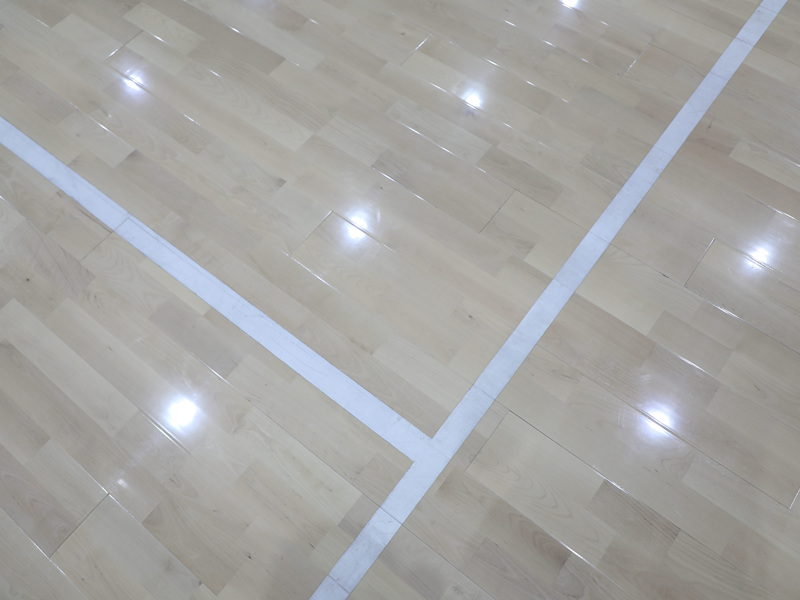
Then came the fun part – laying the beechwood planks. I started in one corner, applying adhesive to the back of each plank and carefully placing it onto the underlayment. I used a rubber mallet to gently tap each plank into place, making sure they were snug against each other.
It was slow going, to be honest. I had to measure and cut a lot of planks to fit around doorways and corners. The jigsaw came in handy for those tricky cuts. It’s like putting together a giant wooden puzzle, except messier and with more swearing involved.
Patience My Friends
I kept going, row by row, making sure to stagger the joints for a more natural look. You don’t want all the seams lining up; it just looks weird. It took me a good chunk of the day, but slowly but surely, the floor started to take shape.
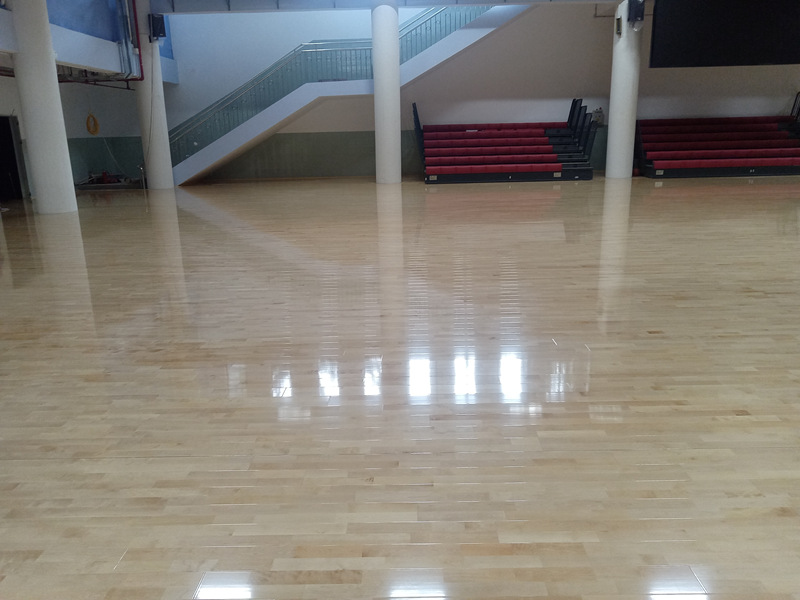
Once all the planks were down, I let the adhesive dry overnight. The next day, I gave the floor a good once-over, checking for any loose planks or gaps. Found a couple of spots that needed a bit more adhesive, so I took care of that.
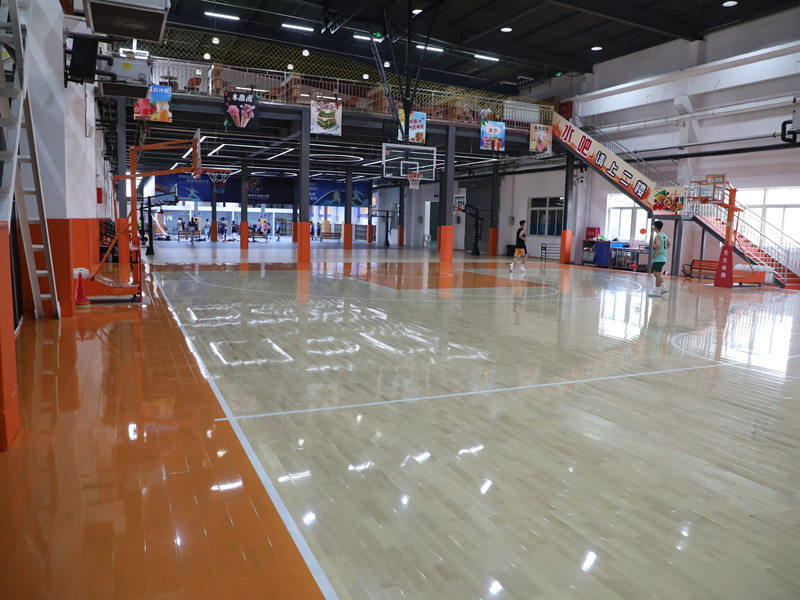
Finally, I trimmed the excess underlayment around the edges and installed the baseboards. And that was it! My “rubber dancing beech assembly” wooden flooring was complete.
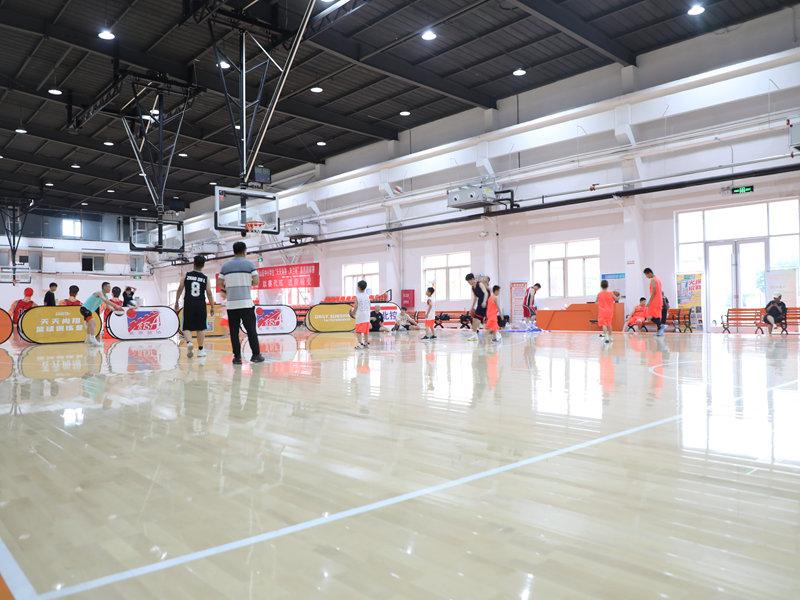
It’s not perfect, of course. There are a few imperfections here and there, but hey, that’s part of the charm of a DIY project, right? It definitely has that “dancing” feel I was going for, thanks to the rubber underlayment. It’s comfortable to walk on, and it looks pretty darn good, if I do say so myself.
So, that’s my story. If you’re thinking of tackling a similar project, my advice is to take your time, be patient, and don’t be afraid to make mistakes. It’s all part of the learning process. And most importantly, have fun with it!


