
Okay, so I’ve been wanting to put down some decent flooring in my workshop for, like, forever. I finally decided to take the plunge and try out this “keel dancing oak portable wooden flooring” thing I saw advertised. Sounded fancy, right? Well, let me tell you about the whole process, from start to finish.
The Prep Work (Ugh)
First, I had to clear out the entire workshop. This was a PAIN. I’ve got tools, half-finished projects, random bits of wood and metal… it was a total disaster zone. I spent a good day just moving everything out into the yard. Then came the sweeping. And more sweeping. I swear, I pulled out enough sawdust to build a small house.
The concrete floor in my workshop is pretty uneven. It’s got cracks, dips. So, I got this concrete patching stuff and tried to level things out as much as possible. Important Note: Watch video about “How to apply floor path”. I messed up a bit at first, but figured out how to avoid most of bumps, that floor patch covered. Let it dry overnight, fingers crossed it would be good enough.
Laying Down the Keel
The “keel” part of this flooring is basically these long strips of wood that act like a base. The instructions said to lay them out perpendicular to the direction the floorboards would go. Makes sense, I guess. I used a measuring tape to mark the floor and then the keel strips, making sure everything was evenly spaced. Then I screwed them into the concrete, using concrete anchors. It felt good to use my power tools!
The “Dancing” Part (Not Really)
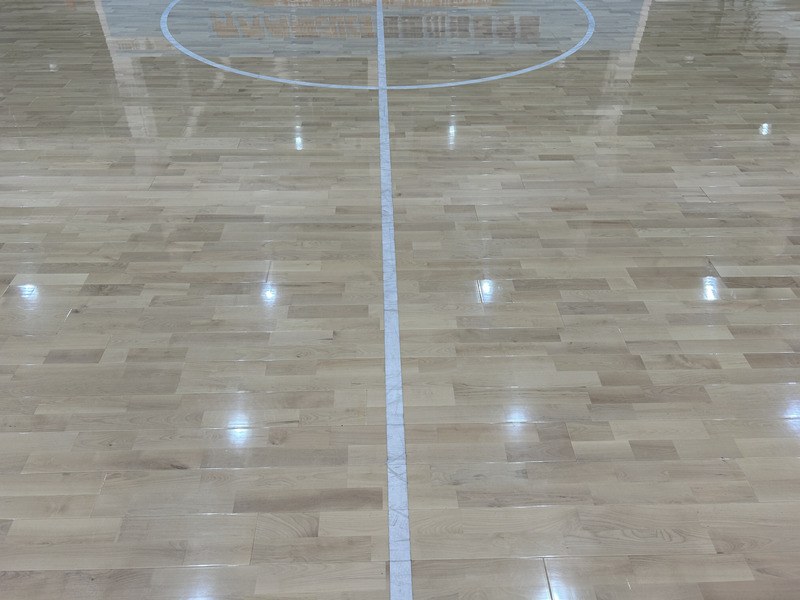
Now for the actual floorboards. They call it “dancing oak,” which sounds all elegant, but it’s really just interlocking oak planks. The idea is that they click together without needing nails or glue. This “portable” aspect is what sold me – if I ever move, I can supposedly take the floor with me.
I started in one corner, snapping the first row of planks into the keel. It took a bit of wiggling and pushing, but they did eventually click in. Then it was just a matter of adding more planks, row by row.
- Tip 1: Use a rubber mallet! It helps to tap the planks together without damaging them.
- Tip 2: Stagger the seams. It looks better and supposedly makes the floor stronger.
- Tip 3: Patience is key. Don’t rush it, or you’ll end up with gaps or crooked planks.
Finishing Touches
Once all the planks were down, I had to trim the edges to fit the walls. I used a circular saw for this, being extra careful not to cut myself (again!). I also added some quarter-round molding around the perimeter to cover up any gaps and give it a more finished look.
Finally, sweeped and mopped floor to remove dust. Moved my tools and stuff back into the shop.
The Verdict
Honestly, it took longer than I expected, and my back is killing me. But, it’s done! The floor looks pretty good. It’s definitely an upgrade from the cracked concrete. And it feels much nicer underfoot. Whether or not it’s truly “portable” remains to be seen, but for now, I’m happy with my new workshop floor.


