
Okay, so here’s how I went about tackling that “keel, volleyball, sleeper, assembly, wooden flooring” project. It was a bit of a head-scratcher at first, I gotta admit.
First things first, I gathered all my materials. I mean everything. Wood planks (the actual flooring), the sleepers (those are the long pieces that go underneath), the keel pieces (which, let’s be honest, I had to look up – they’re like extra support beams), screws, nails, a level, a saw, a hammer, and a whole lot of patience. My garage looked like a lumber yard exploded.

The Prep Work
Before I could even think about laying down wood, I had to prep the area. This involved clearing out everything. We’re talking furniture, rugs, random junk that had accumulated. Then, a good, thorough sweep and vacuum. You don’t want any tiny rocks or debris messing up your perfectly level floor.
Laying the Sleepers
Next, I laid out the sleepers. These are basically the foundation, running parallel to each other. I made sure to space them out evenly – this is super important for even weight distribution. I used a measuring tape and a chalk line to keep everything straight. No one wants a wonky floor.
Adding the Keel
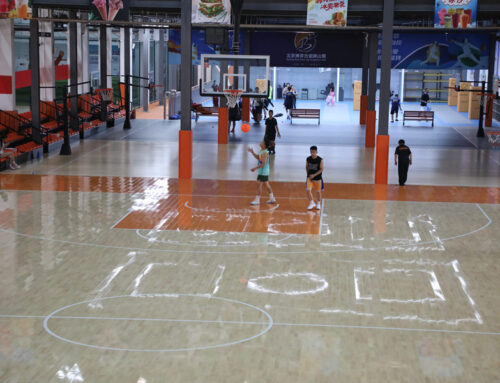
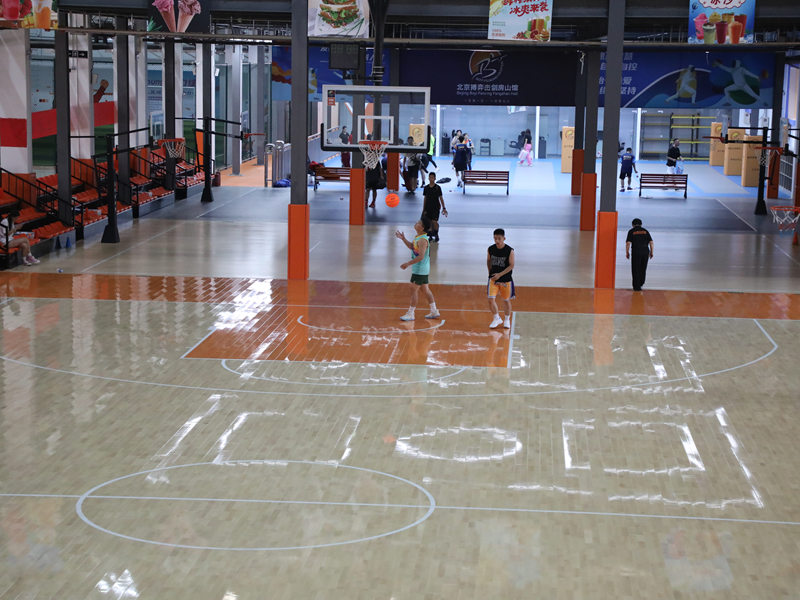
Now, for the keel. I positioned the keel pieces perpendicular to the sleepers, kind of like creating a grid. This adds a ton of extra support, especially important for something like a volleyball court where you’ve got people jumping and landing all the time. I secured the keel to the sleepers using screws. I went with screws because they felt a bit more… robust.
The Flooring
Finally, the fun part – laying down the actual wooden flooring! I started at one end of the room and worked my way across, plank by plank. I made sure to stagger the joints, like you see in brick walls. It looks better, and it’s stronger. I used a combination of nails and wood glue to secure each plank to the sleepers. And lots of tapping with a rubber mallet to get everything snug.
- Measure twice, cut once: This old saying is a lifesaver. Really, really pay attention to your measurements.
- Use a level: Seriously, use it constantly. A slightly uneven floor can become a major tripping hazard.
- Don’t rush: Take your time. This isn’t a race. Enjoy the process (or at least try to!).
The Finishing Touches
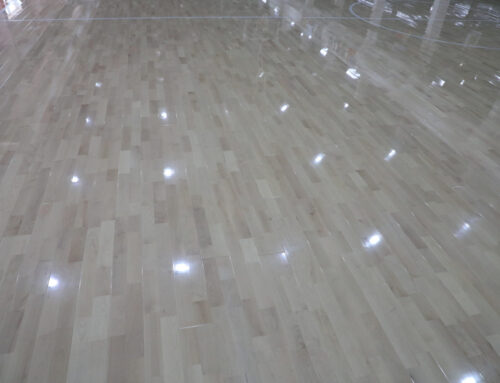
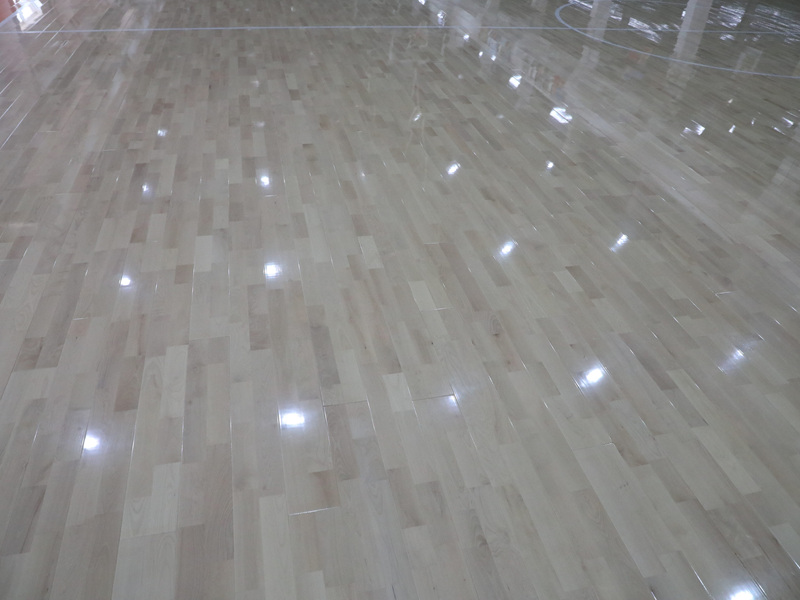
After all the planks were down, I filled any gaps or nail holes with wood filler. Once that dried, I gave the whole floor a good sanding to smooth everything out. And finally, I will applied a few coats of sealant to protect the wood and give it a nice finish.
It was a lot of work, but seeing the finished product – a solid, level, beautiful wooden floor – was totally worth it. Plus, I learned a few new things along the way. Now, bring on the volleyball games!


