
Okay, here’s my blog post about installing that “rubber dancing maple wooden flooring”, told in a casual, personal-experience style:
Alright, folks, so I decided to tackle a DIY project – laying down some new flooring. I went with this stuff that’s supposed to be “rubber dancing maple.” Sounds fancy, right? I thought it would be good at home.

Getting Started
First things first, I cleared out the entire room. That was a workout in itself! Moved all the furniture, took down the curtains, the whole nine yards. Then came the fun part… not. Ripping up the old * took forever,and make me so tired.
Prep Work is Key (Ugh)
Once the old floor was history, I had to make sure the subfloor was super clean and level. This is where I spent a good chunk of time. Sweeping, vacuuming, and then using a self-leveling compound to fill in any dips or uneven spots. That stuff is messy, but it’s important to get a smooth base.
- Made sure to clean under the floor.
- Level all the ground.
Laying Down the Floor
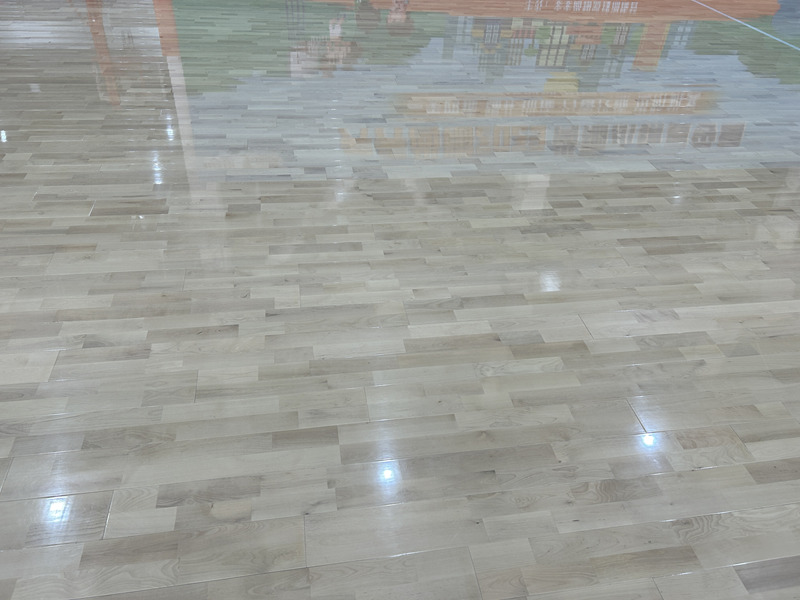
Finally, I started laying down the new flooring. I had to get the direction,the order,put them *’s a bit like putting together a giant *, I forgot to use the ruler at beginning,so the edge of the floor were uneven.
I cutted a lot of the edge part of floor,then used a rubber mallet to gently tap the pieces into place.
Finishing Touches
After all the main pieces were down, I installed the baseboards to cover the edges and give it a polished look. I do them at night.
I am so happy with the final result! This “rubber dancing maple” flooring really does look great, and it feels amazing * seems like I have done a great job.


