
Okay, here’s my blog post about installing that batten basketball hard maple portable wooden flooring:
Alright, folks, let me tell you about this little project I tackled. It involved a portable hard maple basketball floor – the kind with battens. Sounds fancy, right? Well, it wasn’t too bad, but there were definitely some things I learned along the way.
Getting Started
First things first, I cleared out the space. This was a big open area in my basement, so I had to move a bunch of junk out of the way. I’m talking old furniture, boxes of who-knows-what – the usual basement clutter.
Once the space was clear, I laid down a vapor barrier. This is basically just a big sheet of plastic that keeps moisture from the concrete from messing with the wood. I overlapped the edges and taped them down with some heavy-duty tape. You don’t want any gaps!
The Battens
Next up were the battens. These are just strips of wood that run perpendicular to the flooring planks. They create a little space underneath for airflow and help keep everything level.
I placed the battens, making sure they were evenly spaced. There should be a guide as to what kind of spacing is needed, you need to follow to floor you are installing. I used a measuring tape and a chalk line to mark where they should go.
Then to secure the battens to the floor. In my situation, I used industrial adhesive, but you might need screws depending on your floor type.
Laying the Floor
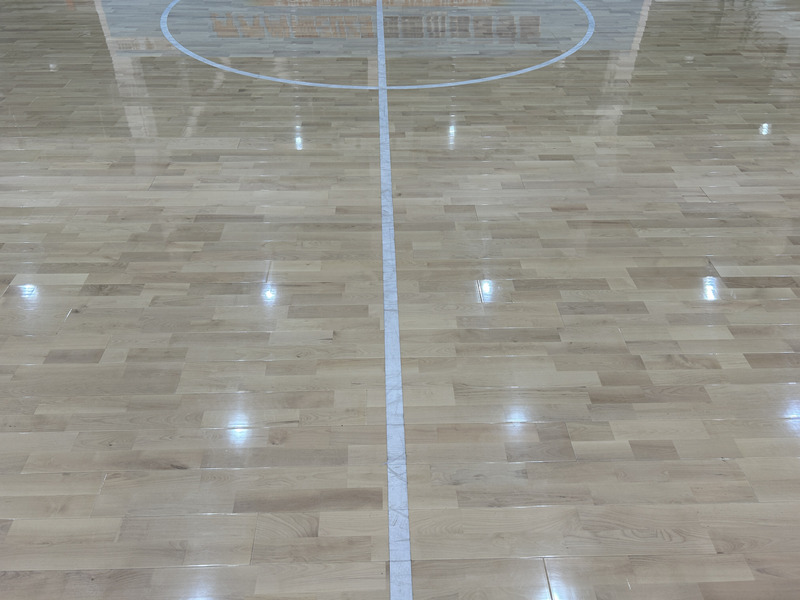
Now for the fun part – the actual flooring! I started in one corner and worked my way across the room, row by row. The maple planks had this tongue-and-groove system, so they snapped together pretty easily. But, man, my knees were killing me after a while!
- Tip 1: Use knee pads. Seriously. Your future self will thank you.
- Tip 2: Don’t be afraid to use a rubber mallet to tap the planks together. Sometimes they need a little persuasion.
- Tip 3: Leave a small gap around the edges of the room. Wood expands and contracts with changes in temperature and humidity, so you need to give it some breathing room.
The Finishing Touches
Once all the planks were down, I installed some trim around the edges to cover up that expansion gap. I just used some finishing nails and a hammer. Nothing fancy.
Finally, I gave the whole floor a good sweep and a damp mop. And that was it! My very own portable basketball court. It wasn’t perfect, but I was pretty proud of myself. And my kids? They absolutely loved it. Which, let’s be honest, is the whole point, right?
So, there you have it. My adventure in DIY flooring. If you’re thinking about tackling a similar project, go for it! Just be prepared for some sore muscles and a few learning curves along the way. Good luck!


