
Alright, guys, let’s talk about this volleyball court flooring project I tackled. The title kinda says it all: “Batten Volleyball Maple Assembly Wooden Flooring.” Basically, we’re putting down a classic, sprung wooden floor for a volleyball court. Sounds fancy, huh? It’s not as bad as it sounds, though.
Getting Started
First things first, I had to clear the area. This wasn’t some pristine gym; it was a multi-purpose space, so I was moving furniture, sweeping up dust bunnies the size of my head, and generally making sure I had a clean slate. The concrete subfloor had to be, you know, actually visible.
Checking the Subfloor
Then came the fun part – checking if the concrete was level. No fancy laser levels here, just my trusty old long straightedge and a spirit level. I spent a good chunk of time crawling around, marking high spots and low spots with chalk. You wouldn’t believe how uneven a “flat” concrete floor can be!
Any major dips,I filled those with some self-leveling compound. It is very important that a solid level is gotten right,this is the key for laying a solid foundation!
Laying Down the Battens
Next up, the battens. Think of these as the skeleton of the floor. They’re basically long strips of wood that create the “spring” in the sprung floor. I laid these out according to the plan, making sure they were evenly spaced. It’s a bit like building a giant, flat ladder on the floor.
The key here is to secure them properly to the concrete. I used concrete screws and made sure they were countersunk, so they wouldn’t poke through the finished floor. No one wants a rogue screw ruining their volleyball dive!
The Moisture Barrier
Before the pretty maple goes down, you gotta think about moisture. Wood and water don’t mix, especially when it comes to floors. So, I rolled out a plastic moisture barrier over the entire batten system. This is like a raincoat for the floor, keeping any dampness from the concrete from seeping up into the wood.
Putting Down the Maple
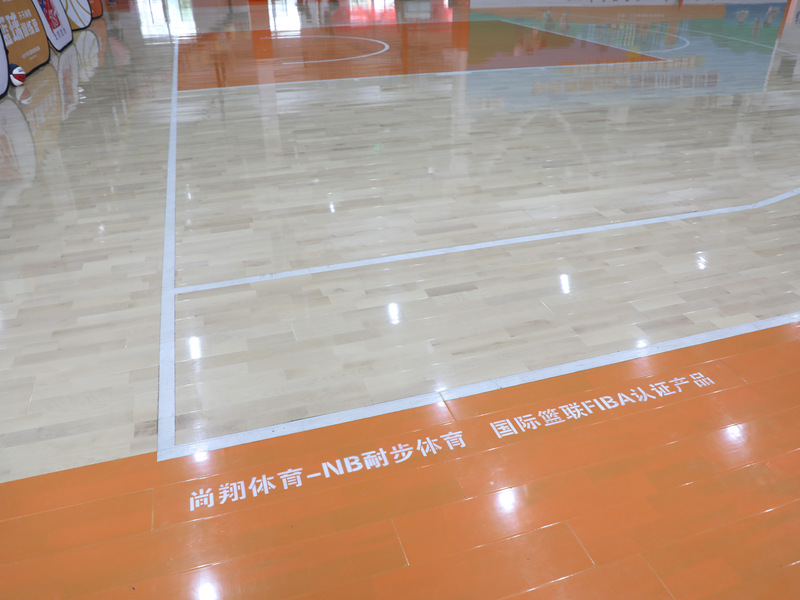
Finally, the good stuff! The maple flooring. This is where it all starts to look like an actual volleyball court. I started laying the boards, making sure to stagger the joints – you know, like brickwork. This makes the floor stronger and more stable.
This part is a bit of a workout. Each board needs to be fitted snugly against the next, and I used a flooring nailer to secure them to the battens. Bang, bang, bang – it’s pretty satisfying, actually. You’re literally building the floor, piece by piece.
Sanding and Finishing
After all the maple was down, that is where the real professional came in! I am not good at this part, so I need to watch someone else do it, but the flooring guys do all the next steps.
First sanding. I rented a big drum sander, sanding the floor multiple times, using finer and finer grits of sandpaper. This makes the floor perfectly smooth and gets rid of any unevenness between the boards.
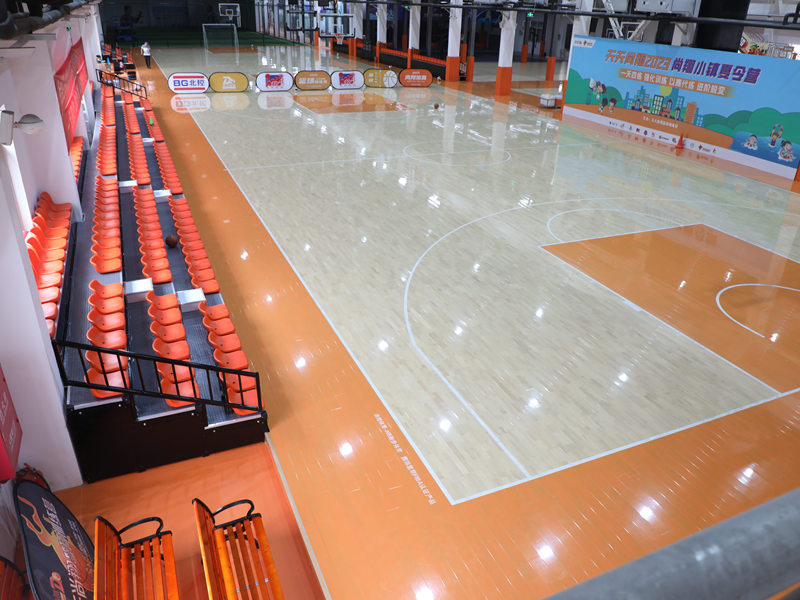
Then came the finish. Multiple coats of polyurethane, with light sanding in between. This protects the wood and gives it that classic, shiny gym floor look. And of course, painting the lines for the volleyball court itself.
The Finished Product
It’s a lot of work, no doubt about it. But when you stand back and look at that finished, gleaming maple floor, it’s all worth it. Knowing you built something solid, something that’s going to be used and enjoyed for years…that’s a pretty good feeling.


