
Okay, folks, let’s dive into this project I tackled: installing rubber volleyball court flooring over a maple assembly wooden floor. It was… an experience, to say the least.

Prepping the Space
First things first, I cleared out the entire area. Everything had to go. This wasn’t just a quick sweep-up job; it was a full-on evacuation. Chairs, tables, stray volleyballs – everything. I wanted a completely blank canvas to work with.
Next, I gave that maple floor a good, hard look. Any loose boards? Any splinters sticking up? Any weird dips or bumps? I found a few minor imperfections and took care of them. A little wood filler here, a little sanding there. I wanted that base to be as smooth and level as possible, ’cause any problems underneath would eventually show through the rubber.
The Rubber Arrives!
The rubber flooring arrived in rolls. Big, heavy rolls. I’m not gonna lie, just getting them into the space was a workout. I definitely recommend having a friend or two to help with this part. Unless you’re secretly a superhero, you’ll need the extra muscle.
Laying It Down
Once the rolls were in, I started unrolling them. I made sure to let them acclimate to the room’s temperature for a day, just like the instructions said. I didn’t want any surprises with expansion or contraction later on. I think doing that is very important.
Then came the adhesive. This stuff was sticky. I used a notched trowel to spread it evenly across the maple floor, working in small sections. I unrolled a section of the rubber flooring onto the adhesive, pressing it down firmly and using a heavy roller to make sure it was completely adhered. No air bubbles allowed!
- Unroll slowly.
- Press firmly.
- Use the roller.
Seams and Edges
The seams were probably the trickiest part. I wanted them to be as invisible as possible. I overlapped the edges slightly, then used a sharp utility knife to cut through both layers at once. This created a perfect, tight seam. Then I applied seam sealer to make sure everything was bonded together.
Around the edges of the room, I trimmed the rubber flooring to fit snugly against the walls. I took my time with this, because a sloppy edge would just ruin the whole look. I used a straight edge and that same trusty utility knife. Precision was key.
The Finished Product
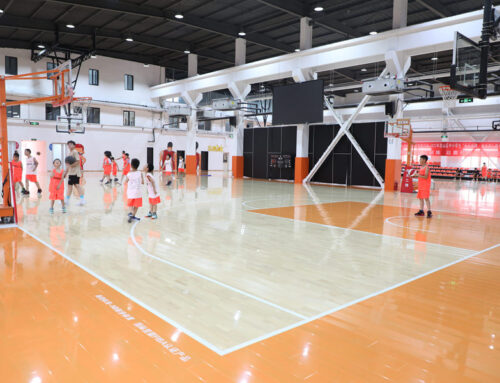
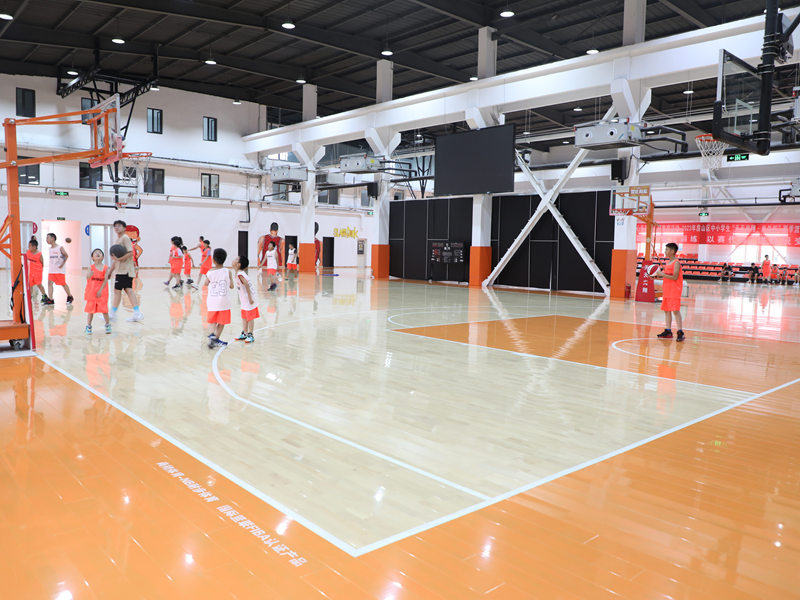
After a few days of hard work (and a few sore muscles), it was done! The new rubber volleyball floor looked amazing. It was smooth, seamless, and ready for some serious action. I’m pretty proud of how it turned out, even if it was a bit more challenging than I initially expected.
It can be said with certainty that after this installation, the use of the venue increased greatly.
If you’re thinking about doing something similar, my advice is: take your time, be patient, and don’t be afraid to ask for help. And definitely invest in a good pair of knee pads. Trust me on that one.


