
Okay, so I’ve been wanting to upgrade my home basketball court for a while now. I finally decided to pull the trigger and go with LVL (Laminated Veneer Lumber) solid assembled wooden flooring. Here’s how the whole thing went down.
The Prep Work
First, I measured the area like ten times. Seriously, you don’t wanna mess this part up. Getting the dimensions right is key to making this a great job.
Then, I spent a whole weekend clearing out the old space. It was a pain, but a clean slate is a must.
Getting the Goods
I shopped around for the LVL flooring. I checked out a few different suppliers and finally settled on one that had good reviews and a decent price. Delivery day was exciting – like Christmas for DIYers!
Laying it Down
- I started by laying down a moisture barrier. Gotta protect that wood, you know?
- Next, the fun part! I began placing the first row of LVL planks. It was a bit tricky to get it perfectly straight, but I took my time.
- I used construction adhesive to stick that board and also a nail gun to secure each plank, making sure they were nice and snug against each other.
The Grind
After the first row, it was just a matter of repeating the process. Putting adhesive, nailing, putting adhesive, nailing, moving board, repeating… It was a good workout, I’ll tell you that! I took breaks when I needed them, no need to rush this kind of job.
The Finish Line
Finally, after a few days of hard work, I laid the last plank. Stepping back and seeing the finished floor was super satisfying. Then, I added the finishing touches, like baseboards and transition strips. And let everything dry out for a while.
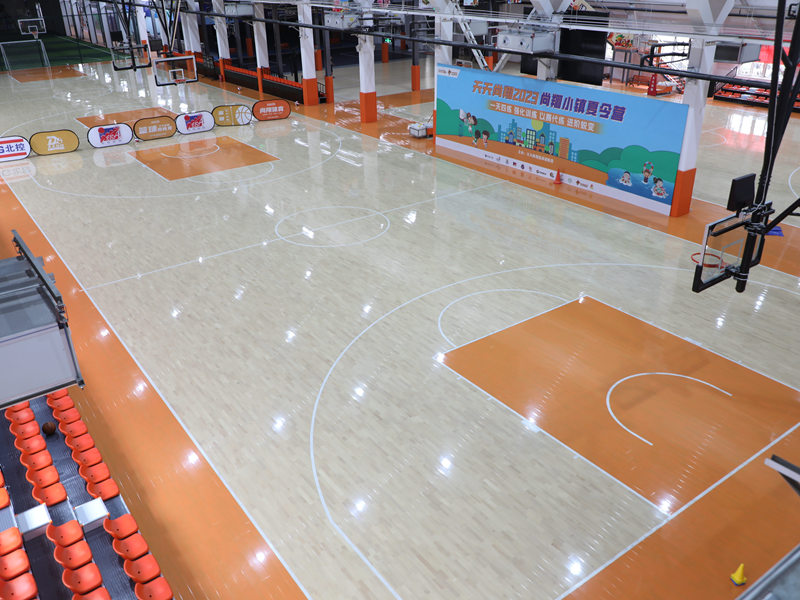
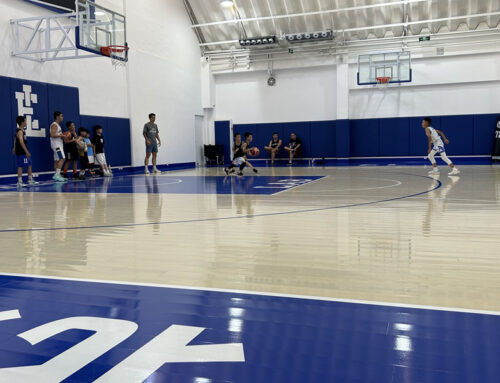
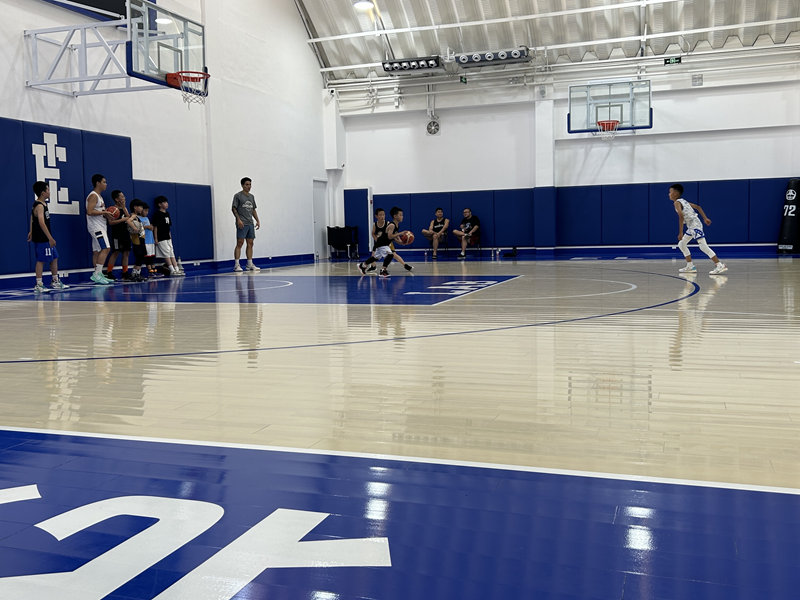
I gotta say, I’m pretty proud of how it turned out. It’s solid, looks amazing, and is ready for some serious hoops action!


