
Okay, here’s my blog post about installing LVL basketball court flooring:
Alright, so the other day I finally got around to tackling that project I’ve been putting off forever: putting down the flooring for my indoor basketball practice area. I went with LVL, laminated veneer lumber, because I heard it’s super durable and can handle the pounding.
Getting Started
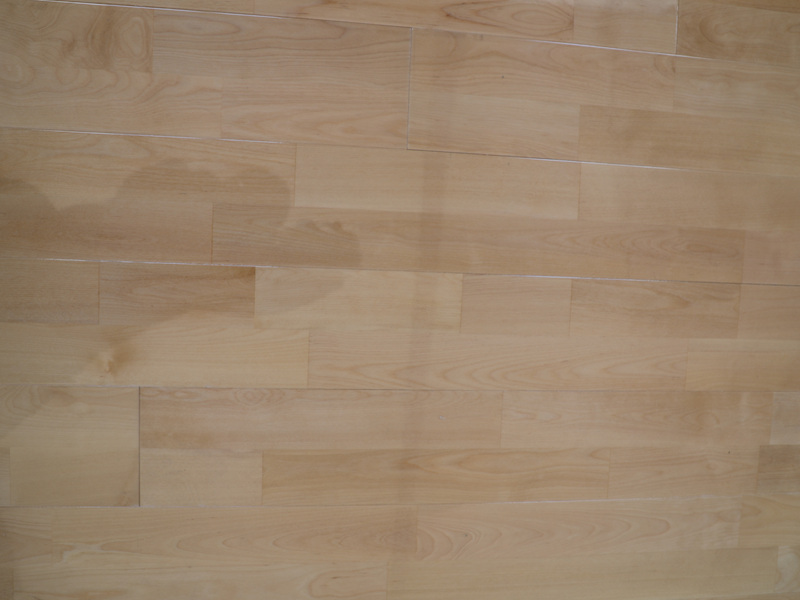
First things first, I cleaned up the concrete subfloor like crazy. Swept it, vacuumed it, the whole nine yards. You gotta make sure that surface is spotless, or else you’ll have problems down the road. I even checked level in many corner, make sure it flat.
The Installation Process
Then, I layed it down. I did my research and found the method for this that works best for me.
- Start: I rollered the surface, and start layed the first row of the LVL planks.
- Keep Going: After first row, I kept going row after row, and I made sure to stagger the joints for extra stability.
And that’s pretty much it! The whole thing, and that includes moving all the materials and dealing with a few hiccups along the way.
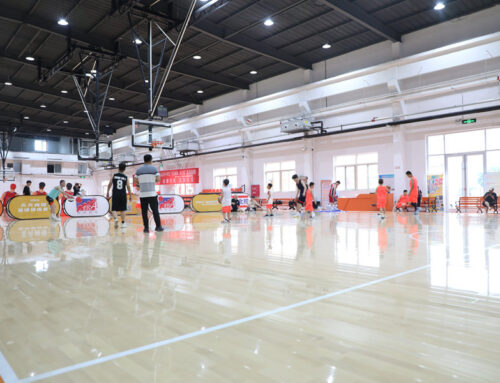
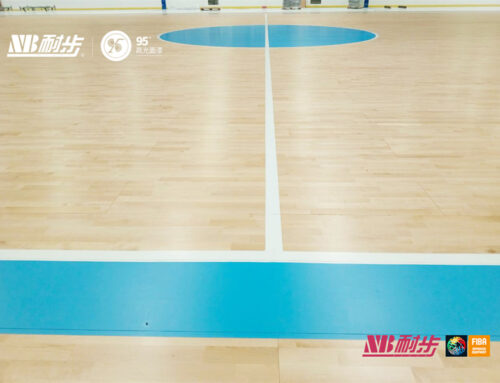
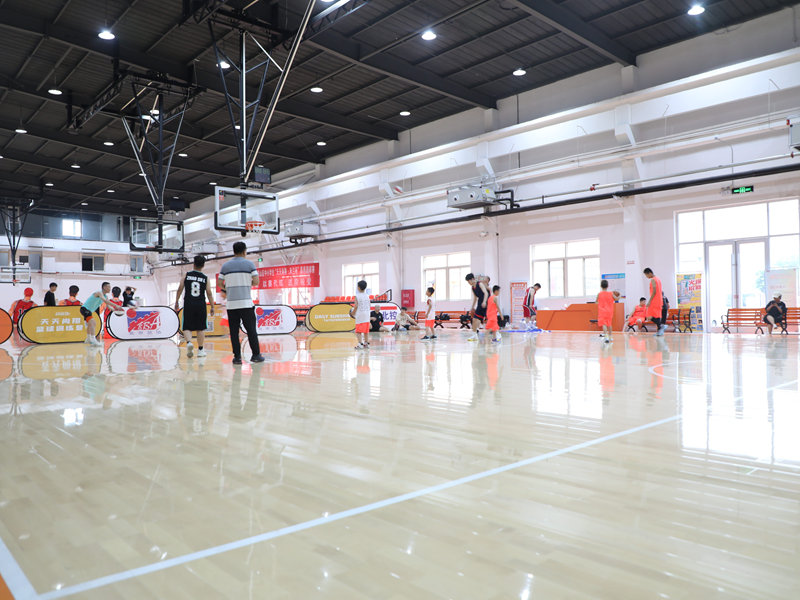
I’m really happy with how it turned out. It’s such a solid, smooth surface. Now I just need to get some baskets, and it will be a professional court.


