
Okay, so I’ve been wanting to upgrade my home basketball court for a while now. I did some digging and decided to go with LVL (Laminated Veneer Lumber) maple wooden flooring. Here’s how the whole thing went down:
Getting Started
First, I measured the area where I wanted the court. Gotta make sure you get enough material, right? Then, I spent some time cleaning up the space. It was just a concrete slab before, so I made sure it was level and free of any major cracks or debris. Any imperfections could mess with the final result, and I wanted this to be perfect.
Laying Down the Foundation
Next up, I rolled out a vapor barrier over the concrete. This is super important to prevent moisture from seeping up and ruining the wood. I overlapped the seams and taped them down securely. Then I created a sleeper system using treated lumber, it is key to provide a stable base and allow for some airflow underneath the flooring.
Installing the LVL
Now for the main event! I started laying down the LVL maple planks. I used a pneumatic nailer to secure them to the sleepers. It’s important to leave a small gap between the planks and around the perimeter of the court to allow for expansion and contraction of the wood. That’s something you really don’t wanna skip!
- Staggering the Joints: I made sure to stagger the joints of the planks for a more professional look and added stability.
- Using a Tapping Block: Sometimes, the planks needed a little persuasion to fit snugly together. A tapping block and a mallet helped with that.
Finishing Touches
Once all the planks were down, I rented a big floor sander to smooth everything out. I started with a coarse grit sandpaper and gradually moved to finer grits. This part was messy, creating lots of dust, so I wore a good mask and eye protection.
After sanding, I cleaned up all the dust with a vacuum and a tack cloth. Then, I applied several coats of polyurethane finish. This is what gives the floor its shine and protects it from wear and tear. I waited for each coat to dry completely before applying the next, It took some patience, but it was worth it!
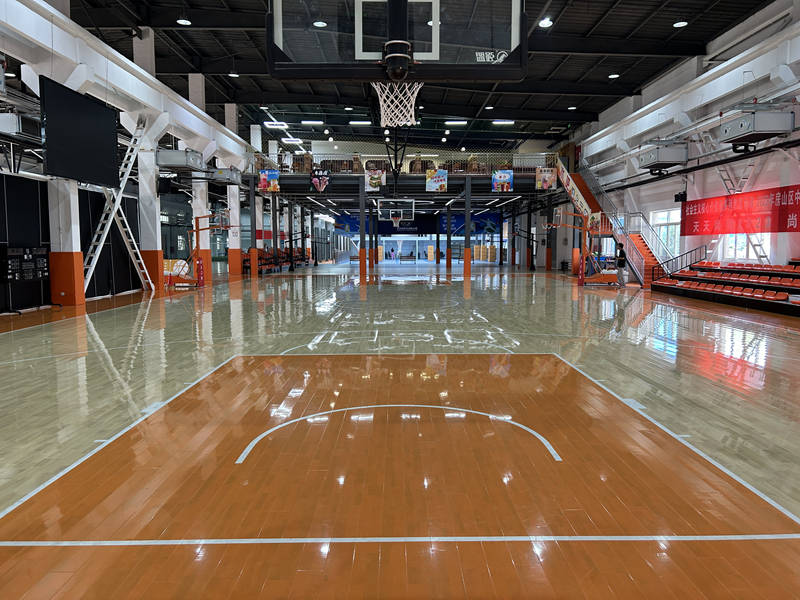
The Final Result
Finally, I painted the basketball court lines using a special floor paint. I used masking tape and a measuring tool. and now? The court looks amazing! It’s smooth, even, and has that classic maple wood look. The LVL seems super durable, I’m looking forward to many years of playing on it. It was a lot of work, but totally worth it to have my own high-quality court right at home!


