
Today, I decided to tackle a project I’ve been putting off – installing LVL basketball maple assembling wooden flooring in my home gym. I’ve always wanted a proper court feel, and this seemed like a manageable DIY project. So, I rolled up my sleeves and got to work.
Preparation is Key
First things first, I cleared out the entire room. This was probably the most tedious part, moving all the gym equipment, weights, and that bulky treadmill. Once the room was empty, I gave the concrete subfloor a thorough sweep and vacuum. Any little debris could mess with the level of the floor, and I wanted this to be perfect.
Next, I checked the moisture level of the concrete. It also said that concrete subfloor should always be installed with a moisture barrier. So, I also rolled out a moisture barrier. I used a simple moisture meter I picked up from the hardware store. I make sure it was within the acceptable range recommended for the flooring.
Getting Started with the LVL
With the prep work done, I unpacked the LVL (Laminated Veneer Lumber) panels. These things are heavy. I laid them out in the room to acclimatize for about 48 hours, just like the instructions suggested. This helps prevent any warping or expanding after installation.
Laying the Floor
The actual installation was surprisingly straightforward. The maple planks were pre-finished, and using glue, screws, and nails, I started laying down the first row, making sure it was perfectly straight and aligned with the longest wall. I used spacers to maintain a consistent gap around the perimeter for expansion.
Then, row by row, I fitted the planks together.It’s important to apply adhesive to the tongue and groove of the boards, which will help keep your floor secure. The click-lock system made it pretty easy – just a satisfying snap when they connected. I used a tapping block and a rubber mallet to gently nudge them into place, making sure there were no gaps.
Of course, I encountered some tricky spots around the doorways and corners. For these, I had to measure and cut the planks to fit. Thank goodness for my trusty circular saw. It took some careful measuring and double-checking, but I managed to get a snug fit.
Finishing Touches
Once all the planks were down, I installed the baseboards around the perimeter. This covered up the expansion gap and gave the floor a nice, finished look. I used a nail gun for this, which made the job quick and easy.
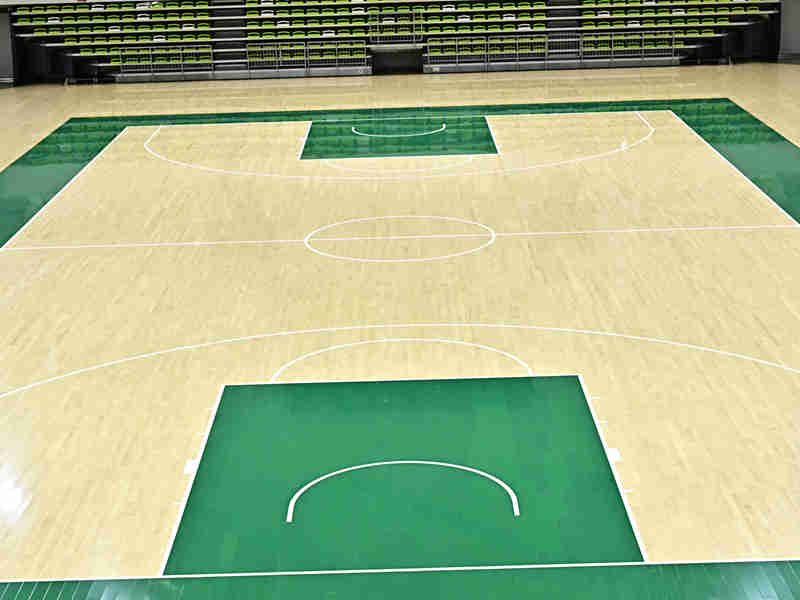
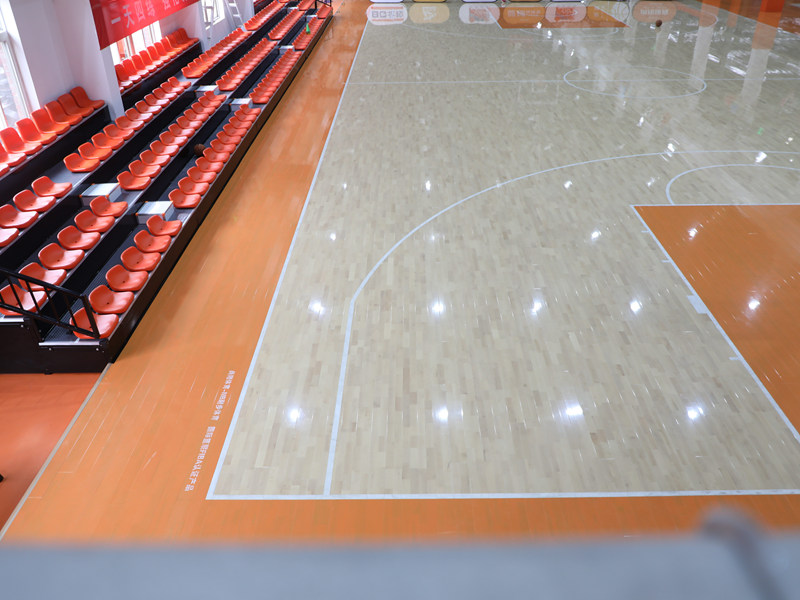
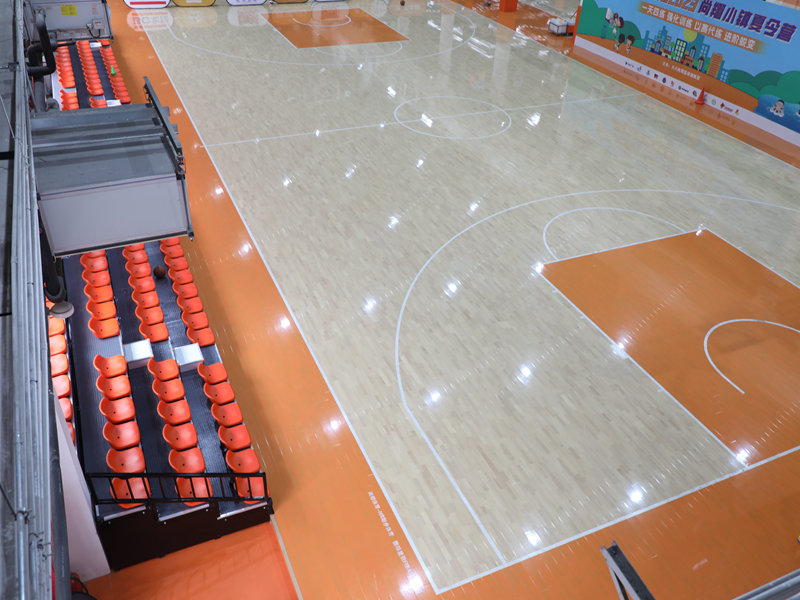
Finally, I gave the entire floor a good clean with a wood floor cleaner. Stepping back to admire my handiwork, I have to say, it looked pretty darn good. The smooth, warm maple surface completely transformed the room. It felt like a real basketball court.
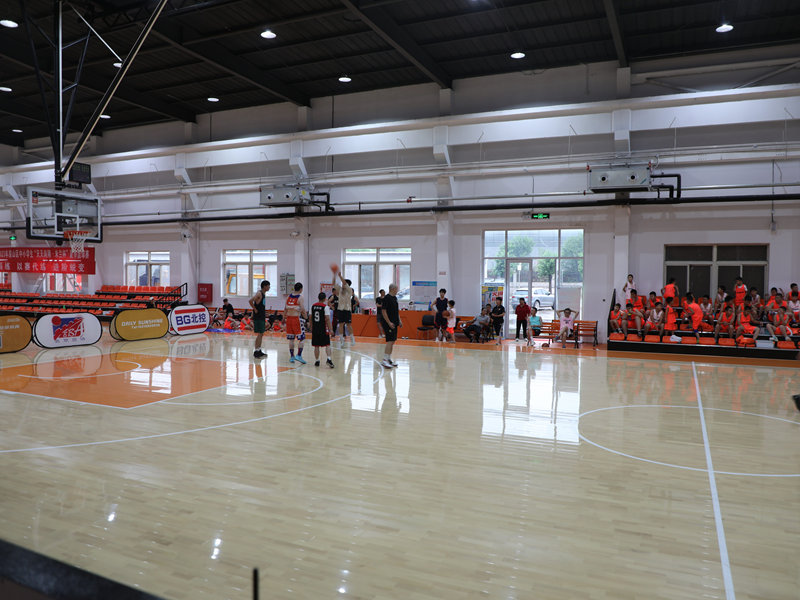
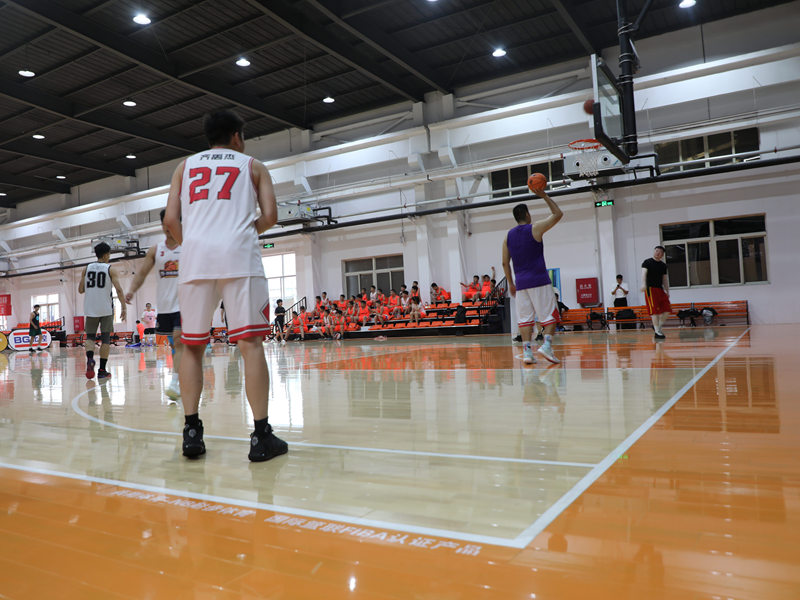
It was a solid day’s work, and my back definitely felt it the next morning, but it was totally worth it. Now, I have a fantastic basketball floor in my home gym, all thanks to a little bit of DIY effort. Time to shoot some hoops!


