
Okay, so I’ve been wanting to upgrade my backyard basketball setup for a while. I had this cracked, uneven concrete slab that was just begging for an injury. I finally decided to take the plunge and go with a portable wooden court, and I chose LVL (Laminated Veneer Lumber) because I heard it was tough stuff. Here’s how the whole thing went down.
Planning and Ordering
First, I measured the area I wanted to cover. I wanted a decent-sized half-court, big enough for some real games. Then came the fun part – figuring out how much LVL I needed. I did some quick calculations (okay, a lot of back-of-the-envelope scribbles) to figure out the square footage and then added a bit extra, just in case.
I ordered the LVL planks online. That was easier said than done. Finding a place that sold them in the right size and quantity took some digging. I placed order.
Prep Work
While I was waiting for the LVL to arrive, I got to work on the base. I cleared the old concrete area as much as possible, getting rid of any big chunks and loose debris. Then, I laid down a layer of compacted gravel. This was a workout! Lots of shoveling and tamping to get it nice and level. On top of the gravel, I put down a layer of landscape fabric to help prevent weeds from growing up through the court.
Assembly Time!
The LVL finally arrived! It was a mountain of wood. I started by laying out the first row of planks, making sure they were straight and aligned. I am so exciting!
Then, row by row, I connected the planks. Some systems use interlocking edges, but mine was more of a “butt joint” situation, so I used construction adhesive and some heavy-duty screws to hold everything together. This part took the longest, lots of kneeling, screwing, and making sure everything was flush.
The Finishing Touches
Once the entire surface was assembled, I added some edging around the perimeter. This was mostly for looks, but it also helped to keep the court from shifting. I used some pressure-treated lumber for this, since it would be in contact with the ground.
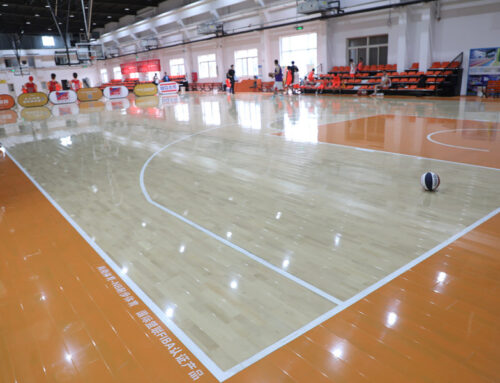
Finally, the best work! I painted the court lines. I bought a basketball court stencil kit online, which made this part pretty easy. I just taped down the stencil and used exterior paint to create the lines. It is amazing!
The Result
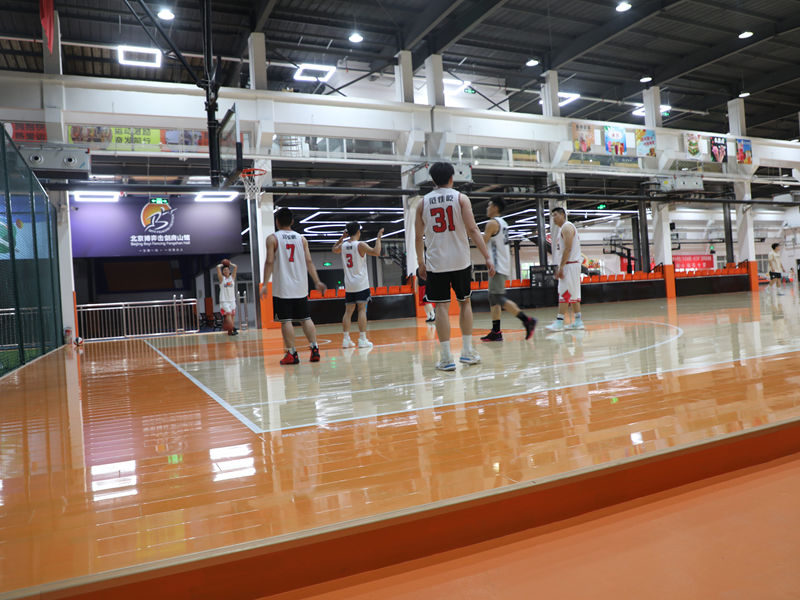
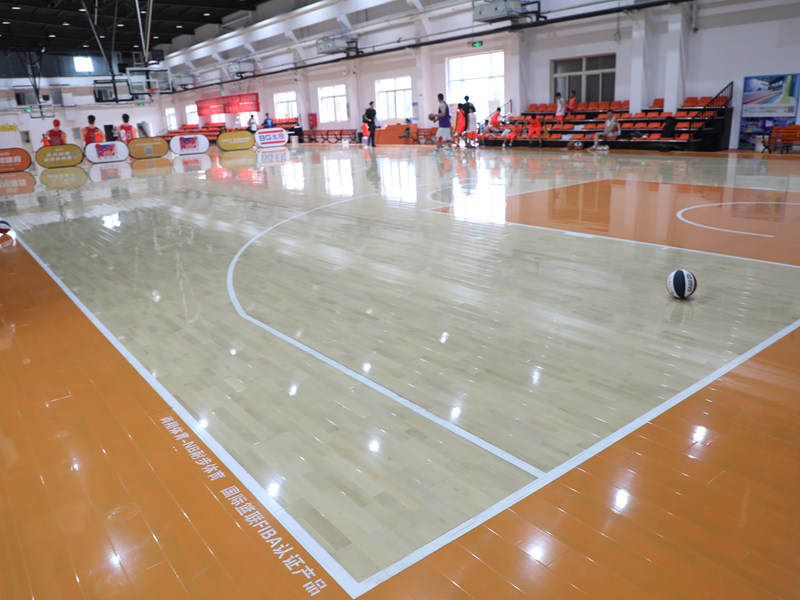
It took a couple of weekends of hard work, but I finally have a solid, portable LVL basketball court! It’s a huge improvement over the old concrete, and it feels great to play on. The kids love it, and I’m pretty proud of myself for pulling it off. It’s not perfect, but it’s mine, and it’s a heck of a lot better than what I had before.

