
Alright, guys, let’s talk about this LVL basketball court project I tackled. It wasn’t your typical weekend DIY, but it was a heck of a learning experience.
Getting Started
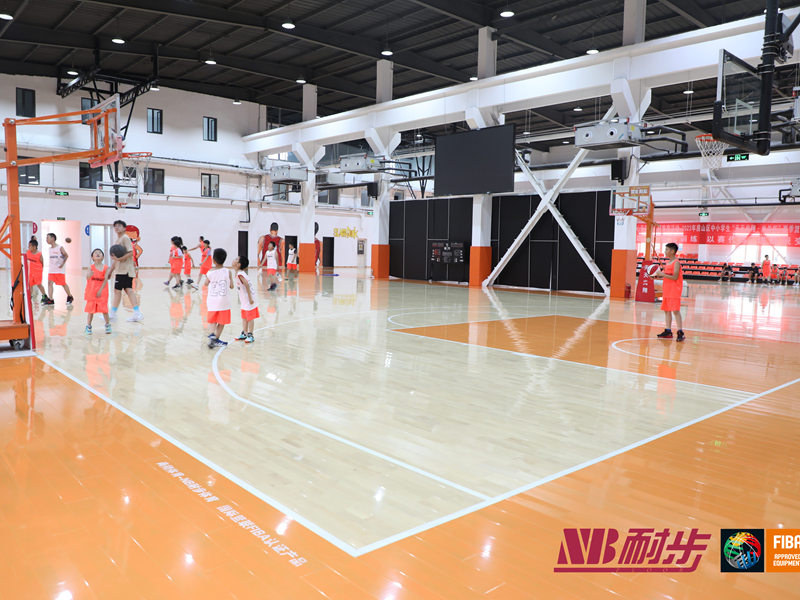
First things first, I got my hands on a bunch of LVL (Laminated Veneer Lumber) – you know, that engineered wood stuff. It’s supposed to be super strong and stable, perfect for a basketball court. I chose soft maple because, well, I wanted that classic look. Then i checked subfloor, The existing subfloor was concrete, and thankfully, it was pretty level. I double-checked everything with a long level, just to be sure.
The Assembly Process
Now, the fun part. Me and my freinds laying out the LVL panels. These things are heavy, so it was definitely a two-person job (or three, in some cases). We started from the center of the room and worked our way outwards.
- Snap lines on the subfloor. You don’t want to mess this up!
- Apply construction adhesive to the back of each panel. Don’t skimp on this, you want a solid bond.
- Place the panels down, making sure they’re snug against each other. We used a rubber mallet to tap them into place.
- Screw the panels down. I used heavy-duty construction screws, making sure they were countersunk so they wouldn’t interfere with the playing surface.
The tongue and groove system on these panels was a lifesaver. It really helped keep everything aligned and locked together.
Sanding and Finishing
Once all the panels were down, it was time to sand. I rented a big drum sander from the local hardware store. This part was dusty, folks, so make sure you wear a good mask. I started with a coarse grit sandpaper and gradually moved to finer grits until the surface was smooth as a baby’s bottom.
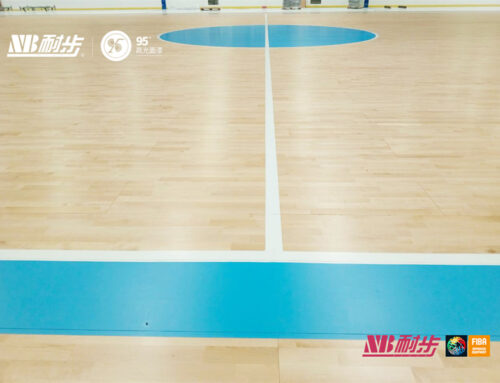
After sanding, I applied several coats of polyurethane. This is what gives the floor its shine and protects it from wear and tear. I let each coat dry completely before applying the next, and I lightly sanded between coats to ensure a smooth finish.
The Final Result
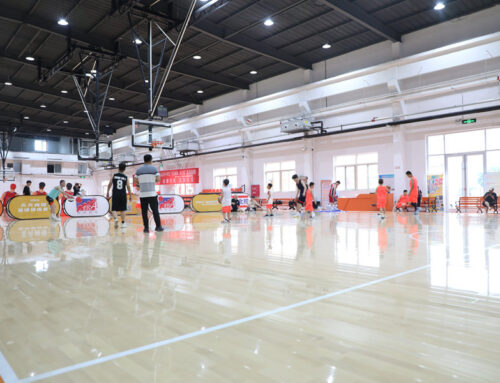
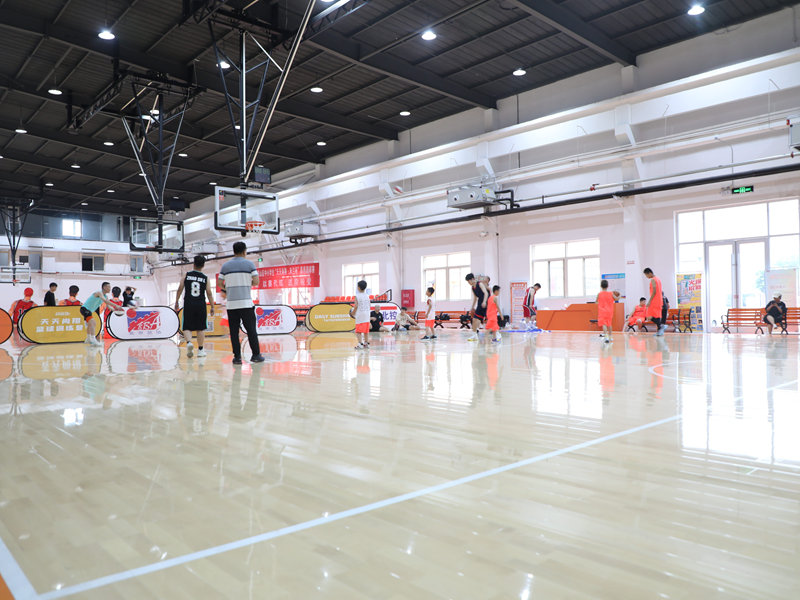
Honestly, it turned out way better than I expected. The floor is solid, level, and has that beautiful maple look. We’ve already had a few games on it, and it plays great. It’s definitely an upgrade from the cracked concrete we had before!
It was a lot of work, but seeing the finished product and knowing I built it with my own two hands (and the help of some friends) – that’s a pretty awesome feeling.


