
Alright, let’s talk about putting together some LVL Basketball rubber tree assembly wooden flooring. I’ve been wanting to redo the flooring in my home gym for a while, and I finally decided to tackle it. This stuff looked pretty cool – a mix of that engineered wood stability with a nice, solid wood look.
Getting Started
First things first, I gathered all my materials. I ordered the LVL flooring online – I made sure to measure my gym space twice (okay, maybe three times) to make sure I got enough. I also picked up some underlayment, a tapping block, a pull bar, a mallet, a saw (a jigsaw and a circular saw), spacers, and safety glasses. Can’t forget those!
Prepping the Subfloor
The existing floor was some old, nasty carpet. Ripping that out was the first, and arguably most satisfying, step. Underneath was just concrete. I spent a good chunk of time cleaning it up – sweeping, vacuuming, and even mopping to make sure it was dust-free. The instructions emphasized a level subfloor, so I used a level to check. There were a few dips, so I grabbed some self-leveling compound and filled those in. That took a day to dry completely.
Laying Down the Underlayment
Once the subfloor was prepped, I rolled out the underlayment. This stuff is supposed to help with sound dampening and provide a little cushion. I overlapped the edges a bit, as recommended, and taped them down with some good quality tape.
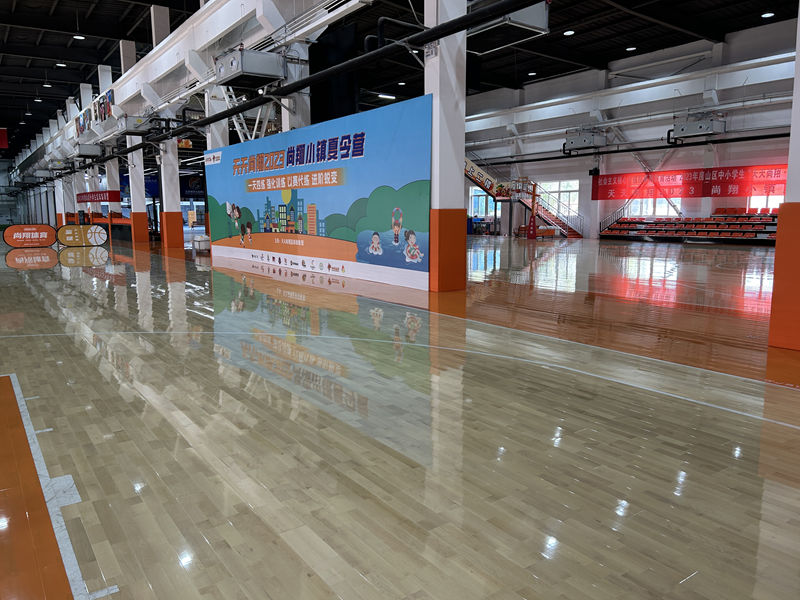
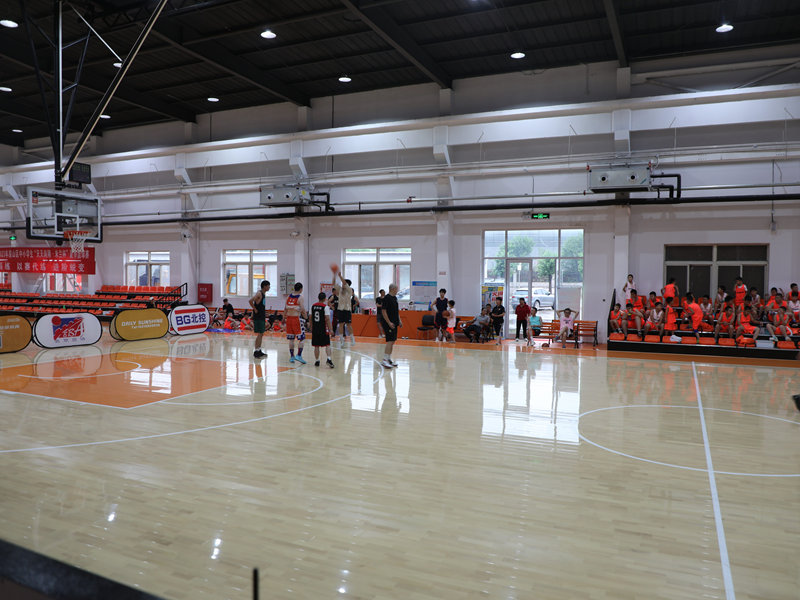
The Main Event: Laying the Flooring
This is where it got real. I started in one corner, laying the first row along the longest wall. I used spacers to maintain a gap between the flooring and the wall – this allows for expansion and contraction of the wood. The LVL planks had a tongue-and-groove system, so they clicked together pretty easily. For the first few rows, I mostly used the tapping block and mallet to gently tap them into place.
As I moved across the room, I staggered the joints of the planks, making sure no two end joints lined up in adjacent rows. This is important for both the look and the structural integrity. When I got to the end of a row, I usually needed to cut a plank to fit. That’s where the saws came in handy. I used the jigsaw for any weird cuts around door frames or pipes, and the circular saw for the straight cuts.
For the last row, I often had to rip the planks lengthwise to fit. This was probably the trickiest part, as I needed to be precise. The pull bar was essential here – it helped me pull the last row tight against the previous row and get a snug fit.
Finishing Touches
Once all the flooring was down, I removed the spacers and installed baseboards around the perimeter of the room. This covered the expansion gap and gave it a nice, finished look.
It took me a couple of weekends, but I finally got it done. My home gym looks a thousand times better, and the floor feels great underfoot. It’s solid, sturdy, and ready for some serious workouts. And hey, I did it myself! Feeling pretty proud of that.


