
Man, let me tell you about this project I tackled – putting in a solid LVL Basketball wooden floor. Sounds fancy, right? It was a bit of a beast, but totally worth it in the end.
Getting Started
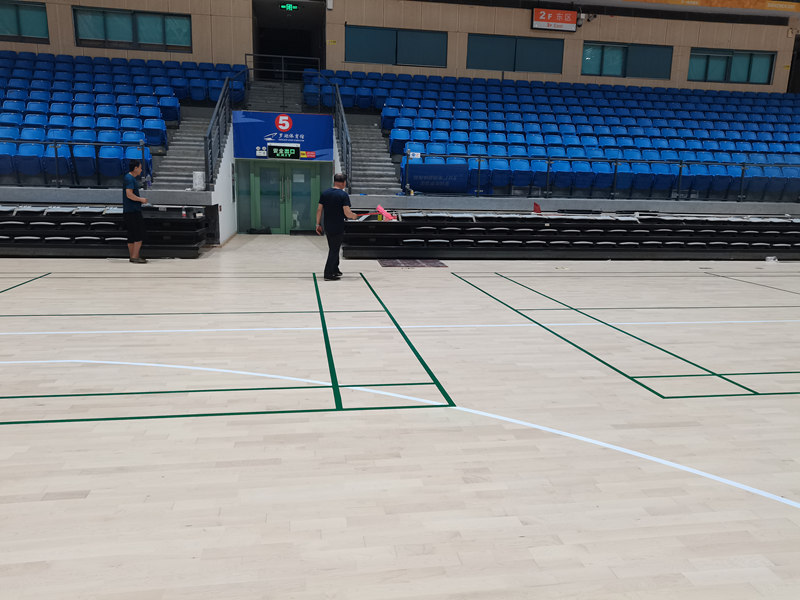
First things first, I had to make sure the subfloor was ready. I checked it over like a hawk, looking for any uneven * any dips or bumps with a floor leveler, making sure all the screw and nail heads were hammered and secure, and gave the whole thing a good sweep. Got to have a clean slate, you know?
The Main Event: Laying the LVL
The LVL planks arrived, and I laid out to make sure the planks had time to acclimatize to the room. I stacked them using spacers, and I left them for 72 hours.
Then, I started to arrange and assemble all the LVL, piece by piece. I secured them together, applying a special adhesive to get them to snap and lock into place. I ensured that everything was secure, so I used a mallet to firmly secure them together.
I used some shims along the walls to make sure there was an expansion gap. Can’t forget that, or the whole thing can buckle when the wood expands and contracts with the weather.
Finishing Touches
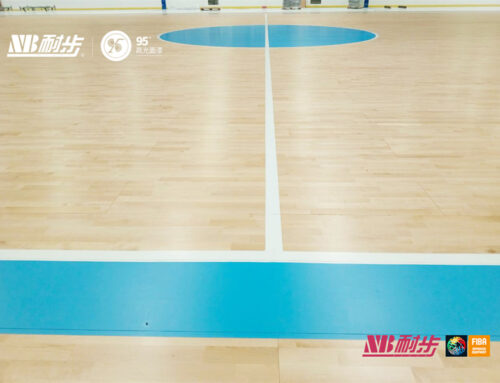
Once the floor was down, I filled any little gaps or holes with wood filler, and once the floor was all laid and finished, I applied a sealing coat and let it dry overnight.
Finally, I added the finishing touches, like baseboards and transition strips where the wood meets the other flooring in the house.
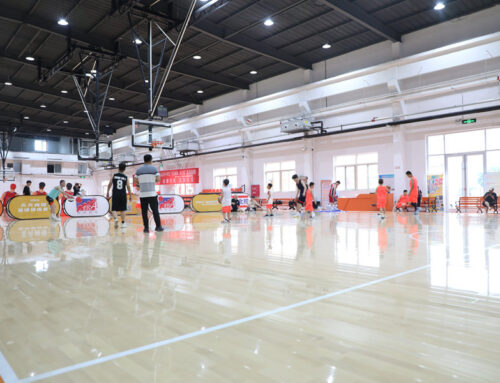
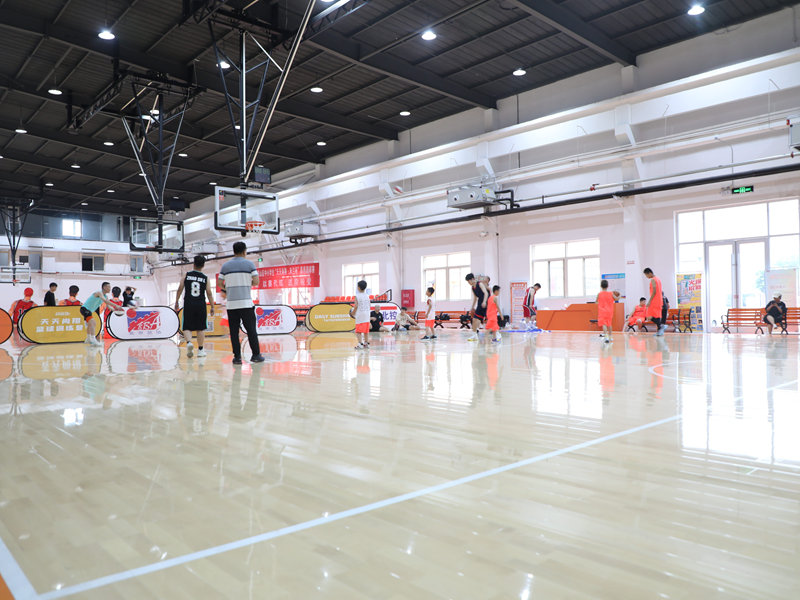
It was a bit of a sweat, honestly. But seeing that finished, smooth, professional-looking basketball floor? Totally made it all worthwhile. Now I just need to work on my jump shot!


