
Okay, so I’ve been wanting to redo my floors for, like, forever. And I finally decided to go for it. I had this crazy idea to try and combine a bunch of different materials – rubber, pine, and, well, make it all work together. People thought I was nuts, but I was determined!
smart
The Prep Work
First, I ripped out all the old, nasty carpeting. That was a workout in itself! Underneath, it was just plain old plywood subfloor. Nothing fancy.
Then came the thinking part. I knew I wanted the main part of the floor to be pine, because, you know, it looks nice and it’s relatively cheap. But I also wanted some “bounce” and a bit of a unique look, so I decided to use rubber in certain areas.
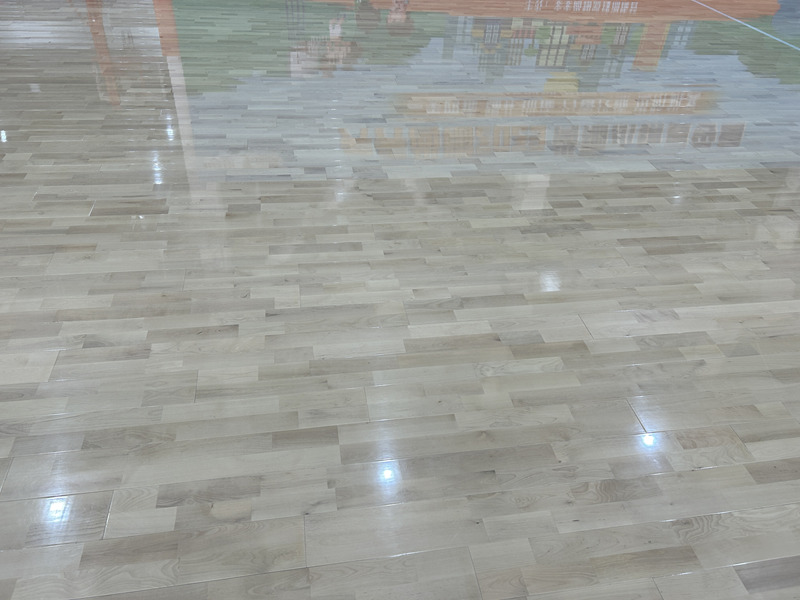
Laying Down the Pine
I started by laying down the pine planks. I’m no carpenter, so this took some time. I used a nail gun (borrowed from my neighbor, bless his heart) and just went row by row. It wasn’t perfect, but hey, it’s my floor, right?
- Measure the Room, to make sure my design ideas will work.
- Choose the pine wood, try to pick some good looking wood.
- Cut and lay down all pine planks to cover most of the floor.
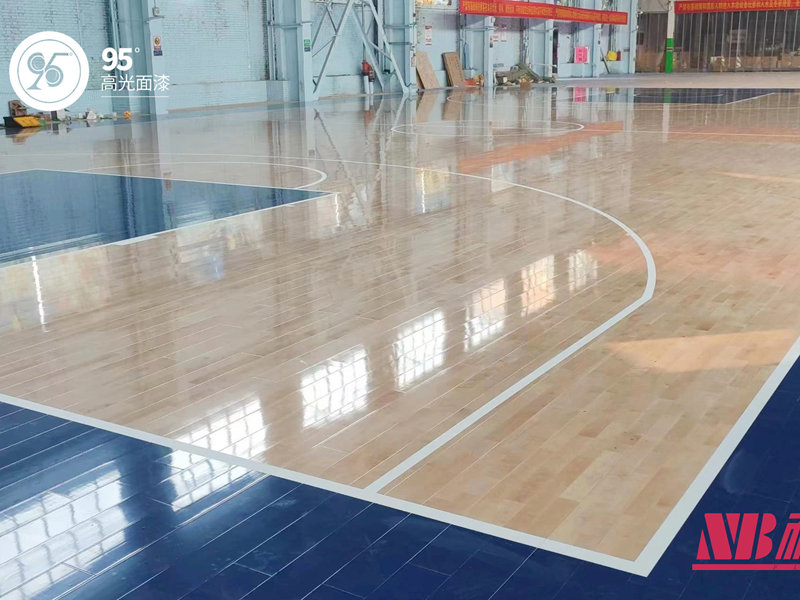
Adding the Rubber
This is where it got interesting. I bought these rubber tiles – the kind they use in gyms – and cut them into different shapes. I wanted some random, kind of “dancing” patterns, so I just eyeballed it. I used construction adhesive to glue them down in between the pine planks. It was messy, but kind of fun!
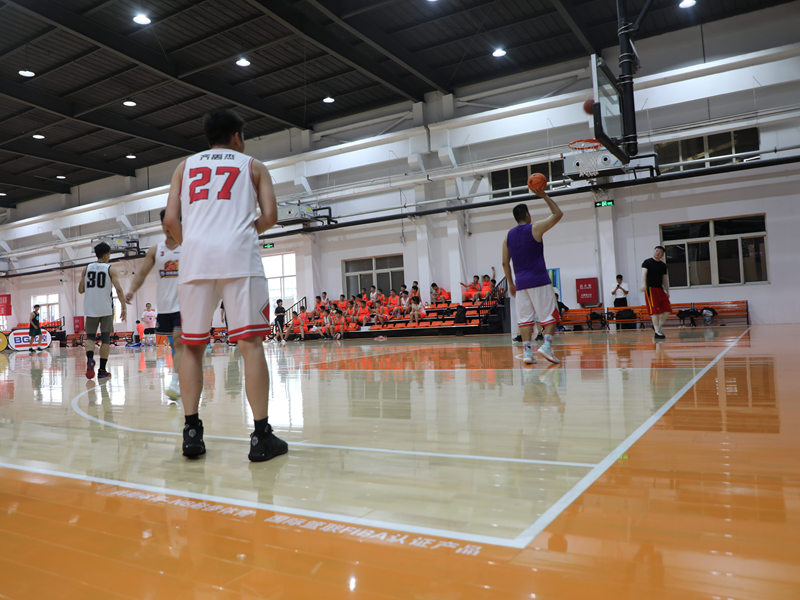
The “Dancing” Effect
The idea was to have the rubber sections slightly higher than the pine, so you’d get this cool, textured feel when you walked on it. It’s like a little mini-massage for your feet! I made sure to leave some small gaps between the rubber and the pine, just to give it some definition.
- Cut the rubber into shapes and sizes I wanted.
- Glue them in specific spots to make a dancing pattern on the floor.
- Leave gaps between rubber and pine to make it stand out.
Finishing Up
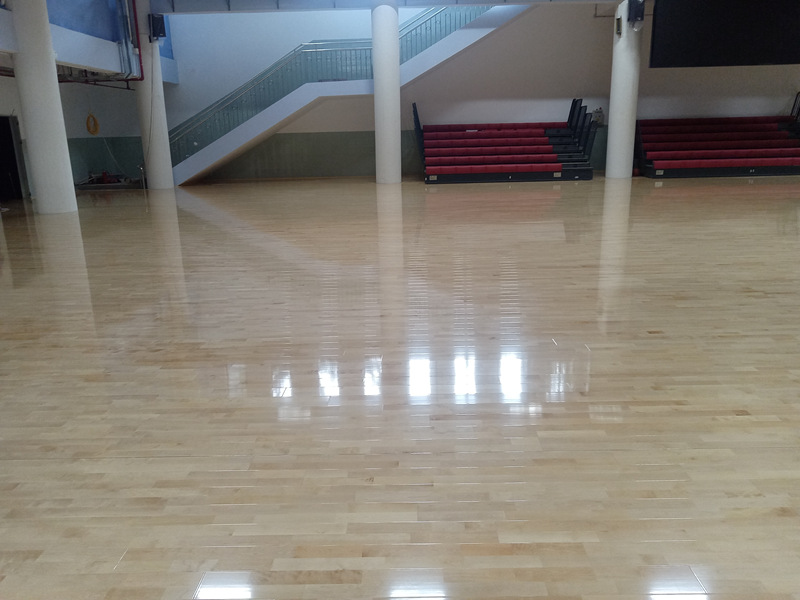
Once everything was dry, I sanded down the pine parts to make them smooth. I didn’t sand the rubber, obviously. Then I applied a few coats of polyurethane to protect the wood. It gave it a nice, shiny finish.
Honestly, it turned out way better than I expected! It’s definitely unique, and it feels amazing to walk on. It’s not perfect, there are some rough edges and the lines aren’t perfectly straight, but I love it. It’s got character! And I did it all myself (with a little help from my neighbor’s nail gun). So, yeah, that’s my “rubber dancing pine wooden flooring” adventure!


