
Okay, so I’ve been meaning to fix up this old volleyball court at the back of my property. It’s been neglected for, like, ever, and the wooden supports – the battens, I guess they’re called – were completely rotted out. So, I decided to use some maple timber I had lying around. Why maple? Well, it was there, and it’s pretty tough stuff.
Getting Started
First things first, I had to tear down all the old, nasty wood. This was the worst part, honestly. Splinter city! Gloves were a MUST. I used a crowbar and a hammer, and just went at it. Took a good few hours, and I was sweating buckets by the end.
Prepping the Maple
Next up, the maple. These were just rough planks I’d gotten from a local mill a while back. I had to measure everything out and cut them to the right size. Used my trusty circular saw for that. Always gotta be careful with those things – measure twice, cut once, you know?
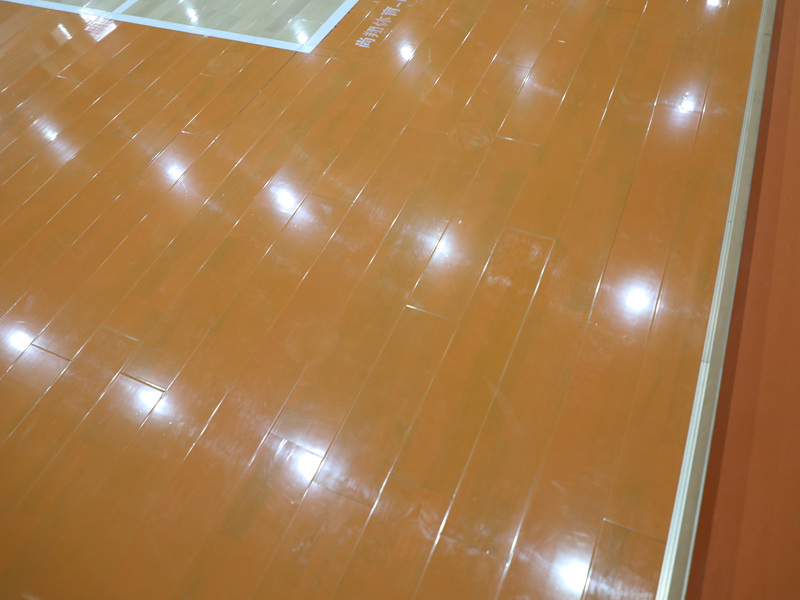
After cutting, I needed to make these planks smooth. A rough surface is just an invitation to more splinters and nobody needs that! I used my power sander which took a bit of time. My arms were feeling it!
Putting It All Together
With the maple all prepped, it was time to put the new battens up. I used some heavy-duty screws and a power drill. Made sure everything was nice and level – didn’t want a wonky volleyball court! This part was actually pretty satisfying, seeing it all come together.
- Screwed in the first batten, making sure it was flush.
- Checked the level, adjusted, and then added more screws.
- Repeated the process for all the battens, one by one.
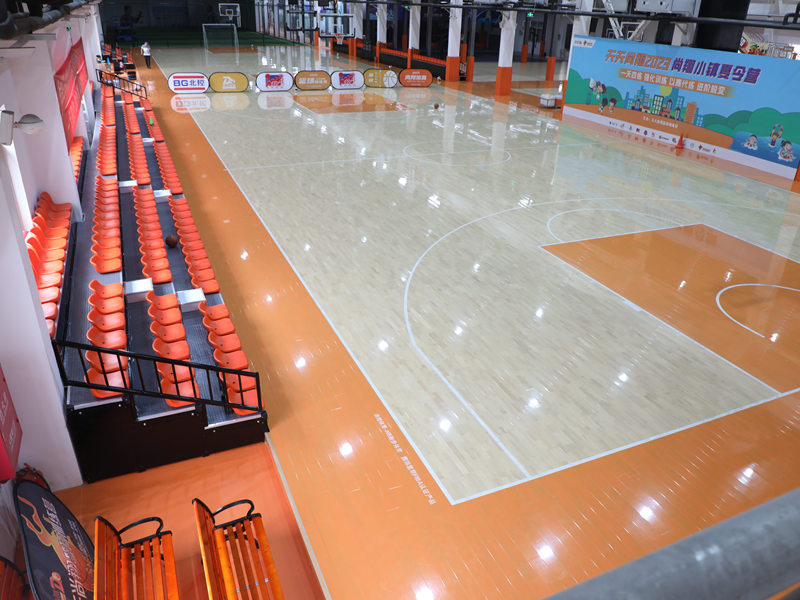
The Finished Product (Almost!)
And that’s pretty much it! The new battens are up, and the court looks a million times better. I still need to do some other stuff, like re-do the net and maybe paint the lines, but the major part is done. The maple looks good, and it’s solid as a rock. Feeling pretty good about this little DIY project!
Next time you’re tackling a project with wood that needs to be strong, keep this in mind. And don’t forget the gloves!


