
Okay, here’s my attempt at writing a blog post in the style you requested, about installing laminate basketball hard maple portable wooden flooring:
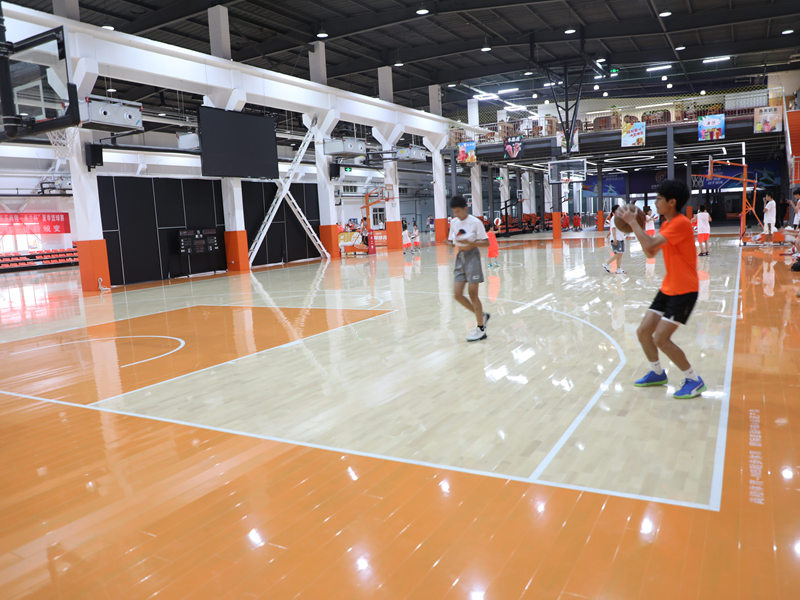
So, I decided to get one of those portable basketball court floors. You know, the kind you see in gyms, but smaller, for like, a home setup. I went with the hard maple look – classic, right? Figured I’d share my experience, ’cause it was a bit of a journey.
First thing, I cleared out the space. This was crucial. I mean, I had a bunch of junk in my basement, so that took a while. Boxes, old furniture… you name it. Had to make sure the floor was totally clear and pretty level. I used a leveler – one of those long ones – to check, and I found a few dips. Nothing major, thankfully.
Getting Started
Next up, Unpacking! The flooring came in these big, heavy boxes. Definitely needed a friend to help me carry them down to the basement. I opened them up, and wow, there were a LOT of pieces. Like a giant jigsaw puzzle, except all the pieces looked pretty much the same.
- Big heavy boxes!
- so many pieces
- I was alone.
I laid down a moisture barrier first. The instructions were super insistent about this, and I live in an area there is a lot of rain, so I didn’t want to risk any warping. It was basically a big sheet of plastic that I rolled out and taped down. Seemed simple enough.
The Real Work Begins
Then came the actual flooring. I started in one corner, like the instructions said. The pieces had these little tongue-and-groove things, so they were supposed to just click together. “Supposed to” being the key phrase there. Some of them went in easy, others… not so much.
I used a tapping block and a rubber mallet – got those at the hardware store. You’re supposed to tap the pieces together gently, so you don’t damage the edges. I definitely messed up a few at first. Either I hit them too hard, or they weren’t lined up right, and I’d have to pry them apart and start over.
It was slow going, I’m not gonna lie. My back started to hurt, my knees were killing me, and I was sweating like crazy. But, piece by piece, I started to see the floor take shape. It was actually pretty satisfying, watching it come together.
Finishing Touches
Once I got all the main pieces down, I had to deal with the edges. I needed to leave a little gap around the perimeter – again, the instructions were very clear about this – for expansion and contraction. I used some spacers to make sure the gap was even.
I cut some of the pieces to fit around the corners and edges. I used a jigsaw for this. I’m not super handy with power tools, so I was a little nervous, but it turned out okay. Just had to measure carefully and take my time.
Finally, I installed the transition strips. These are like little ramps that go between the flooring and the, uh, regular floor. They make it look nice and finished, and they also prevent tripping. Those just snapped into place, which was a relief after all the tapping and cutting.
So, yeah, that’s pretty much it. Took me a full weekend, and I was sore for days after, but I got it done! Now I have a sweet little basketball court in my basement. Totally worth it. Time to shoot some hoops!


