
Okay, here’s my blog post about putting together a laminate basketball court floor. Get ready for some sweat and maybe a few splinters!
So, I decided to tackle this project – installing a laminate basketball court floor. I’ve always wanted a cool space for shooting hoops, and I figured, “How hard could it be?” Famous last words, right?
First things first, I cleared out the area. This was a bigger job than I thought! I had to move a bunch of old furniture, boxes, and who-knows-what-else that had been accumulating. It’s amazing how much junk you can collect over time.
Prepping the Subfloor
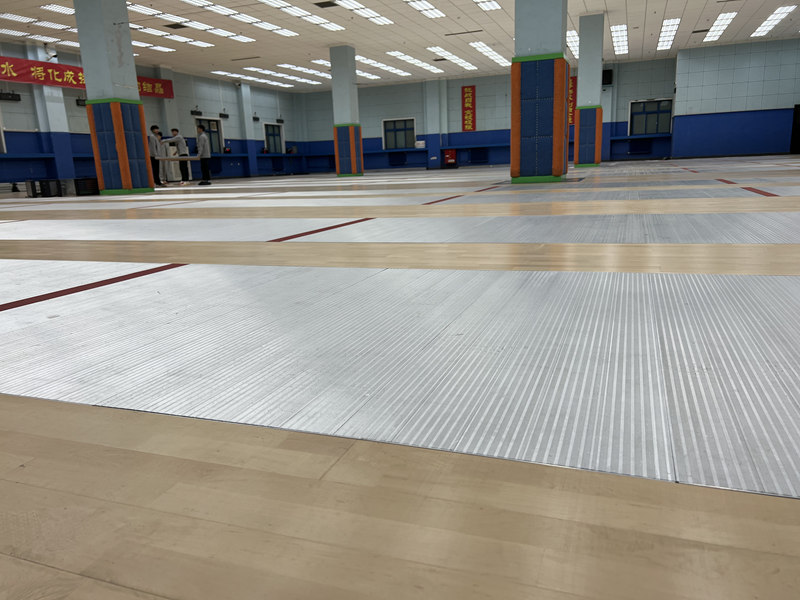
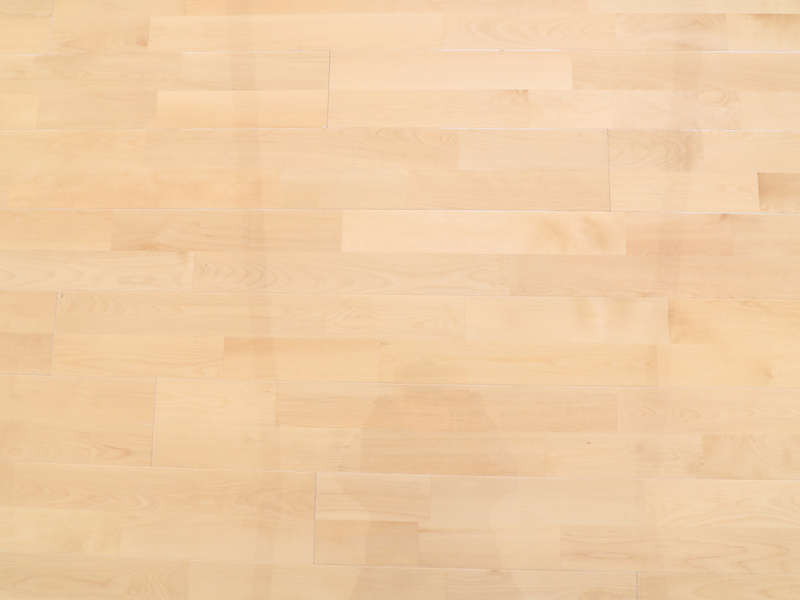
Next up, checking out the subfloor. The area I was using has the hard maple, so I needed to make sure the concrete was level. Good thing I have tools, or I would have to borrow from my neighbor, thankfully I grabbed my longest level and got to work. There were a few dips and bumps, nothing too crazy, but enough to mess up the laminate if I didn’t fix them.
I mixed up some self-leveling compound – this stuff is pretty cool, it’s like magic! You pour it on, and it finds its own level. I spread it around with a trowel, trying to get it nice and smooth. Then, I just had to wait for it to dry. Patience is not my strong suit, let me tell you.
Laying Down the Underlayment
Once the leveling compound was good and dry, I rolled out the underlayment. This is like a thin foam layer that goes between the concrete and the laminate. It helps with sound dampening and gives the floor a little bit of cushion. And I just staple those underlayment to the subfloor.
Installing the Laminate Planks
- I spent time to figured out the layout that I wanted for the floor, so that I don’t waste any materials.
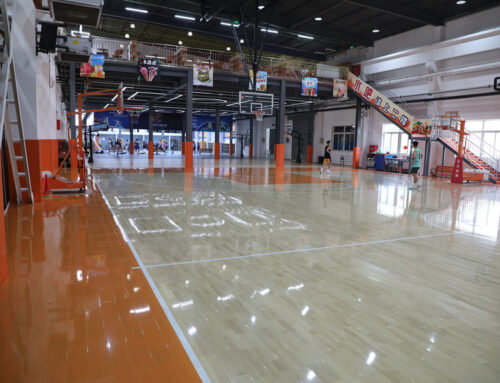
Now for the main event – putting down the laminate planks! These things are designed to click together, which sounds easy enough. And it is, for the most part. The first few rows were a bit tricky, I am making sure everything was lined up straight. I used spacers along the walls to leave a small expansion gap – apparently, the laminate can expand and contract with changes in temperature and humidity.
Once I got the first few rows down, it started to go a lot faster. Click, click, click… it was actually kind of satisfying. The hardest part was cutting the planks to fit around doorways and corners. I used a jigsaw for that, and let’s just say I made a few mistakes. Good thing I bought extra planks!
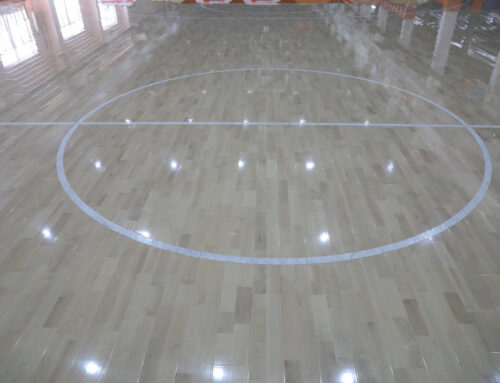
I worked my way across the room, row by row, until the whole floor was covered. It took me a couple of days, working on and off, but I finally got it done!
Finishing Touches
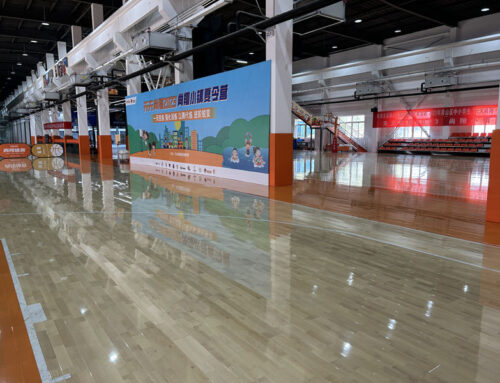
The last step was to install the baseboards and transition strips. These cover up the expansion gaps and give the floor a finished look. I used a miter saw to cut the baseboards at the right angles, and then nailed them to the walls. The transition strips were pretty easy, I just screwed them down.
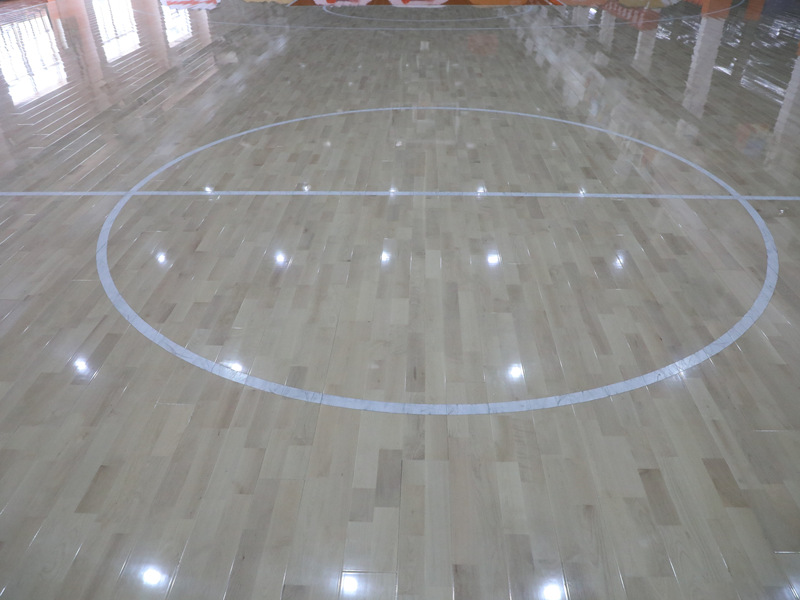
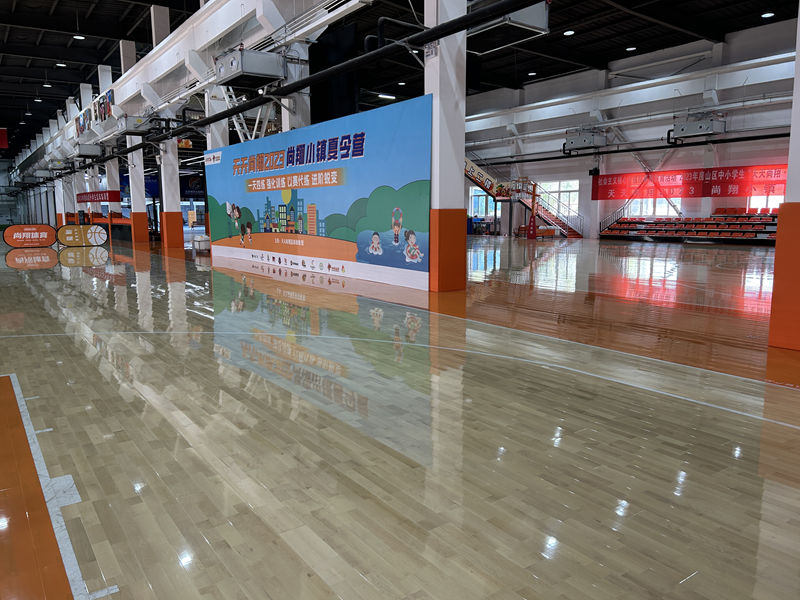
And that’s it! My very own laminate basketball court floor. It’s not perfect, but I’m pretty proud of myself for tackling this project. Now, if you’ll excuse me, I’m going to go shoot some hoops!

