
Okay, here’s my attempt at writing a blog post in the style you described, focusing on the practical process:
Alright, so I decided to tackle this project – putting in a portable wooden floor, specifically for volleyball. It’s the kind you see with those keel support things, made of soft maple. Sounded fancy, sounded… like a challenge.

The Prep Work
First things first, I had to clear the area. This wasn’t some tiny space; it was a decent-sized gym-like area. Moved all the existing equipment, old mats, and whatever junk had accumulated. Sweeping, vacuuming… the whole shebang. A clean slate, you know?
Then came the measuring. Lots of measuring. I used one of those laser measuring tools because, let’s be honest, I’m not messing around with a tape measure for this. Got the length, width, made a little sketch, and double-checked everything. Gotta be precise, or the whole thing would be wonky.
The Keel System
Next up, the keel. The wooden base structure! These are basically long, sturdy wooden pieces that run underneath the floor panels. They provide support and that nice bouncy feel you want for volleyball.
Laying them out was like a giant puzzle. I followed the layout plan I’d sketched, making sure they were evenly spaced. I had to use some shims, which is thin pieces of wood, in a few places to make sure everything was perfectly level. Checked it with a big spirit level. Up, down, side to side. Took a while, but super important.
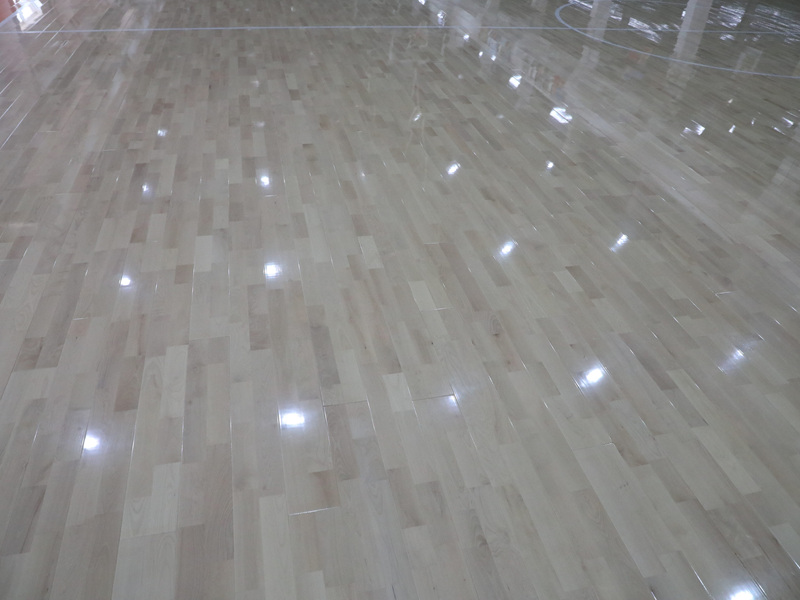
Laying the Floor
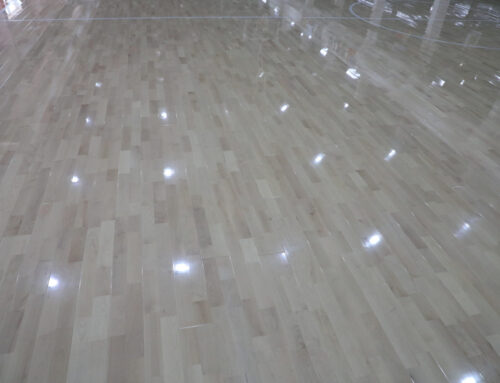
Now for the actual floor! The soft maple planks arrived, and man, they were beautiful. But also heavy. I started laying them down, one by one, fitting them into the keel system. Each panel has a groove which is a little like tongue and groove but on a bigger scale.
- Started at one wall and worked my way across.
- Had to use a rubber mallet to tap some of the panels into place. Gentle taps, you don’t want to damage the wood.
- Kept checking the alignment as I went. If you mess up early, it just gets worse and worse.
There was a lot of kneeling, bending, and lifting. My back was definitely feeling it by the end of the day. But seeing the floor take shape was pretty satisfying.
The Finishing Touches
Once all the panels were down, I went around and checked for any gaps or unevenness. Found a few spots that needed a little extra tapping. Used the mallet some more until it was all smooth.
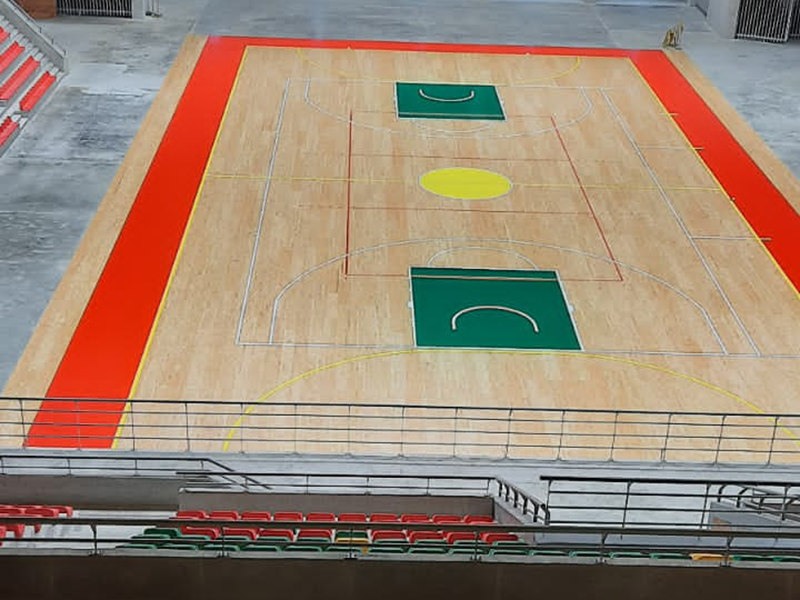
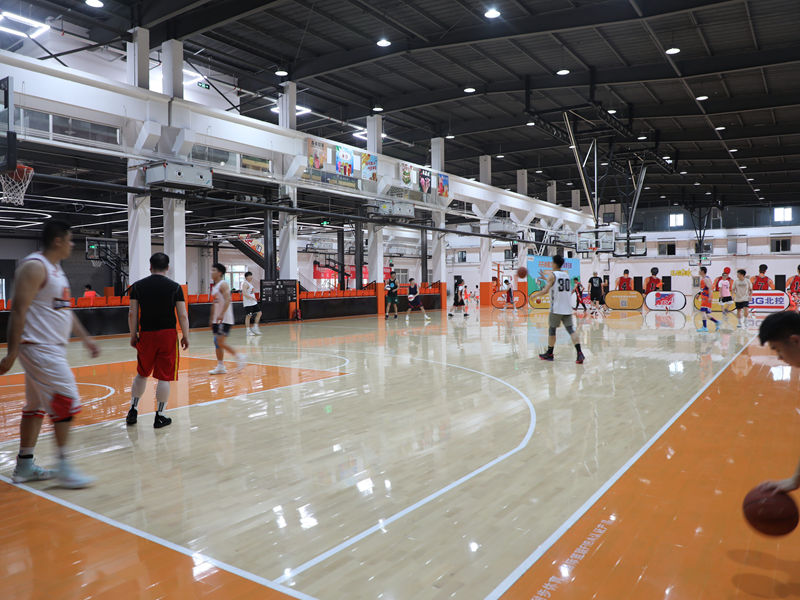
Finally, put up the surrounding strips.
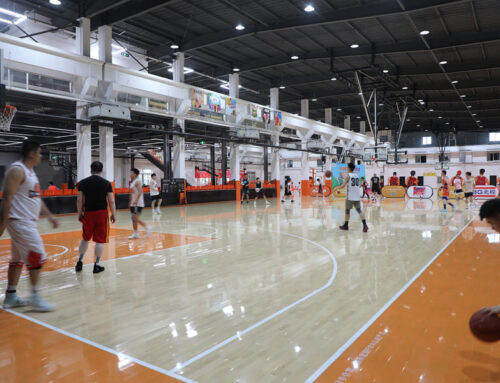
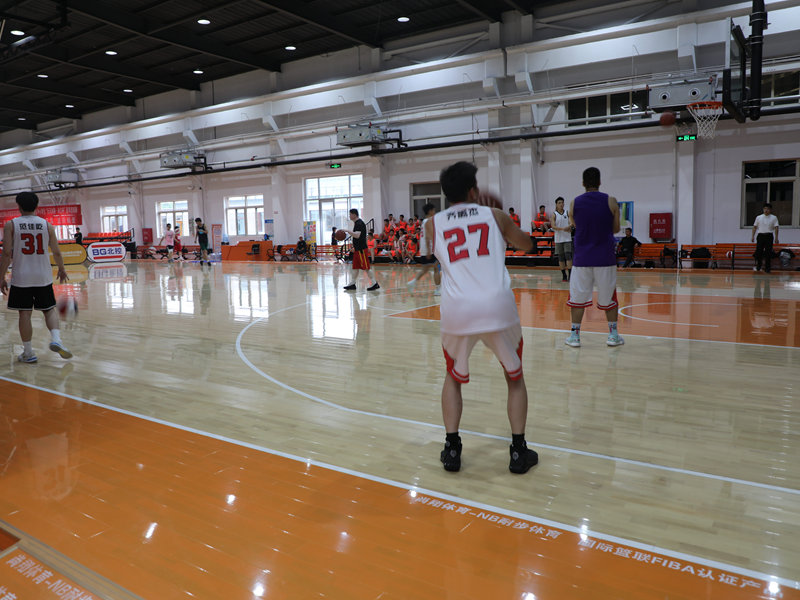
Stepping back and looking at the finished floor… yeah, that was a good feeling. It looked great, felt solid underfoot, and had that nice bounce. Ready for some serious volleyball action!


