
Okay, here’s my blog post about installing keel volleyball solid wooden flooring, written from a personal, hands-on perspective:
Alright, so I finally got around to tackling that project I’ve been putting off forever – putting down some serious flooring in my home gym. I’m a big volleyball nut, and I wanted something that felt… well, real, you know? So I went all-in on a keel volleyball solid wooden floor.
Getting Started
First things first, I cleared out the entire space. This wasn’t just moving a few weights; I mean EVERYTHING out. The room was completely bare. Then I spent to checked the concrete subfloor. I want to ensure a level and solid base, the concrete must be free of cracks. After confirming that the concrete base is perfect, I decided to go straight to the keel installation.
The Keel Deal
The keel system is basically the “skeleton” of the floor. It’s what gives it that bounce and responsiveness. I laid down the moisture barrier first – a big roll of plastic sheeting. Don’t skip this step, people, it’s crucial to prevent moisture problems down the line.
After that, I started assembling the keel structure. This particular system used interlocking pieces, kind of like giant, heavy-duty LEGOs. I followed the manufacturer’s instructions to the letter, making sure everything was square and level as I * was a bit time-consuming, but I knew getting it right was essential.
Laying the Wood
With the keel in place, it was time for the star of the show: the solid wood planks! I let the wood acclimate in the room for a few days beforehand. This helps prevent warping or shrinking later on. I got a good rhythm of laying them.
I used a flooring nailer to secure the planks to the keel. “Whack, whack, whack!” It’s surprisingly satisfying. I made sure to stagger the seams between rows, so it looked like a proper, professional floor and not some amateur hour project.
Finishing Touches
Once all the wood was down, I rented a big floor sander. This was definitely the most physically demanding part. I went over the entire floor multiple times, starting with a coarse grit and working my way up to a fine grit. The goal was to get it perfectly smooth and even. Dust was EVERYWHERE, even with the vacuum attachment on the sander. A good dust mask is a MUST.
After sanding, I cleaned up all the dust (again!), and then applied several coats of polyurethane sealant. This protects the wood and gives it that nice, glossy finish. Each coat needed time to dry, so this part took a couple of days.
The Result
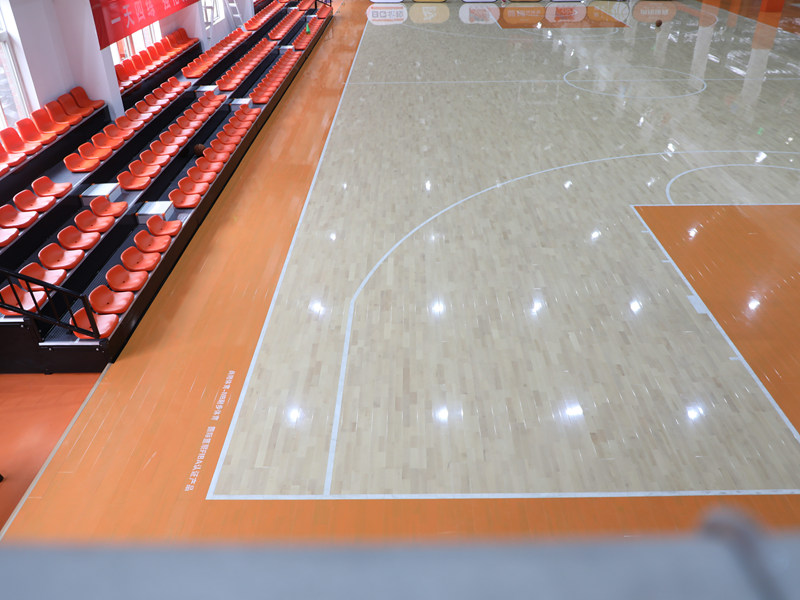
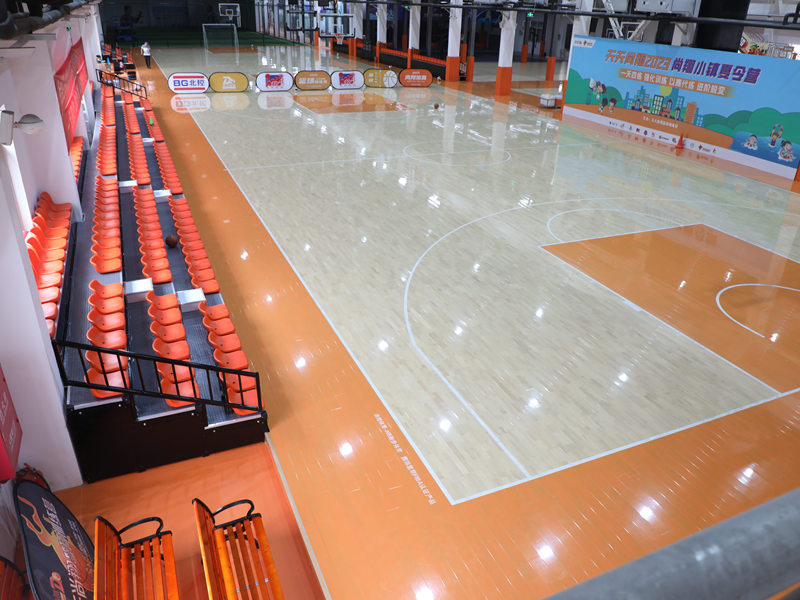
Finally, after all that work, I have a beautiful, solid wood, keel-supported volleyball floor. It feels amazing underfoot – springy, responsive, and solid. I’ve already had a few friends over for some pickup games, and they were blown away. It’s a major upgrade from playing on concrete!
Was it a lot of work? You bet. Would I do it again? Absolutely. There’s something incredibly satisfying about building something like this with your own two hands. And now I have the perfect place to practice my jump serve!


