
Okay, here’s my attempt at writing a blog post in the style you described, focusing on the “keel, volleyball, oak, assembled wooden flooring” topic:
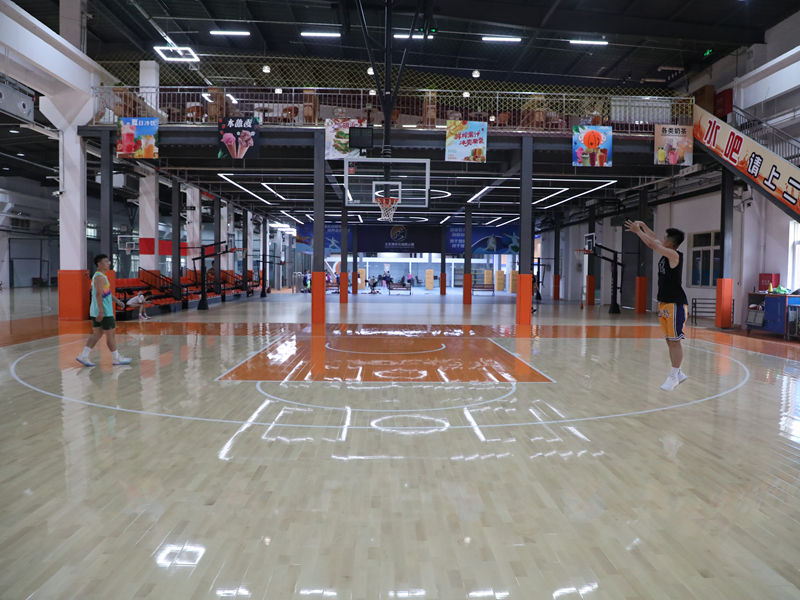
Alright, so, picture this: I decided to redo the flooring in my kinda-home-gym-slash-rec-room. I wanted something that could take a beating, you know? Like, handle dropped weights, maybe some intense volleyball practice (don’t judge, it’s fun!), and still look decent. I’m no expert, but I’m pretty handy, so I figured, why not give it a shot myself?
The Prep Work (Ugh)
First things first, I ripped out the old, sad-looking carpet. What a mess! Underneath was just plain concrete. I learned (the hard way, of course) that I needed a proper subfloor. Did some Googling, asked around, and ended up going with a “keel” system. It’s basically these wooden supports that create a little space under the floor. This helps with, like, shock absorption and stuff, which seemed important for my volleyball dreams.
Setting up the keels was… an experience. Lots of measuring, leveling, and making sure everything was super solid. I definitely messed up a few times and had to redo some sections. My back was NOT happy, let me tell you.
Choosing the Wood
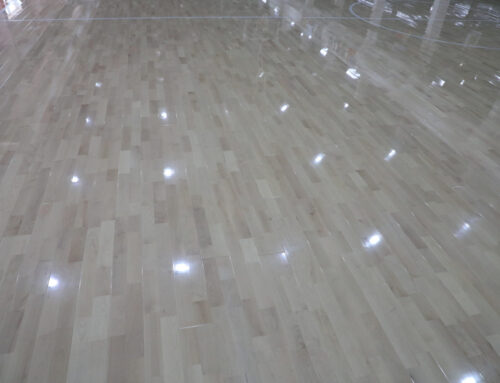
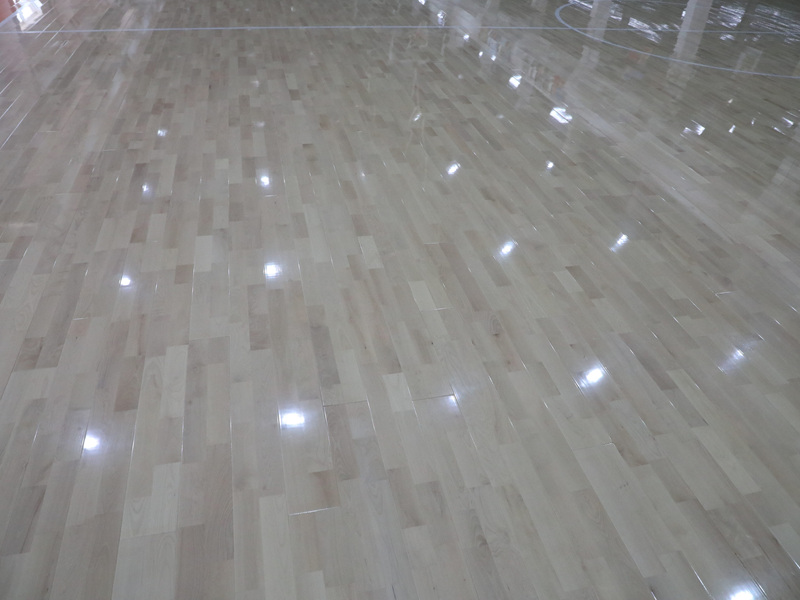
Next up: the actual floor! I went with oak because it’s tough and I liked the look. Plus, I found these pre-assembled wooden panels. This was a HUGE time-saver. I’m not gonna lie, I was tempted to go with individual planks, but I’m so glad I didn’t. The assembled ones just clicked together, kind of like giant puzzle pieces.
Laying it Down
Laying the floor was surprisingly satisfying. Once I got the hang of it, it went pretty quickly. The click-together system was a lifesaver. I did have to cut some pieces to fit around the edges of the room, which involved some… creative sawing. Let’s just say I’m glad I invested in a decent saw.
The Finished Product (Finally!)
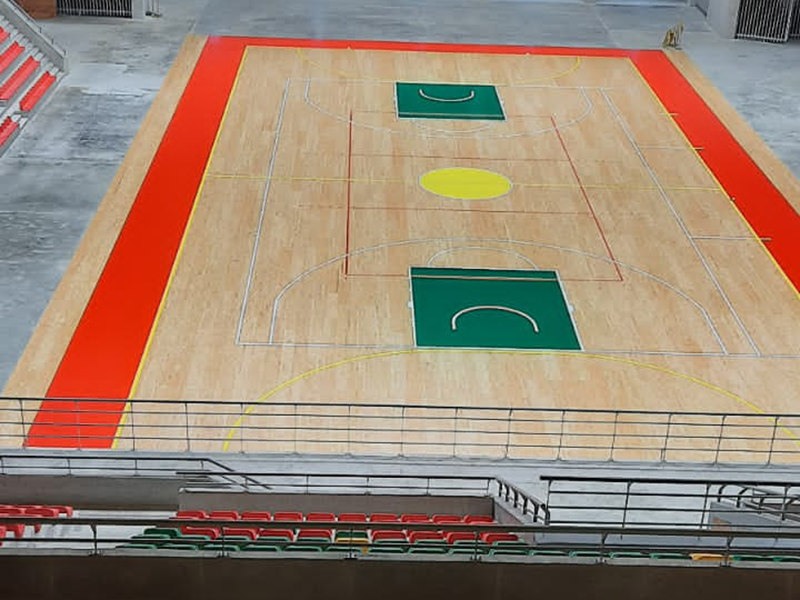
After it, my back was sore, my hands were rough, but I had a brand-new floor! It’s solid, looks great, and it’s totally ready for some volleyball action (and maybe a few dropped weights, whoops!).
- Tip 1: Measure twice (or three times!), cut once.
- Tip 2: Don’t skimp on the subfloor. It makes a big difference.
- Tip 3: Assembled flooring is your friend.
- Tip4:Good tools make everything easier.
I’m feeling pretty proud of myself, not gonna lie. It wasn’t perfect, and there were definitely some frustrating moments, but I did it! And I saved a bunch of money by doing it myself. Now, if you’ll excuse me, I’m gonna go practice my spike.


