
Okay, here’s my blog post about building a portable wooden flooring for a keel volleyball engineer board:
Alright, so I had this crazy idea. I wanted a volleyball court, but I didn’t want it to be permanent. And I’m kinda particular about the floor – gotta be wood, you know? Gives it that nice, solid thunk when the ball hits. Plus, I had this keel engineer board laying around that I wanted to use as a base. So, I dove in headfirst, documenting my trials and tribulations.
The Initial Brainstorm (and Some Serious Doubt)
First, I just stared at the engineer board for a good while. It’s pretty big and heavy, which is good for stability, but a pain to move. I figured I needed some sort of system to make it portable. Maybe sections? Yeah, sections sounded like a good start.
Chopping and Screwing
I grabbed my trusty circular saw (safety glasses on, of course!) and started cutting the engineer board into manageable pieces. I decided on four sections, thinking that would be small enough to carry but big enough to not have a million seams on the court.
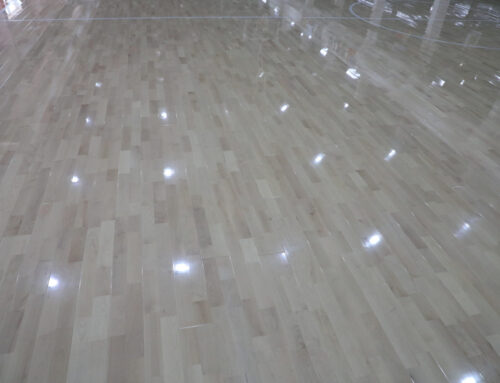
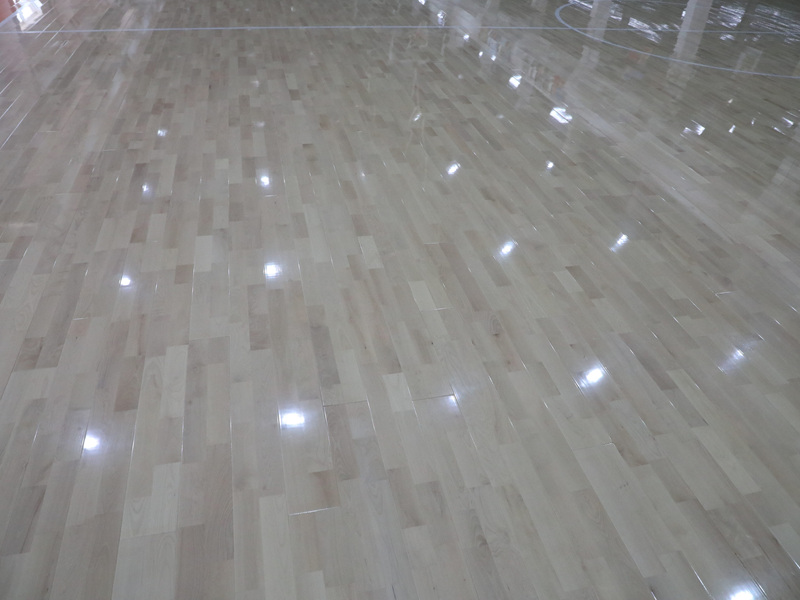
Then came the wooden flooring. I went with some simple interlocking planks – the kind you’d use for a deck. I figured they’d be durable enough, and the interlocking part would help keep everything together.
- Step 1: I layed down the first section of the engineer board.
- Step 2: Started snapping together the wooden planks on top, making sure they were nice and tight. I used some construction adhesive, that’s help a lot.
- Step 3: Once I had a section covered, I used screws to secure the flooring to the engineer board. Lots of screws. I didn’t want this thing falling apart mid-game.
Repeat, Repeat, Repeat
I basically repeated that process for the other three sections. It was a lot of measuring, cutting, gluing, and screwing. My back definitely felt it by the end of the day, and I was getting frustrated for a while. I spent lots time doing the repeat things.
The Moment of Truth (and Some Adjustments)
Once all four sections were done, I put them together. And… it kinda worked! There were a few gaps, and some of the planks weren’t perfectly aligned, but overall, it was a solid surface. I jumped on it a few times. Test passed!
Making it Actually Portable
Now for the “portable” part. I decided on heavy-duty handles – the kind you’d put on a toolbox. I attached two to each section, making sure they were centered so the weight would be balanced.
This part was tricky. Getting the handles positioned just right so the sections wouldn’t be awkward to carry took some trial and error. Lots of lifting, adjusting, and grunting involved.
The Final Result (and a Few Bumps)
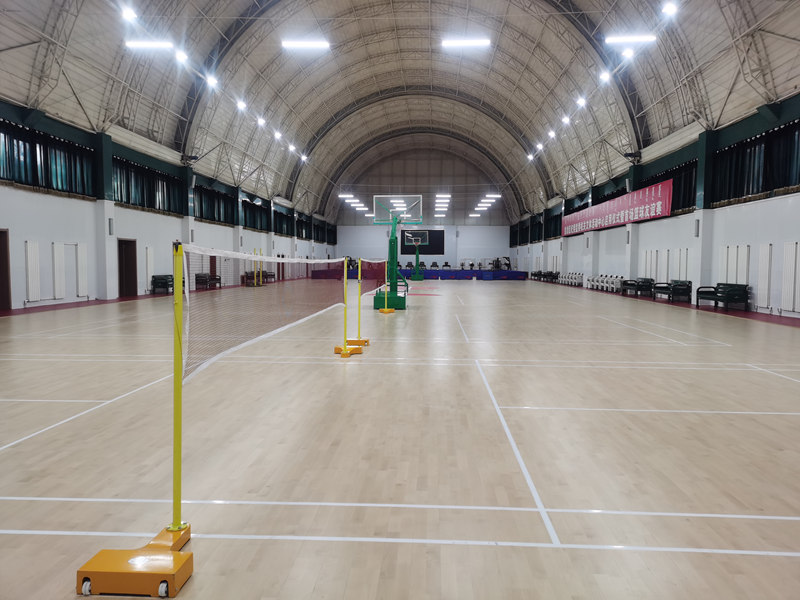
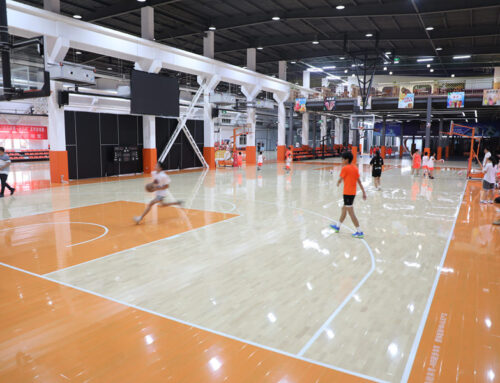
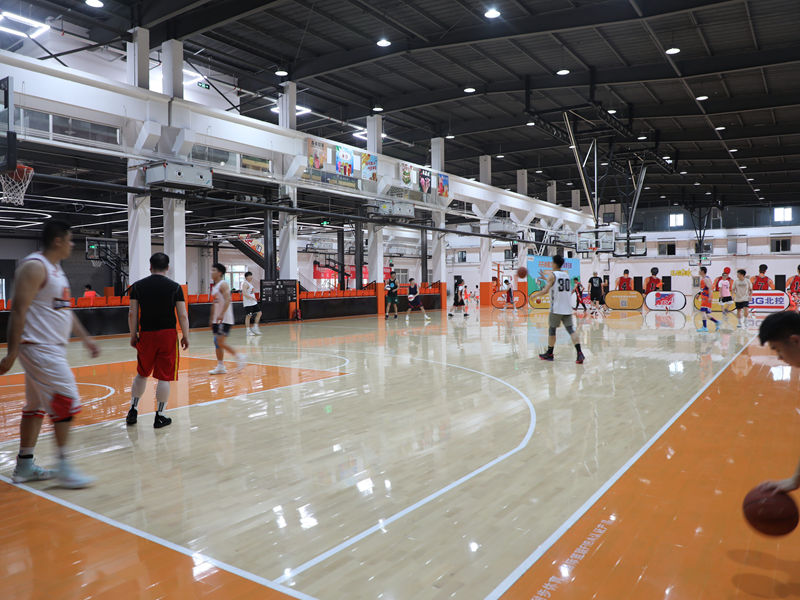
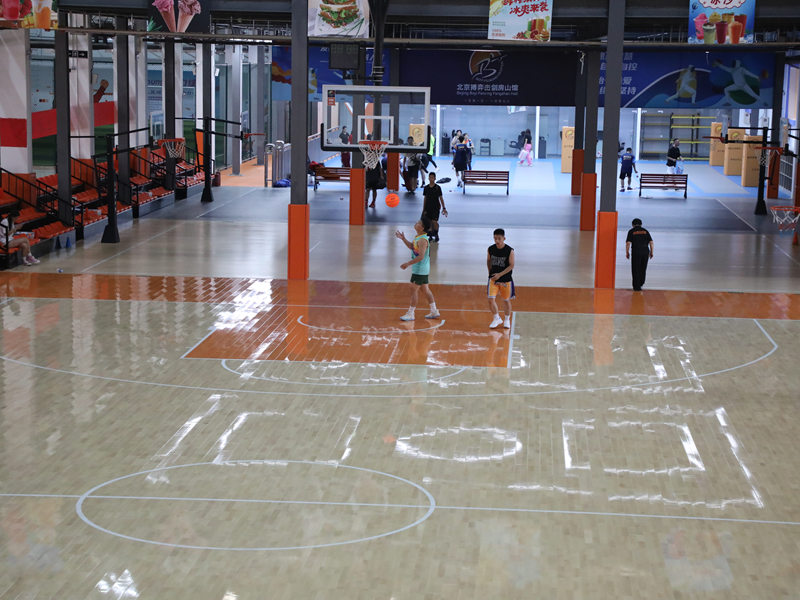
Finally, I had a portable wooden volleyball court! It’s not perfect, mind you. There are a few imperfections, and moving the sections still takes some effort. But hey, I can set it up in my backyard, in a park, wherever! And it feels amazing to play on.
The whole process was a bit of a learning curve, I do have a real court now!
