
Okay, here’s my blog post about setting up a portable wooden volleyball court floor:
Alright, so I’ve been wanting to set up a decent volleyball practice area in my backyard for ages. I didn’t want just any old setup – I wanted something that felt good to play on, you know? Something that would actually be fun and make our amateur little games feel, like, slightly more official. So, I decided to dive into this whole portable wooden floor thing. The “keel” part just means it has these supports underneath to give it some bounce.
The Hunt Begins
First, I spent a good chunk of time just looking around online. I mean, where do you even start with something like this? I browsed through a ton of pictures and read some forum posts. It seemed like the pre-made kits were either super expensive or looked kinda flimsy. I knew going in that the “beech” wood was a good choice, apparently, it holds up well and has a good feel.
Getting My Hands Dirty (Literally)
I ended up deciding to build most of it myself. I mean, how hard could it be, right? (Famous last words, I know). I found a local lumber yard that had beech planks – score! The guy there was super helpful, and he cut most of the wood to the sizes I needed, which saved me a ton of time and effort. I made a rough size of the portable wooden and calculate how many planks of wood I * I bought the wood I needed.
Then came the fun part – building the frame. I used some thicker pieces of wood for the keel/support structure, basically making a grid to go underneath the floorboards. I’m no carpenter, that’s for sure, but I managed to put it together with screws and some wood glue. Lots and lots of screws. It probably took me a whole weekend just to get the frame sorted. I’m pretty sure I over-engineered it, but hey, better safe than sorry, right? I wanted this thing to be sturdy.
Laying Down the Floor
Next up was laying down the actual beech planks. This part was actually kinda satisfying. I started from one edge and worked my way across, making sure everything was nice and snug. I used some spacers to keep a tiny gap between the boards – apparently, that’s important for letting the wood expand and contract with the weather. Learned that the hard way with a deck project a few years back!
I used a rubber mallet to tap the boards into place, and then used more screws (so. many. screws.) to secure them to the frame. It took a while, but slowly, surely, it started to look like an actual floor!
The Finishing Touches
After all the boards were down, I went over the whole thing with a sander. I wanted it to be smooth, no splinters for anyone, please! I also put a coat of sealant on it, to protect it from the elements. Since it’s “portable”, I figured I’d be moving it around, maybe storing it in the shed during the winter, so I wanted it to be as protected as possible.
Game Time!
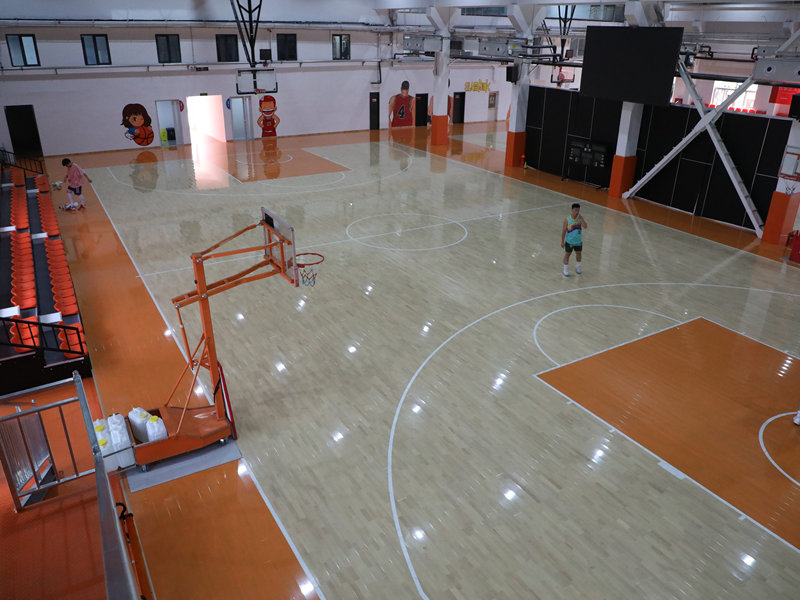
Finally, it was done! And honestly, it turned out way better than I expected. It’s definitely got that “real court” feel to it. It’s a little bouncy, in a good way, and the beech wood feels really nice underfoot.
We’ve had a few games on it already, and it’s been a blast. It’s definitely made our backyard volleyball sessions feel a lot more…legit. Plus, I can take it apart in sections if I need to move it, which is a huge plus.
Was it a lot of work? Yep. Would I do it again? Absolutely. It was a fun project, and the end result is something we’ll use for years to come. If you’re thinking about doing something similar, I’d say go for it! Just be prepared to put in some elbow grease (and buy a lot of screws).


