
Okay, so I’ve been wanting to redo my bedroom floor for, like, forever. It was this old, gross carpet that just collected dust and who-knows-what-else. I finally decided to tackle it, and I figured, “Hey, I’m pretty handy, I can do this myself!” I chose this “keel dancing sleeper assembled wooden flooring” thing – basically, it’s pre-assembled wooden flooring panels that are supposed to be easier to install.
First things first, I ripped out that nasty old carpet. That was a workout in itself! Underneath, it was just the concrete subfloor, which was surprisingly level. I swept and vacuumed it like crazy to get rid of all the dust and little bits of carpet padding that were stuck everywhere.

Prepping the Underlayment
- Next, I rolled out this underlayment stuff. It’s like a thin, foamy layer that goes between the concrete and the wood. It’s supposed to help with sound and moisture, I think.
- I over lapped each roll, and used some red tape to secure it all, and hold it down in place, I did not want this stuff moving around on me.
- I made sure to overlap the edges of the underlayment and taped them down so it wouldn’t shift around.
Now for the actual flooring! These panels were kinda big, but they had this tongue-and-groove system. Basically, one side has a little lip (the tongue) that fits into a groove on the other side. You just kinda angle them together and they snap into place. Sounds easy, right?
Well, it was mostly easy. I started in one corner of the room and worked my way across. The first few rows were a little tricky, just getting the hang of angling the panels right. But once I got the rhythm down, it went pretty smoothly. I just had to keep tapping them together with a rubber mallet to make sure they were really snug.
Dealing with the Tricky Parts
The hardest part was definitely cutting the panels to fit around the door frames and the closet. I used a jigsaw for that – and let me tell you, I was sweating. I measured like five times before each cut, because I really didn’t want to mess up and waste a whole panel. I had to put on my glasses and go slow!
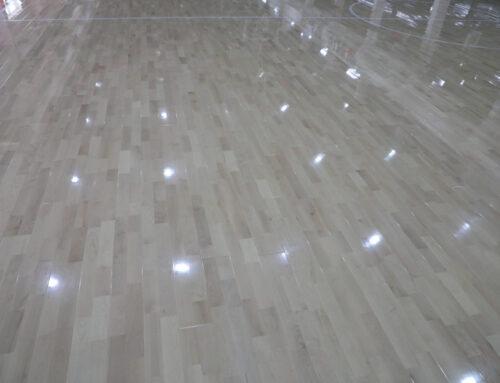
Finished the cutting and placed the last few panels near the walls, I left a little gap all around the edges, like the instructions said. That’s for expansion and contraction, apparently. Then I nailed down some quarter-round molding to cover the gaps and make it look all nice and finished, caulked the edges, and let it dry over night.
Honestly, it turned out way better than I expected! It’s like a whole new room. And I did it all myself! Took me a couple of weekends, a few sore muscles, and maybe a couple of curse words, but totally worth it. I even surprised myself, Now, my floor looks amazing, and I can’t stop showing it off!


