
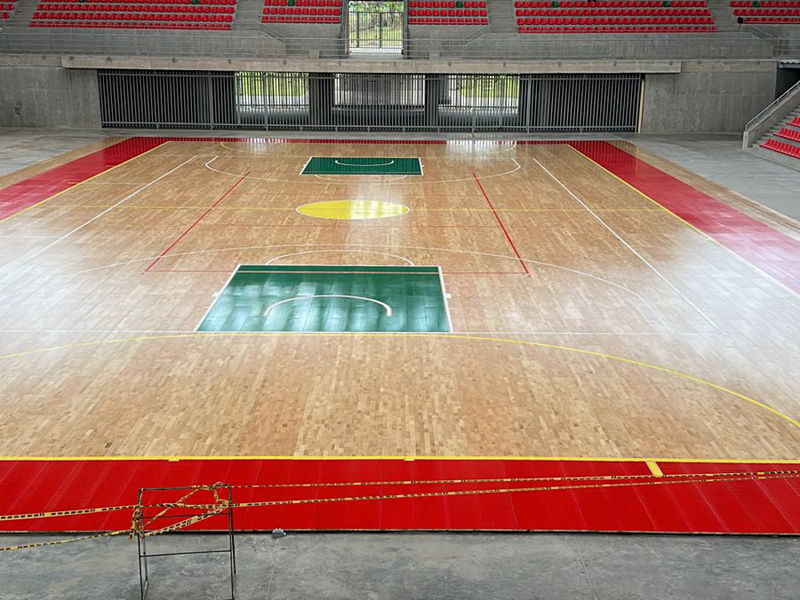
Alright, so I’ve been meaning to redo the flooring in my living room for ages. It was this old, scuffed-up laminate that just looked terrible. I finally decided to take the plunge and go with this “keel dancing parquet assembled wooden flooring” I saw online. Sounded fancy, looked beautiful in the pictures, so I thought, “Why not?”
First things first, I had to rip out the old flooring. Let me tell you, that was a workout! Pulling up those laminate planks, prying them loose, dealing with the dusty mess underneath… it was definitely the least fun part of the whole process. I’m pretty sure my back is still complaining about it.
Once the old stuff was out, I cleaned up the subfloor. It was just concrete, and surprisingly uneven in some spots. This is where I realized I might have bitten off more than I could chew. But I’d already bought the new flooring, so I was committed!
Prepping the Subfloor
- Swept the concrete multiple times to get rid of all the dust and debris.
- Used a level (a long, straight one, not just a tiny one!) to check for any major dips or bumps.
- Found a few low spots, so I mixed up some self-leveling compound. This stuff is like magic! You just pour it on, and it spreads out to create a smooth, even surface.
- Waited for the compound to dry completely. This took a good 24 hours, so patience was key.
Next up was the underlayment. The flooring I chose recommended a specific type of foam underlayment, so I rolled that out across the entire floor. It’s supposed to help with sound insulation and make the floor feel a bit softer underfoot. Seemed simple enough. I taped the seams according to the instructions, all good.
Laying the Floor
Okay, here’s where the “keel dancing” part comes in. Apparently, it’s a type of click-lock system. Each plank has these little grooves and ridges that are supposed to just “click” together. Sounds easy, right? Wrong! Initially I get stuck, I am not a professional carpenter though.
- I started in one corner of the room, laying out the first row of planks.
- Tried to “click” the second row into the first, and… nothing. They wouldn’t lock together!
- Fiddled with them for what felt like an hour, getting increasingly frustrated.
- Finally figured out that you have to angle the planks just right, and then kind of “dance” them into place. Hence, “keel dancing,” I guess?
- Once I got the hang of it, it went a little smoother, but it was still pretty tricky.
I worked my way across the room, row by row, clicking and dancing those planks together. Some went in easy, others were a real pain. I definitely had a few moments where I wanted to throw the whole thing out the window. I’m sure pro installers would have laughed at my struggles.
The hardest part was cutting the planks to fit around doorways and corners. I used a jigsaw for this, and let’s just say my cuts weren’t exactly perfect. Thank goodness for baseboards and trim, they hide a multitude of sins!
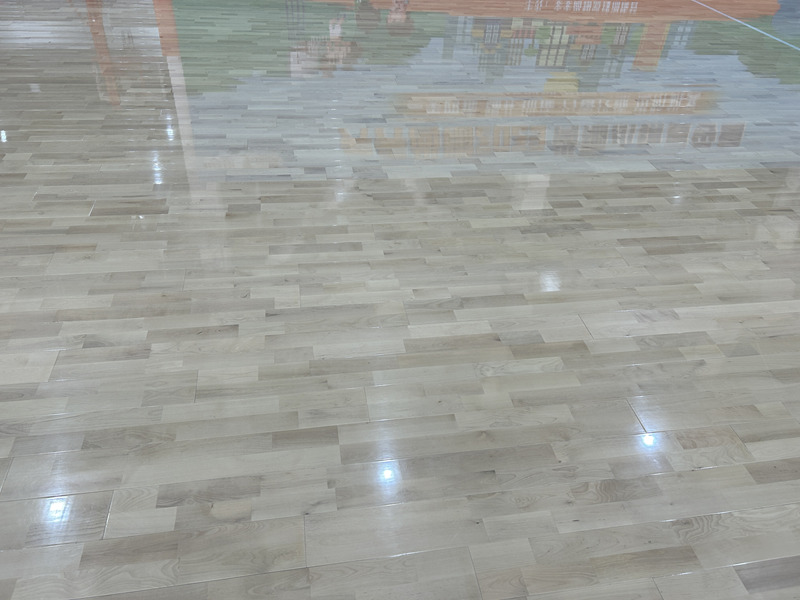
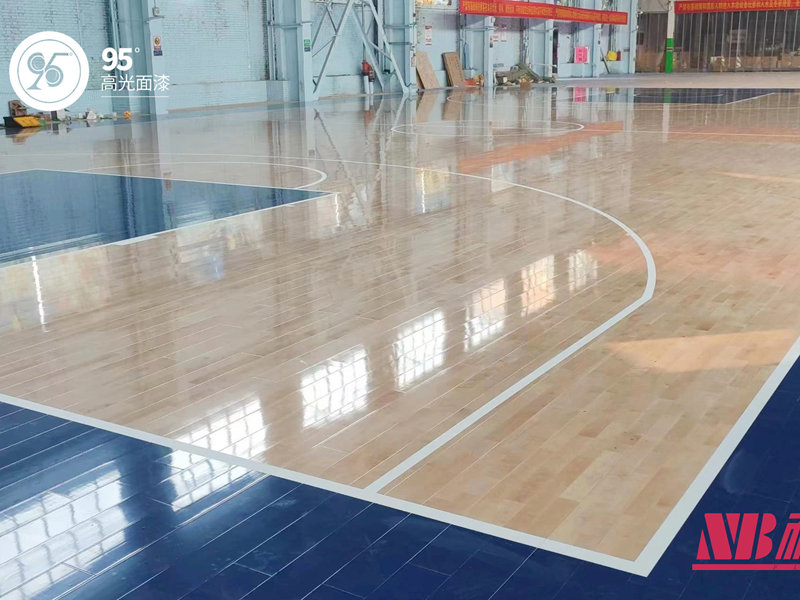
Finally, after what felt like an eternity, I finished laying the last plank. I stepped back to admire my handiwork, and… it actually looked pretty good! Not perfect, mind you, but definitely a huge improvement over the old floor. I can at least now enjoy my time sitting on my carpet.
Then I installed the baseboards and trim to cover up the edges and my less-than-perfect cuts. That really finished it off nicely. Now, I can finally relax and enjoy my new floor!
Would I do it again? Maybe. It was definitely a learning experience. But next time, I might just hire a professional. My back would thank me for it! And I might get the job done faster than me for sure.


