
Okay, here’s my blog post about assembling a wooden floor, told from my personal experience:
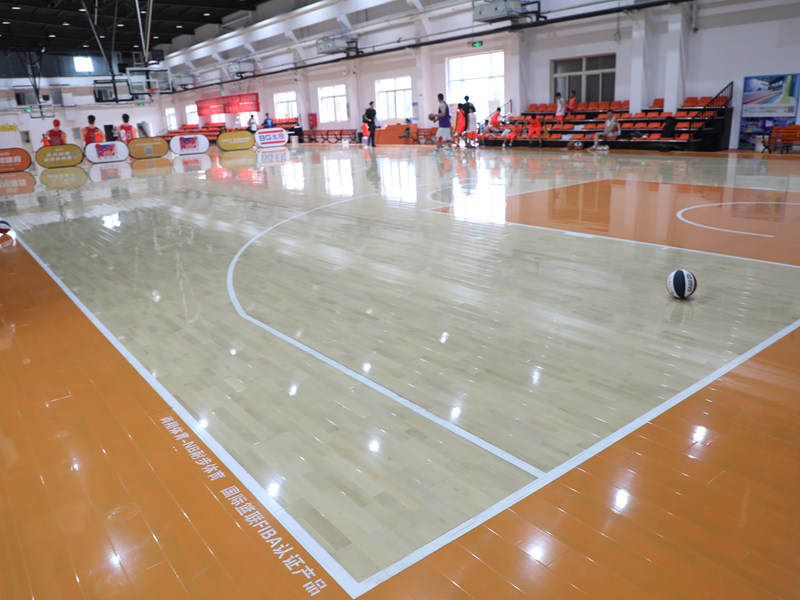
Alright, so the other day I decided to tackle this project – laying down a keel basketball rubber tree assembled wooden flooring. Sounds fancy, huh? It’s basically a wooden floor that’s supposed to be good for sports, with some rubber underneath for bounce and a keel structure for support. I’d seen some videos, figured, “How hard could it be?” Famous last words, right?

Getting Started
First things first, I cleared out the room. This was a workout in itself! Moving furniture, rolling up the old carpet (which was disgusting), and making sure the subfloor was clean. I swept, I vacuumed, I even scrubbed some stubborn spots. The subfloor needs to be pretty level, or the floor will be all wonky.
I used a leveler tool, a laser level, and did find some dips, so I used some leveling compound to flatten it out, it took a long while to get it to dry
The Keel System
Next up, the keel. This is like the skeleton of the floor. Mine came in these long wooden pieces that I had to assemble. It was like a giant puzzle. I followed the instructions (mostly), and after some head-scratching and a few “oops” moments, I got it all laid out. It’s important to get this part right, because it supports the whole floor.
Rubber Time
Then came the rubber layer. This is what gives the floor its bounce. It came in rolls, and I just rolled it out over the keel, making sure it was all nice and snug. I trimmed the edges with a utility knife – carefully, I might add. No sliced fingers wanted!
Laying the Wood
- I used a rubber tree wood metrial.
- It’s also pretty.
- I snapped the first row into place, making sure it was straight as an arrow. This is crucial, because if the first row is crooked, the whole floor will be off.
I used a tapping block and a mallet to gently tap the planks together, making sure they were tight. No gaps allowed! This part was actually kind of satisfying, like putting together a giant jigsaw puzzle.
Finishing Touches
Once all the wood was down, I installed the baseboards around the edges to cover the expansion gap. Then, a good sweep and a mop, and… done! It took a while, and there were definitely some moments where I questioned my life choices, but honestly, it looks pretty good! And it feels great to walk on – nice and solid, with a bit of give. Would I do it again? Maybe. Ask me in a few years. For now, I’m just enjoying my new floor.


