
Okay, folks, let’s dive into my little adventure with keel basketball plywood wooden flooring. I’ve been wanting to upgrade my backyard court for ages, and I finally took the plunge. Here’s how it all went down, warts and all.
First, I started by clearing out the old, cracked concrete slab. That was a beast of a job, let me tell you. I rented a small jackhammer – felt like a real construction worker for a day! – and got to breaking up that old mess. It took a solid weekend and a whole lot of sweat, but I finally got it all cleared.

Next up, I had to prepare the ground. This involved a lot of leveling and compacting. I used a rented plate compactor – another fun toy! – to make sure the base was super solid and even. You don’t want any bouncy spots under your basketball court, trust me. I also made sure to have gravel laid out first.
Then came the keel system. Now, I’m no carpenter, but I managed to assemble the wooden keel frame. It was basically like putting together a giant puzzle. The instructions were surprisingly clear, which was a relief. I used pressure-treated lumber, hoping it’ll last through the elements. Each piece had to be level and match precisely, because of the interlocking system that plywood has.
- Measure everything twice, cut once. That’s the golden rule, and it definitely applied here.
- Use plenty of screws. Don’t skimp on the hardware!
- Check for level constantly. A wonky keel means a wonky court.
With the keel in place, it was time for the plywood. I opted for some decent quality exterior plywood, figuring it would hold up better to moisture. Laying the plywood was relatively straightforward – just screw it down to the keel. The biggest challenge was making sure the seams were tight and that everything was flush. I chose tongue and groove to make sure each plywood can support the next.
Finally, I finished it all off with a few coats of outdoor sealant. This is crucial for protecting the wood from rain and sun. I went with a clear sealant because I liked the natural wood look, but you could definitely use a colored stain if you wanted to get fancy.
The Result?
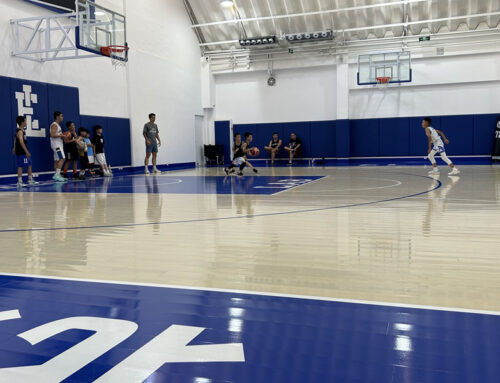
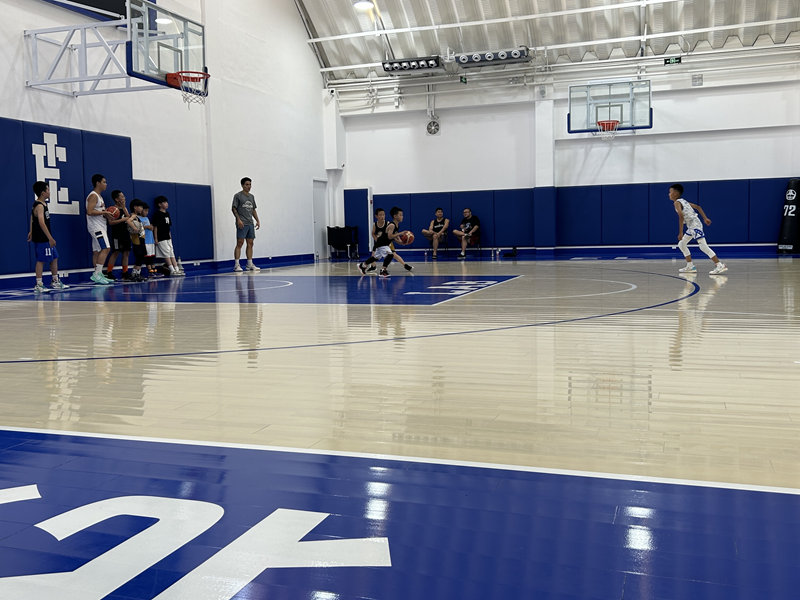
A pretty darn good-looking (and functional!) backyard basketball court. It’s not perfect – there are a few little imperfections here and there – but I’m proud of it. It’s a huge upgrade from the old cracked concrete, and the kids love it. Plus, I saved a bunch of money by doing it myself. Overall, I am very pleased with the court, and I look forward to the many years of pick-up games.


