
Alright folks, gather ’round! Let me tell you about this weekend’s project – installing a killer basketball parquet floor. Sounds fancy, right? Well, it was a journey, let me tell ya.
First things first, I got my hands on the parquet. Keel Basketball parquet, specifically. Real wood, the good stuff. The delivery guy just dumped it in my driveway. So, Stage one: lugging all those boxes into the garage. Back was killing me before I even started!
Next up, prep work. This is where most folks mess up, I reckon. You can’t just slap wood onto any old floor. I spent a solid day making sure the concrete subfloor was level. Used a self-leveling compound in a few spots where it was off. Let that cure for like, forever. You gotta be patient, trust me.
Okay, now for the fun part! Laying out the floor. I watched a bunch of YouTube videos beforehand, so I kinda knew what I was doing… kinda. Started in the center of the room, marking out my lines to make sure everything was square. Important detail: Dry-fitting all the parquet pieces first. Like a giant jigsaw puzzle. This helped me figure out the best layout and avoid any weird gaps later on.
Then came the adhesive. Oh, the adhesive! I used a special wood flooring adhesive. Spread it on with a notched trowel, nice and even. Placed the parquet pieces down carefully, making sure they were aligned. I used spacers to keep everything consistent. This part took ages. Knees were screaming. Back was screaming louder.
Once the whole floor was down, I had to let it sit. No walking on it! The adhesive needed time to properly bond. I think it was 48 hours before I could even think about touching it again.
Okay, curing time’s up! Next, sanding. Rented a floor sander from Home Depot. That thing was a beast. Started with a rough grit sandpaper and worked my way up to a finer grit. This smooths out any imperfections and makes the floor look amazing.
Then came the staining. Chose a nice warm brown color that matched the rest of my house. Applied it with a brush, let it soak in, and then wiped off the excess. Let that dry completely. Then, a few coats of polyurethane to protect the floor from scratches and spills. Each coat had to dry for at least 24 hours, with a light sanding in between.
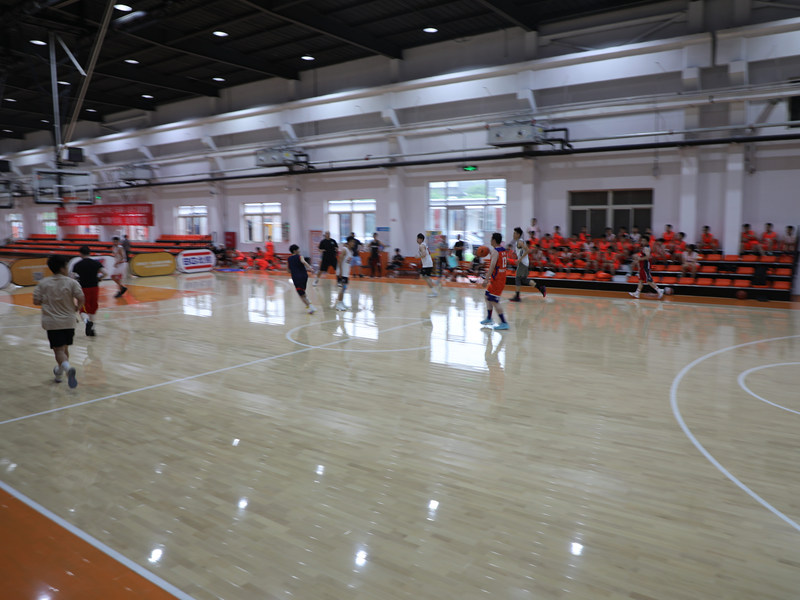
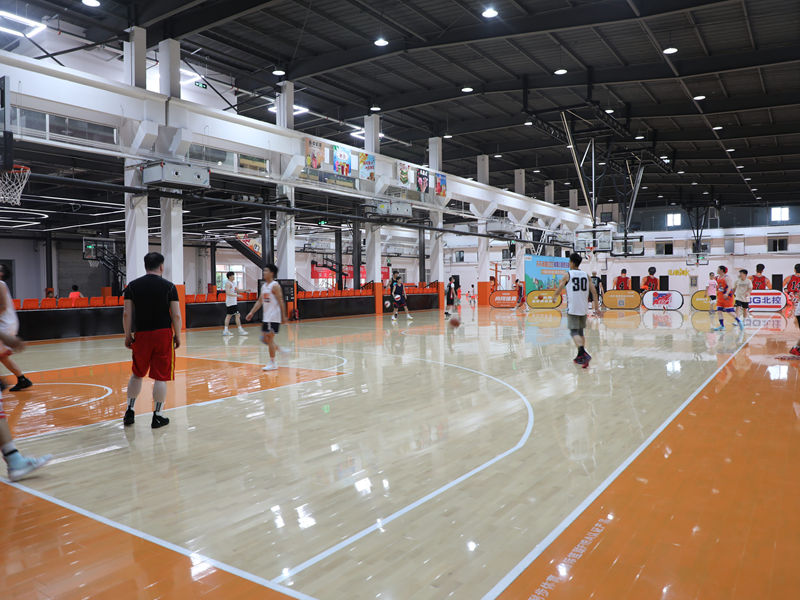
And finally! The finished product. A beautiful, gleaming basketball parquet floor. Totally worth the pain and effort. It looks incredible. My friends are all jealous. Would I do it again? Maybe. But I’d probably hire someone next time. Haha!
- Day 1: Floor prep and leveling.
- Day 2: Dry-fitting and layout.
- Day 3: Adhesive and parquet installation.
- Day 4-5: Adhesive curing.
- Day 6: Sanding.
- Day 7: Staining.
- Day 8-10: Polyurethane coats.
Lessons Learned:
- Rent a good floor sander. Makes a HUGE difference.
- Don’t skimp on the adhesive. Get the good stuff.
- Wear knee pads. Your knees will thank you.
- Patience is key! Don’t rush the process.
So there you have it. My basketball parquet flooring adventure. Hope this helps anyone thinking about doing a similar project. Good luck, and may your floors be level!


