
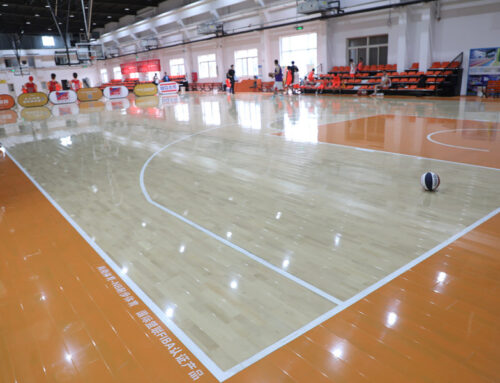
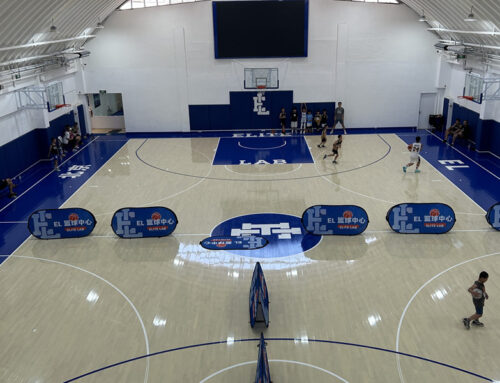
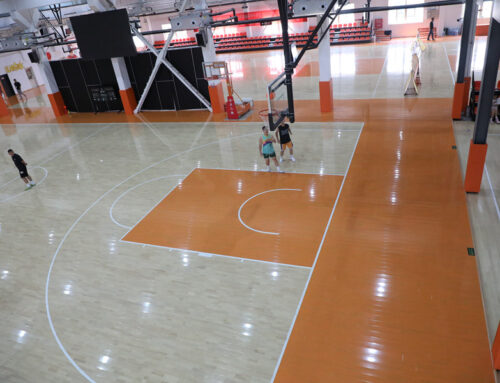
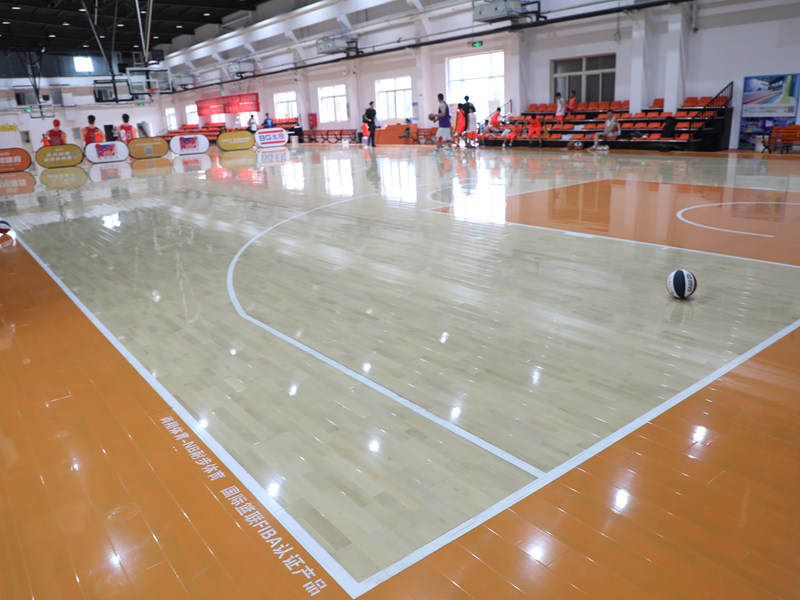
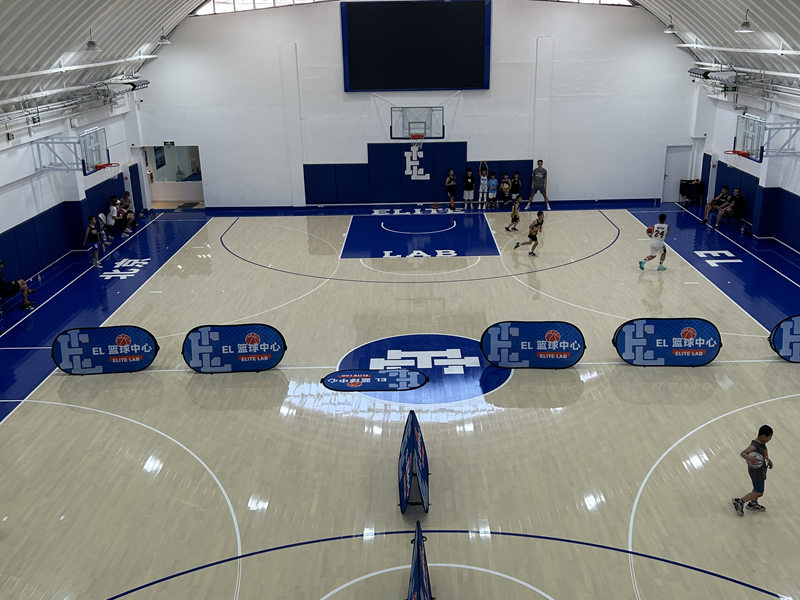
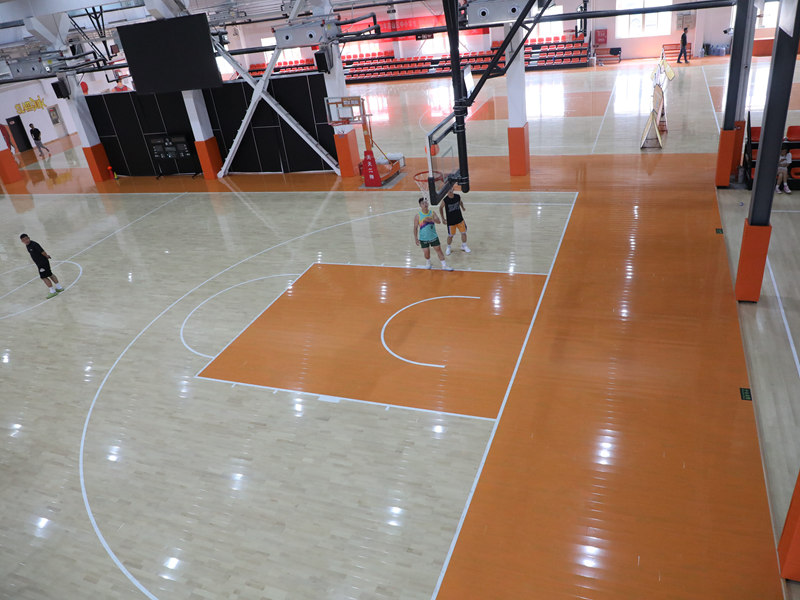
Okay, folks, let’s dive into this project I tackled: installing a keel basketball lvl larch assembled wooden flooring. It was a bit of a beast, but totally worth it in the end.
First things first, I cleared out the space. This wasn’t just tidying up; I mean everything out. Furniture, rugs, the whole nine yards. Gotta have a blank canvas, you know?
Next up, I checked the subfloor. Made sure it’s levelled. Because the subfloor is concrete, after cleaning, I spread a layer of moisture-proof mat on the concrete floor.
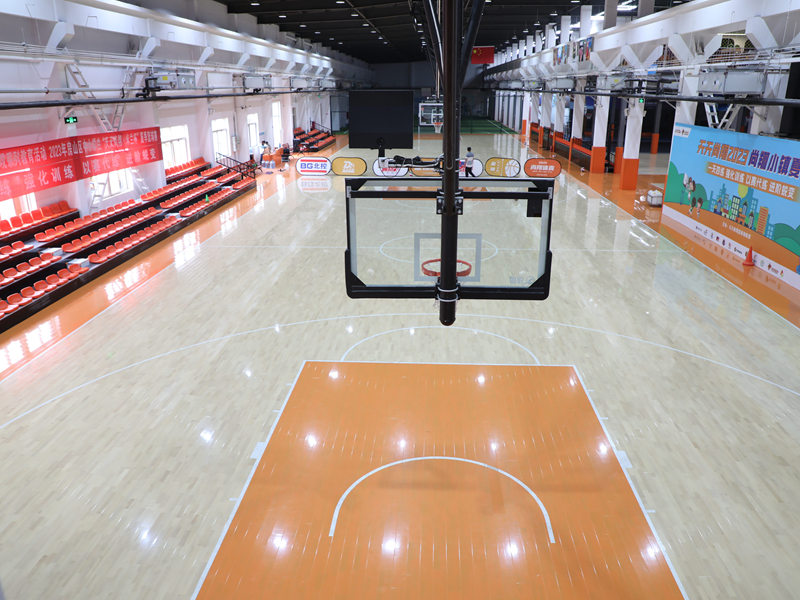
Laying Down the Keel
This part was surprisingly straightforward. This is where you can get creative and design different keel structures, there are single keel, double keel, and also lvl, which is a main keel and a secondary keel. I chose lvl.
- lvl is also called the laminated veneer lumber.
After placing the keel, because it is a basketball court, I also added a layer of very elastic rubber pad under the keel.
Assembling the Floor
Because the floor used is an assembled floor, installation is very simple, just put the floor together.
Finally, there was the finish work –baseboard. Those small details really make a difference in the overall look.
So, yeah, that was my adventure in flooring. A lot of sweat, a few bumps along the way, but a super satisfying result. It’s solid, looks amazing, and I did it all myself. Feels pretty darn good!

