
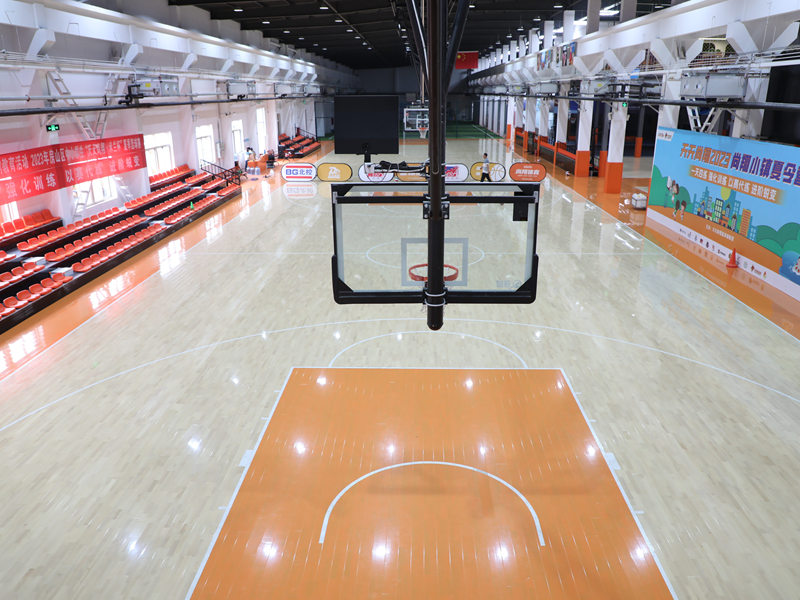
Okay, folks, let’s talk about my little weekend project: laying down some keel basketball hevea wooden flooring. I’ve always wanted a really nice, sprung floor in my home gym, and I finally decided to take the plunge.
First things first, I cleared out the entire room. This was probably the most annoying part, honestly. Moving all that gym equipment was a workout in itself! Once everything was out, I gave the concrete subfloor a good sweep and vacuum. You want that surface as clean as possible, trust me.
Next up, I rolled out a vapor barrier. Since I was working on a concrete slab, I needed something to prevent moisture from seeping up and ruining the wood. I used a pretty standard 6-mil polyethylene sheeting, making sure to overlap the seams by about 6 inches and tape them down securely.
The Keel System
Now for the fun part – the keel system! This is what gives the floor its “spring.” I chose a system that uses these pre-fabricated wooden “keels” with rubber pads underneath. The layout process take me more time to figure it out.
- I started by laying down the perimeter keels, making sure they were level and square. This is super important, or your whole floor will be off. I used shims where needed to get everything perfectly level.
- Then, I spaced out the inner keels according to the manufacturer’s instructions. It’s usually a pretty regular pattern, designed to distribute weight evenly.
- With the keels in place, I secured them to the concrete using concrete screws. Make sure you pre-drill the holes, or you’ll be there all day!
After the keels were all down,I put the hevea wooden floor on the top and fixed them.
The last step and the most important thing is that, make sure the floor and keel were tightly attached.
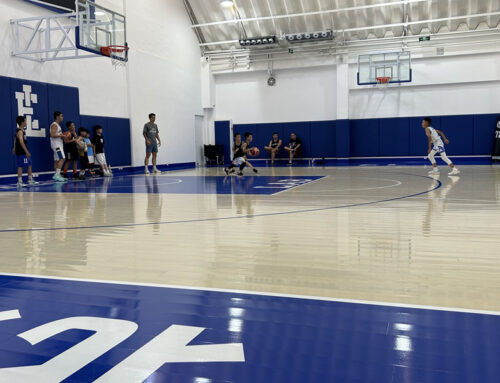
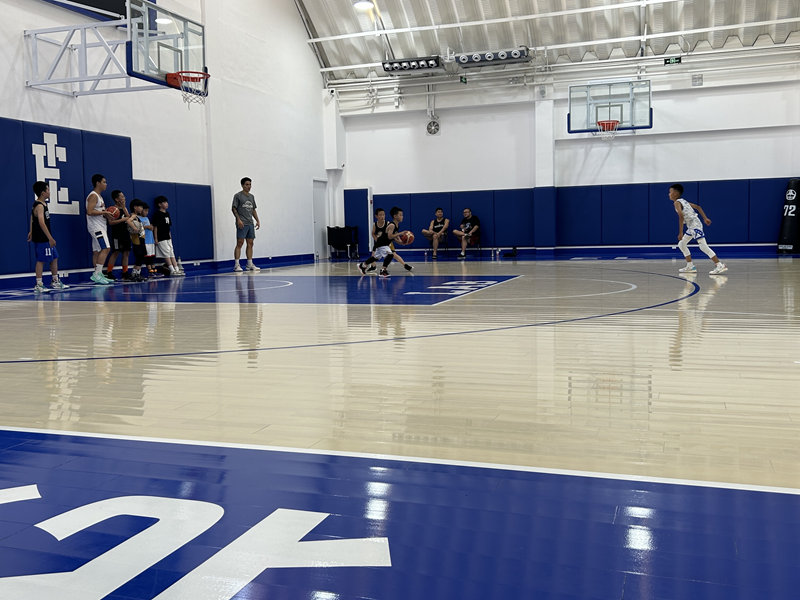
Then,I can play basketball on my new hevea wooden floor,That was really an amazing experience that I have never felt before!


