
Okay, so today I decided to get my hands dirty and work on laying down some keel basketball hard maple timber for my home gym. I’ve always wanted a proper basketball court, and the garage seemed like the perfect spot.
First things first, I cleared out the entire garage. This was a beast of a job in itself. We’re talking old boxes, bikes, tools – you name it, it was probably in there. I finally got everything out, swept the concrete floor, and gave it a good once-over to make sure it was level-ish. Didn’t need perfection, just not super wonky.
Next up, I laid down a vapor barrier. Basically, just a big sheet of plastic to keep moisture from the concrete seeping up into the wood. I rolled it out, overlapped the seams, and taped it all down with some heavy-duty tape. I felt like a real pro, even if it was just glorified plastic wrap.
Then came the fun part – the sleepers! I used 2x4s. I laid them perpendicular to the direction I wanted the final maple flooring to run. I spaced them out about 16 inches apart, making sure they were all nice and snug against each other. To secure them, I used concrete screws. Pre-drilling the holes was a must – saved me a ton of headaches (and stripped screws).
I staggered the joints of the sleepers, made it look more professional, and hopefully, add some stability. A miter saw was my best friend for the day. After the first few cuts, you will feel so confident.
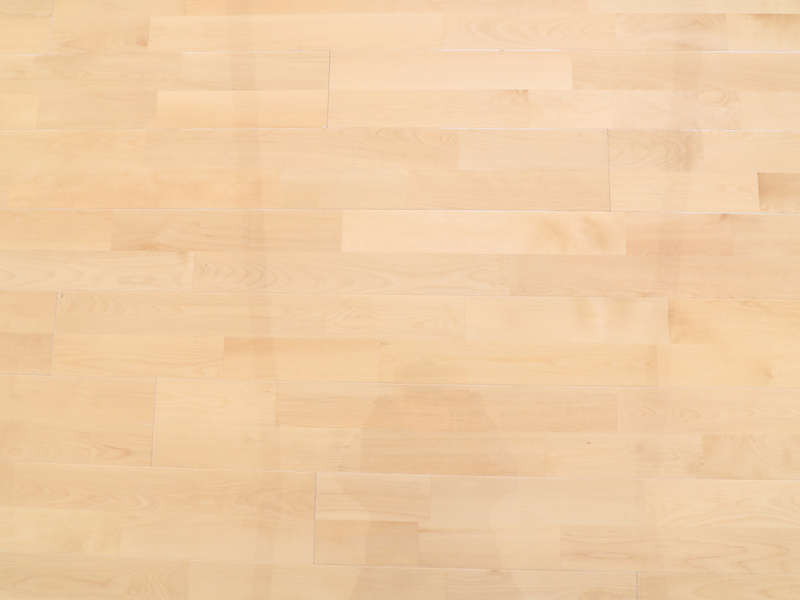
Now for the maple! This stuff is beautiful, but also a little intimidating. I started along one wall, leaving a bit of a gap for expansion (wood likes to move with temperature changes, who knew?).
I used a flooring nailer – rented it from the local hardware store. This thing is awesome! Way easier than hammering nails by hand. I nailed each board into the sleepers, making sure to set the nails at a slight angle.
I worked my way across the garage, row by row. It was slow going, but super satisfying to see the floor taking shape. Each board I will check the level before the nailer. And also, I used a rubber mallet to tap the boards into place, making sure they were nice and tight against each other.
- Cut pieces to fit around the edges.
- Checked the level.
- Used pull bar to fit the last piece.
The last few boards were a bit tricky – had to use a pry bar to get them snug. But eventually, I got them all in!
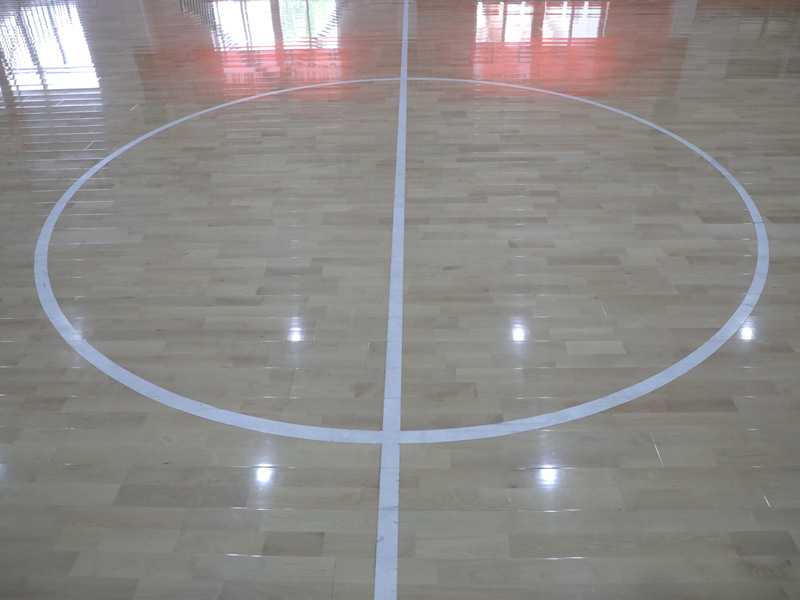
Finally, I added some trim around the edges to cover up the expansion gap and give it a finished look. A few mitered corners, a little bit of wood filler, and some sanding… and bam! Done!
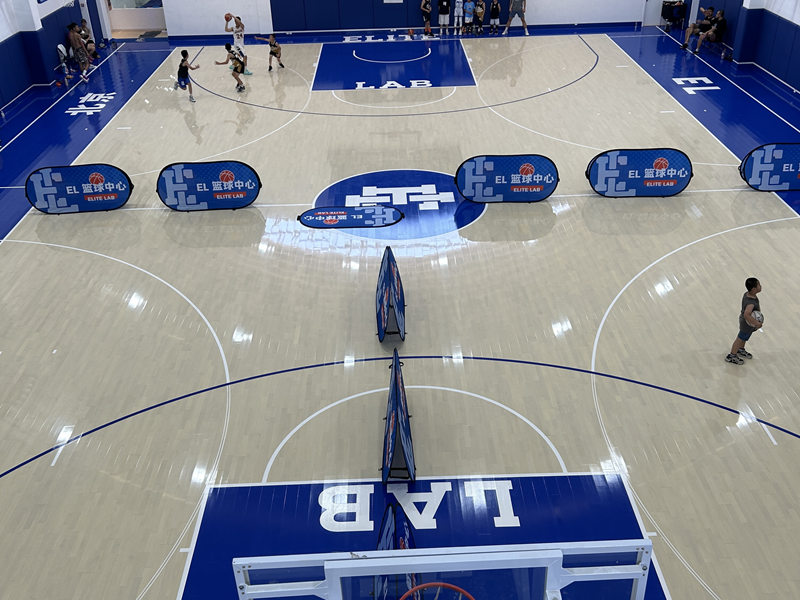
It took most of the day, and I’m definitely feeling it in my back, but it was totally worth it. I’ve got my own basketball court now! Time to shoot some hoops.


