
Okay, here’s my blog post about assembling a basketball sleeper wooden floor, written from a personal, hands-on perspective:
Man, this project was a BEAST, but so satisfying in the end. I’ve always wanted a proper sprung wooden floor for my home basketball court, and I finally decided to take the plunge. I went with a keel/sleeper system, and let me tell you, it’s a lot more work than just slapping down some planks.
First, I cleared out the entire space. This was a pain, moving all the existing stuff, but it was absolutely necessary. You need a totally blank canvas to work with.
Then came the prep work. I made darn sure the concrete subfloor was level. This is super important, because any dips or bumps will mess up the whole thing. I used a self-leveling compound in a few spots where it was a little uneven. Took forever to dry, but worth it.
Laying Down the Sleepers
Next, I started laying down the sleepers. I used pressure-treated lumber. I went with 2x4s, spaced them out evenly according to the manufacturer’s instructions (which I almost threw away accidentally!). The key here is to make sure they’re all running in the same direction and are perfectly parallel. My laser level was my best friend during this stage.
I secured the sleepers to the concrete. For the sleepers, I used concrete screws, making sure to pre-drill the holes. This part took a while, lots of bending over and drilling, but I got into a rhythm.
Adding the Cushioning
- Once the sleepers were secure, it was time for the cushioning. I’m use some cushioning pads, and I’m glad I did. It makes a HUGE difference in the feel of the floor.
- I placed the pads strategically on top of the sleepers. This is where you get that “bounce” that’s so crucial for a basketball court.
Installing the Plywood
With the cushioning in place, I started laying down the plywood subfloor. I used two layers of plywood, staggering the joints for extra strength. This part was relatively straightforward, just lots of cutting and screwing. A good circular saw is essential here. Make sure you got a buddy to help, those plywood sheets are heavy!
I screwed the plywood down to the sleepers, making sure to use plenty of screws. You don’t want any squeaks or movement in the floor later on.
Finally the top layer
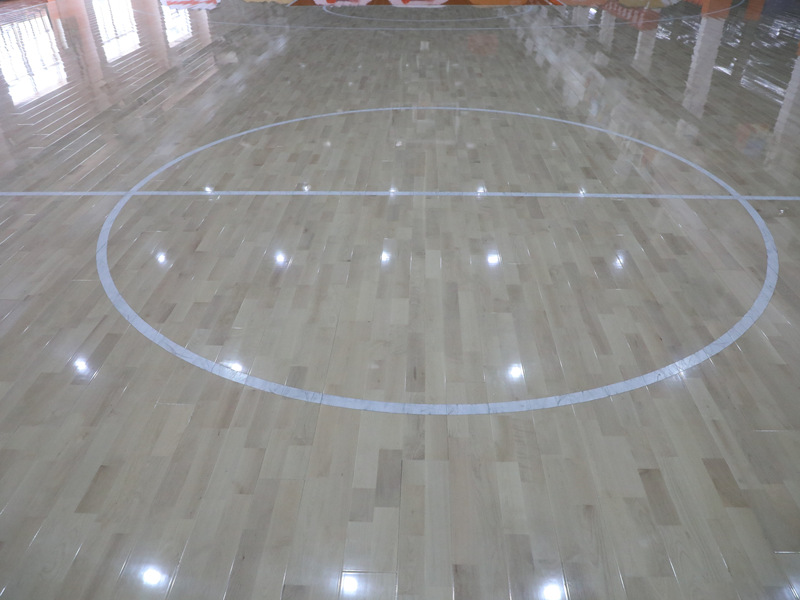
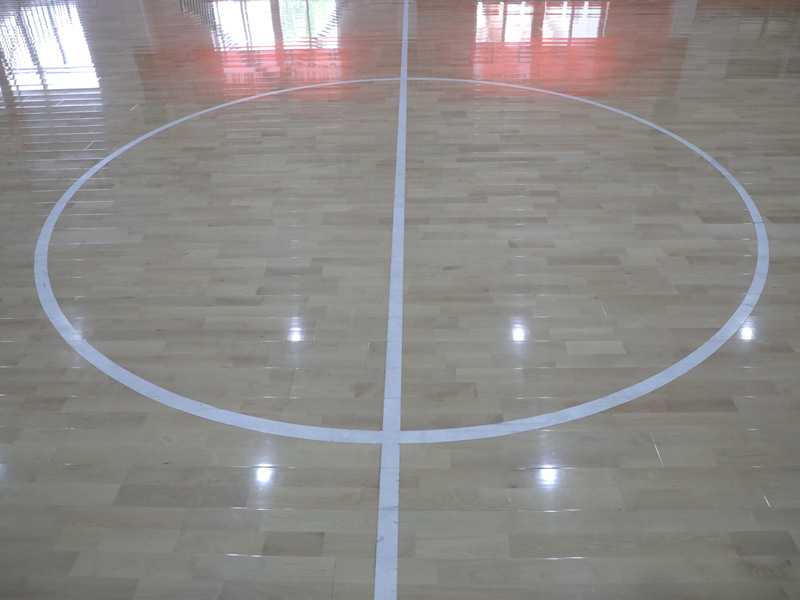
The actual wooden flooring, the beautiful maple, went on top of the plywood. This was the most satisfying part, seeing the actual court surface take shape. Nailing this down was, I’m not gonna lie, pretty tiring. My knees were killing me by the end of the day, but seeing those boards all lined up was pure joy.
After all that, I have a pretty nice basketball court at home. Worth all the time and back pain. Gonna go shoot some hoops now!


